
B3000 2WD V6-3.0L OHV (1994)
Fuel Injector: Testing and Inspection
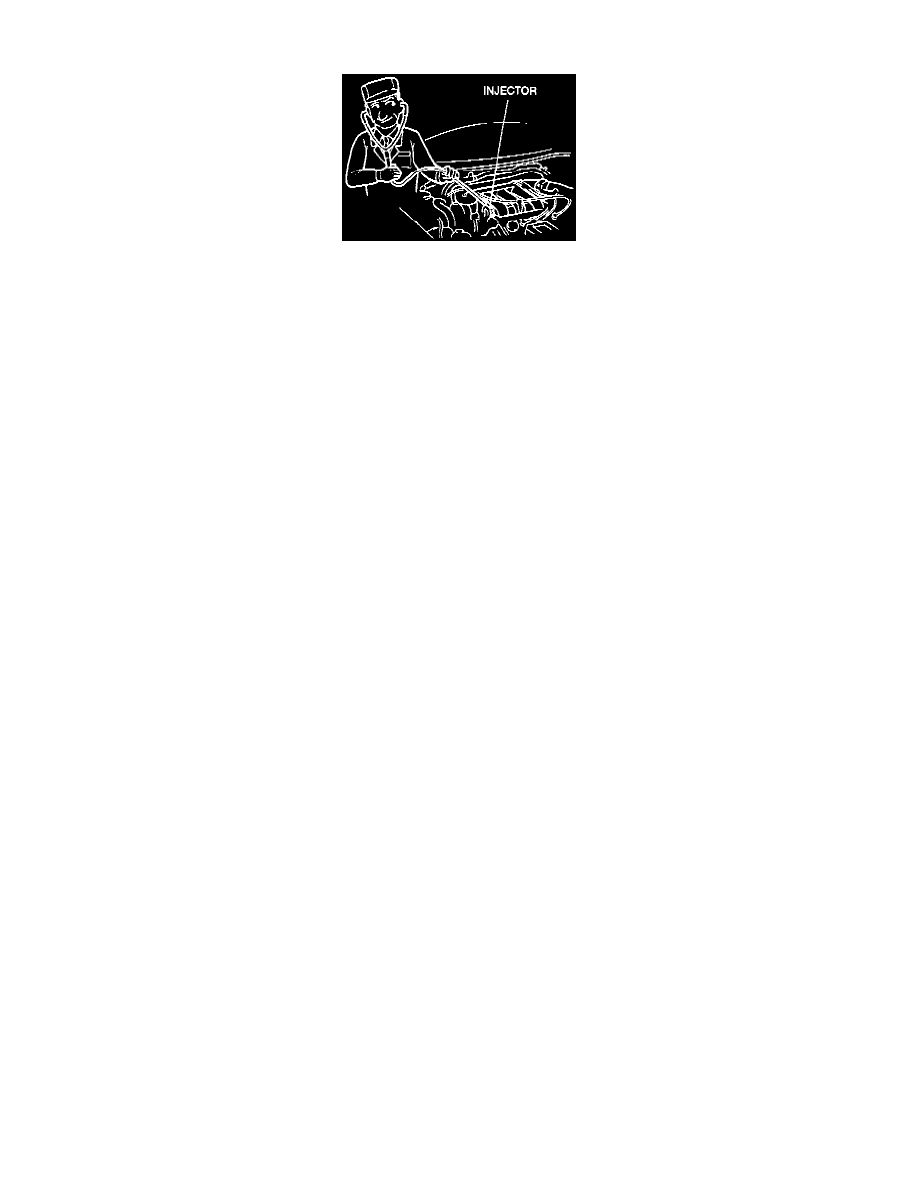
INJECTOR INSPECTION
On-vehicle
1. Warm up the engine and run it at idle (or cranking if it does not start).
2. Listen for the operational sound of each injector with a stethoscope.
NOTE: Compare the operational sound of each injector to that of the other injectors, because it is difficult to verify the "correct" sound of an
individual injector.
3. Make note of any particular injector that differs in sound from the others.
4. Verify proper power and ground supply to any suspect injector.
5. If OK then check injector resistance. (See Test Below)
6. Replace any injector that is not within specified range of resistance.
Injector Resistance
1. Disconnect the injector connectors.
2. Measure the resistance of the injectors.
Resistance: 11-18 ohms (20°C (68°F))
3. If not as specified, replace the injector(s).
Fuel leakage test
WARNING: Before performing the following operation, release the fuel pressure in the fuel system to reduce the possibility of injury or
fire.
1. Remove the fuel rail assembly from the intake manifold.
2. Connect the fuel lines.
3. Connect the data link connector terminal FP to ground by using a jumper wire.
4. Turn the ignition switch ON and check for fuel leaks from injectors.
Fuel leakage: Less than 1 drop 12 min.
5. If not as specified, remove the leaking injector and check the O-rings and fuel rail for damage. Replace as necessary.
NOTE: Perform the following installation carefully to prevent fuel leakage from the O-ring.
6. Install the injector.
7. Turn the ignition switch ON and check for leaks from injector.
8. If not as specified, replace the injector.