
B3000 2WD V6-3.0L OHV (1994)
6.
Apply Loctite Quick Metal Retaining Compound to the splines on the center bearing yoke.
CAUTION:
Do not apply compound to the coupling output shaft splines.
7.
Install yoke and nut making sure that the excess compound is squeezed away from the center bearing.
8.
Tighten center bearing yoke nut using special tool (SST 49-5120-710 or equivalent) to hold center bearing yoke in place.
Tightening Torque: 135 - 162 Nm (100 - 120 ft-lbs)
9.
Assemble coupling shaft and rear driveshaft.
NOTE:
Align shafts with original alignment marks.
10.
Tighten four (4) universal joint retaining bolts.
Tightening Torque: 18 - 25 Nm (13 - 18 ft-lbs)
11.
Write "Loctite", the date and this bulletin number on the center yoke with a paint pen.
NOTE:
This information will inform future technicians that a 3-jaw puller is required to remove this yoke if future repair is necessary.
12.
Verify repair on 2WD vehicles, 4WD Cab Plus vehicles proceed to transfer case repairs.
REPAIR PROCEDURE - All 4WD
1.
Verify concern.
2.
Mark and remove the complete rear driveshaft assembly to gain access to the rear yoke nut on the transfer case. Refer to the workshop manual for
removal instructions.
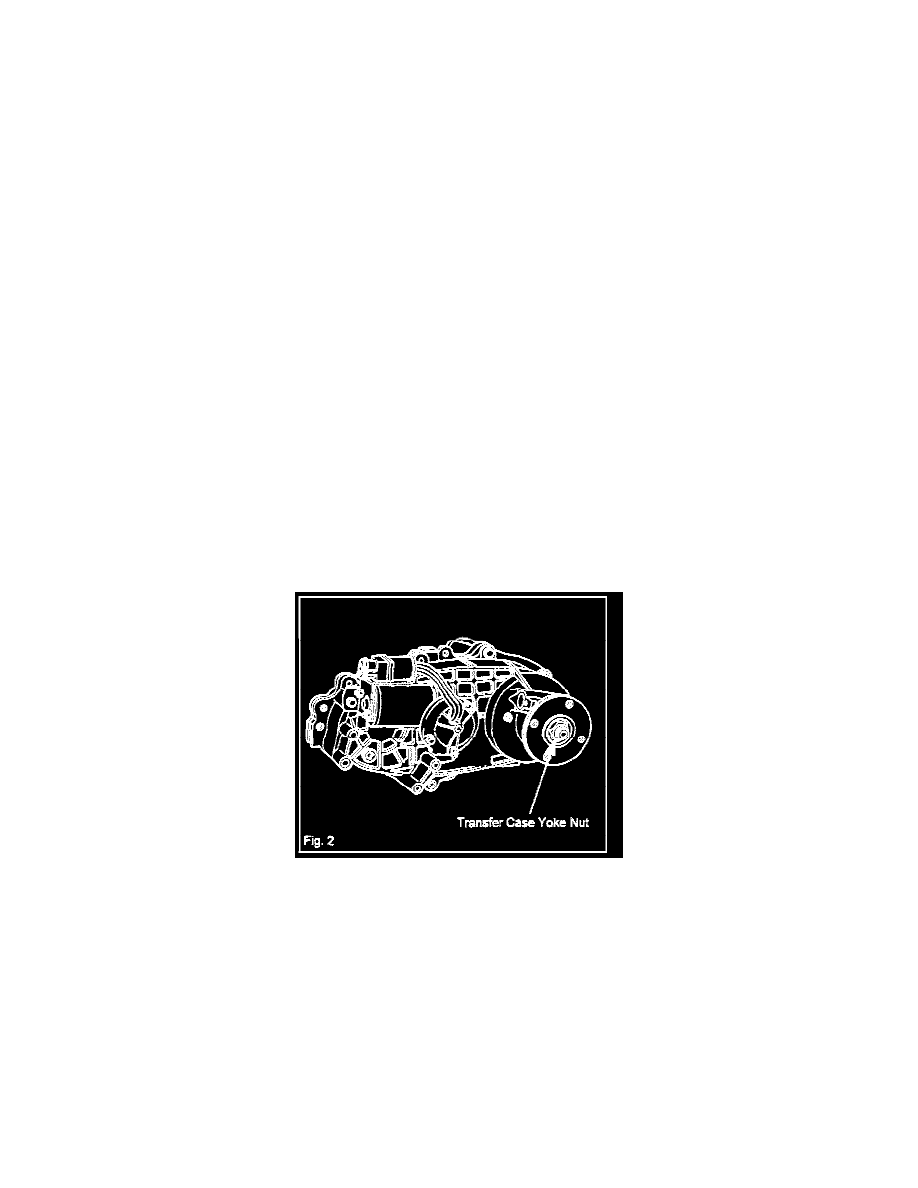
3.
Remove transfer case yoke retaining nut and transfer case yoke. Fig. 2
4.
Clean all oil from splines (male and female) with a suitable solvent
5.
Apply Loctite Quick Metal Retaining Compound to the splines on the transfer case rear yoke.
CAUTION:
Do not apply compound to the transfer case output shaft splines.
6.
Install yoke making sure that the excess compound is squeezed away from the transfer case.
7.
Tighten transfer case yoke nut using special tool (SST 49-5120710 or equivalent) to hold the yoke in place.
Tightening Torque: 339-380 Nm (250 -280 ft-lbs)
8.
Install rear driveshaft assembly.