
B3000 DS Cab Plus 2WD V6-3.0L OHV (2001)
Steering Gear: Service and Repair
Removal and Installation
4x2 Removal
1. Turn the wheel to the straight-ahead position and turn the ignition switch to the OFF position.
2. Remove the front wheel and tire assemblies.
3. Remove the fluid cooler.
4. Remove and discard the cotter pins and nuts at the tie rod ends.
Caution: Do not damage the tie-rod boot when installing the special tool.
Note: Remove the adapter from the ball end of the special tool, Apply a small amount of grease to the tie-rod end stud and the ball of the special
tool.
5. Using the special tool, separate the tie rod ends from the wheel knuckles.
Caution: Do not allow the intermediate shaft to rotate while it is disconnected from the steering gear or damage to the clockspring can result. If
there is evidence that the intermediate shaft has rotated, the clockspring must be removed and recentered.
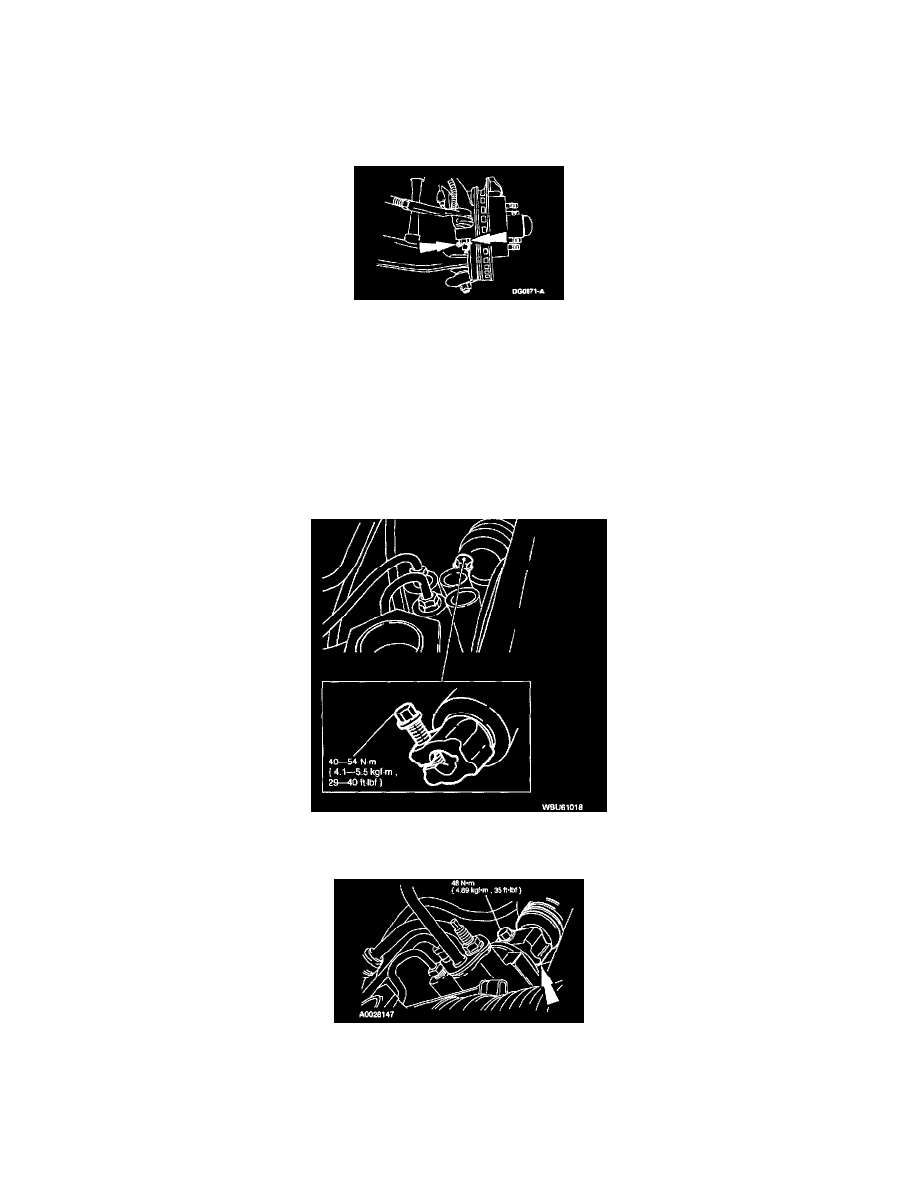
6. Remove the pinch bolt and detach the intermediate shaft from the gear.
1) Discard the bolt.
7. Remove the nut and disconnect the lines.
8. Plug or cap the power steering return hose, power steering pressure hose and the steering gear ports to prevent entry of dirt.
Caution: Hold the tops of the steering gear to crossmember stud bolts to avoid damaging the steering gear fluid transfer tubes.