
B3000 DS Cab Plus 2WD V6-3.0L OHV (2001)
Valve Body: Service and Repair
Removal and Installation
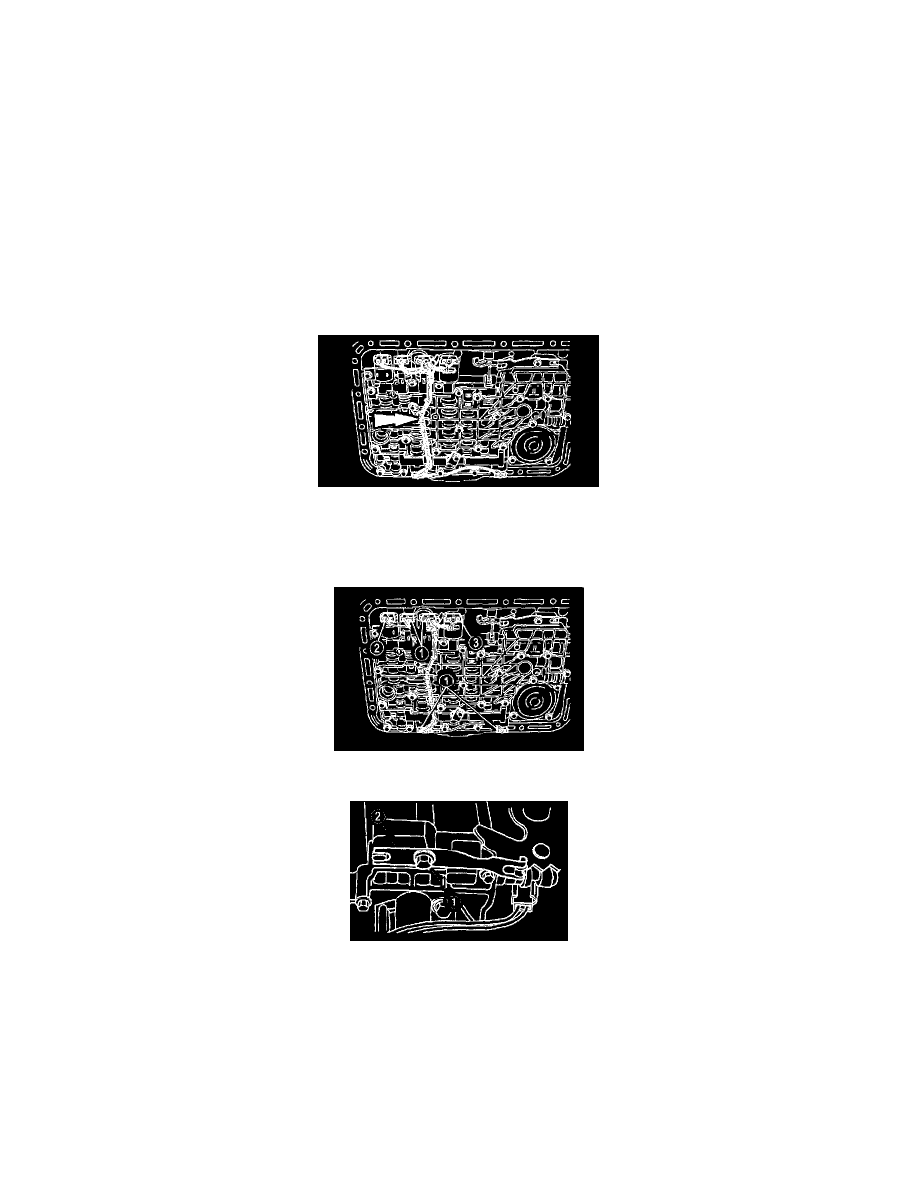
CONTROL VALVE BODY REMOVAL / INSTALLATION
Note: When the battery has been disconnected and reconnected, some abnormal drive symptoms can occur while the vehicle relearns its adaptive
strategy. The customer needs to be notified that they may experience slightly different upshifts either soft or firm and this is a temporary condition and
will eventually return to normal operating condition.
1. Disconnect the negative battery cable.
2. Raise and support the vehicle.
Note: If a transmission has been disassembled to replace worn or damaged parts and the valves in the main control valve body stick repeatedly
from foreign material, the torque converter must be removed and cleaned by using a mechanically agitated cleaner, such as the Torque
Converter/Fluid Cooler Cleaner.
3. Remove the oil pan and oil strainer.
4. Unclip control valve body wire harness.
1. Lift up on wire harness guide and protector and disengage the retaining pins from the solenoid clam.
5. Disconnect the (1) SST, SS2, SS3 and CCS/SS4 electrical connectors.
6. Disconnect the (2) torque converter clutch (TCC) solenoid electrical connector.
7. Disconnect the (3) electronic pressure control (EPC) solenoid electrical connector.
8. Remove the detent bolt (1) and spring (2).