B3000 DS Cab Plus 2WD V6-3.0L OHV (2001)

5. Using Coupling Holder SST 49-S120-710 to hold the companion flange, tighten the pinion nut.
1. Rotate the pinion occasionally to make sure the cone and roller bearings are seating properly.
2. Install an Nm (inch/pound) torque wrench on the pinion nut.
3. Rotating the pinion through several revolutions, take frequent cone and roller bearing torque preload readings until the original recorded
preload readings are obtained.
4. If the original recorded preload is lower than specifications for used bearings, tighten to the appropriate specification. If the preload is higher
than the specification, then tighten the nut to the original reading as recorded.
6. Pinion bearing preload (new pinion bearings)
Tightening torque 1.8 - 3.3 Nm (18.4 - 34 kgf-cm, 16 - 29 inch lbs.)
7. Pinion bearing preload (used pinion bearings)
Tightening torque 0.9 - 1.5 Nm (9.1 - 15.3 kgf-cm, 8 - 14 inch lbs.)
-
If additional adjustments are necessary, Specifications; Mechanical.
8. Position the rear driveshaft and align the marks on the rear axle companion flange.
Caution: The propeller shaft centering socket yoke fits tightly on the rear axle companion flange pilot. Never hammer on the propeller shaft or
any of its components to disconnect the yoke from the flange. Pry only in the area shown with a suitable tool to disconnect the yoke from the
flange.
Caution: If new bolts to retain the propeller shaft to the axle are not available, coat the threads of the original bolts with threadlock.
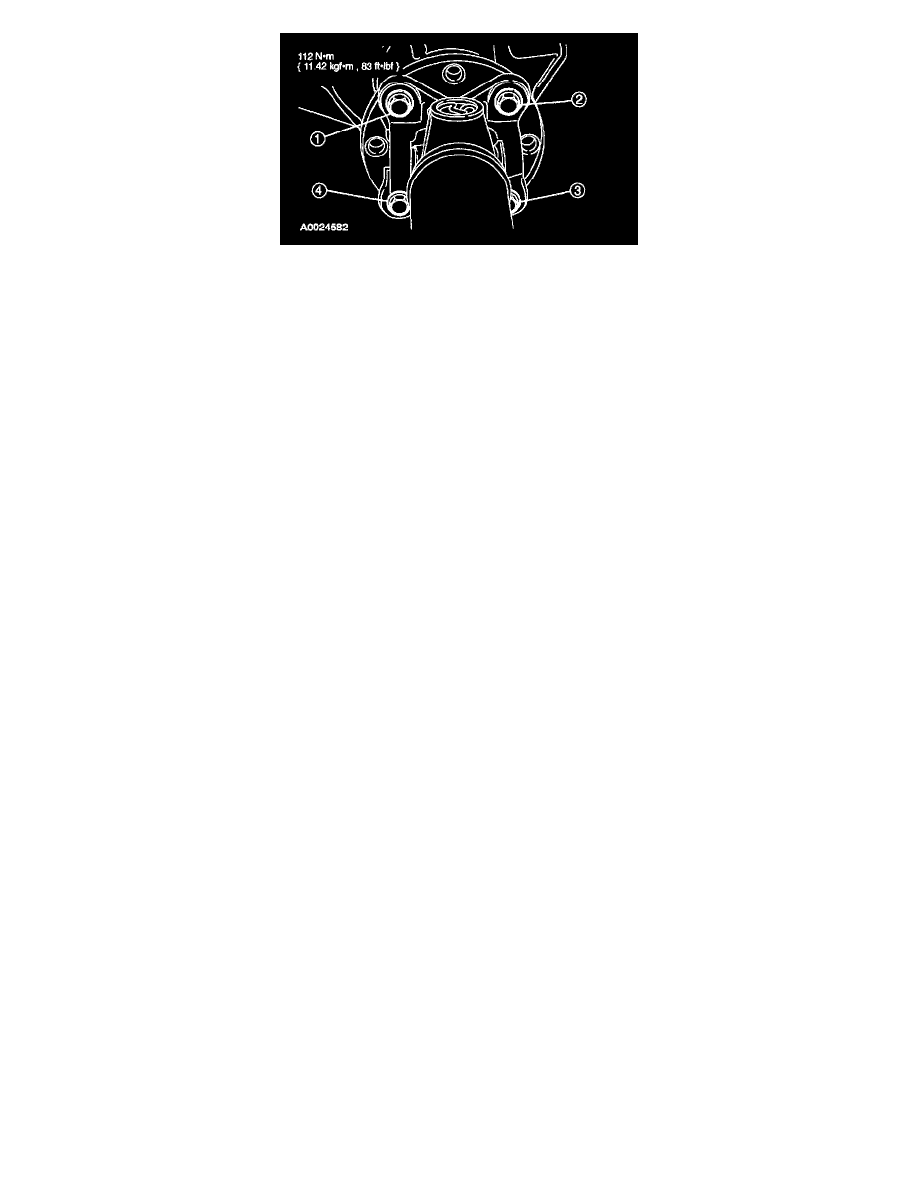
9. Install the four propeller shaft to rear axle companion flange bolts.
10. Install the rear brake drums.
