
B3000 SE Cab Plus 4 4WD V6-3.0L OHV (2000)
3. Remove the rear propeller shaft.
4. Remove the transfer case.
5. Remove the wire harness locations from the extension housing wire bracket.
6. Remove the transmission mount nuts.
7. Raise and support the transmission.
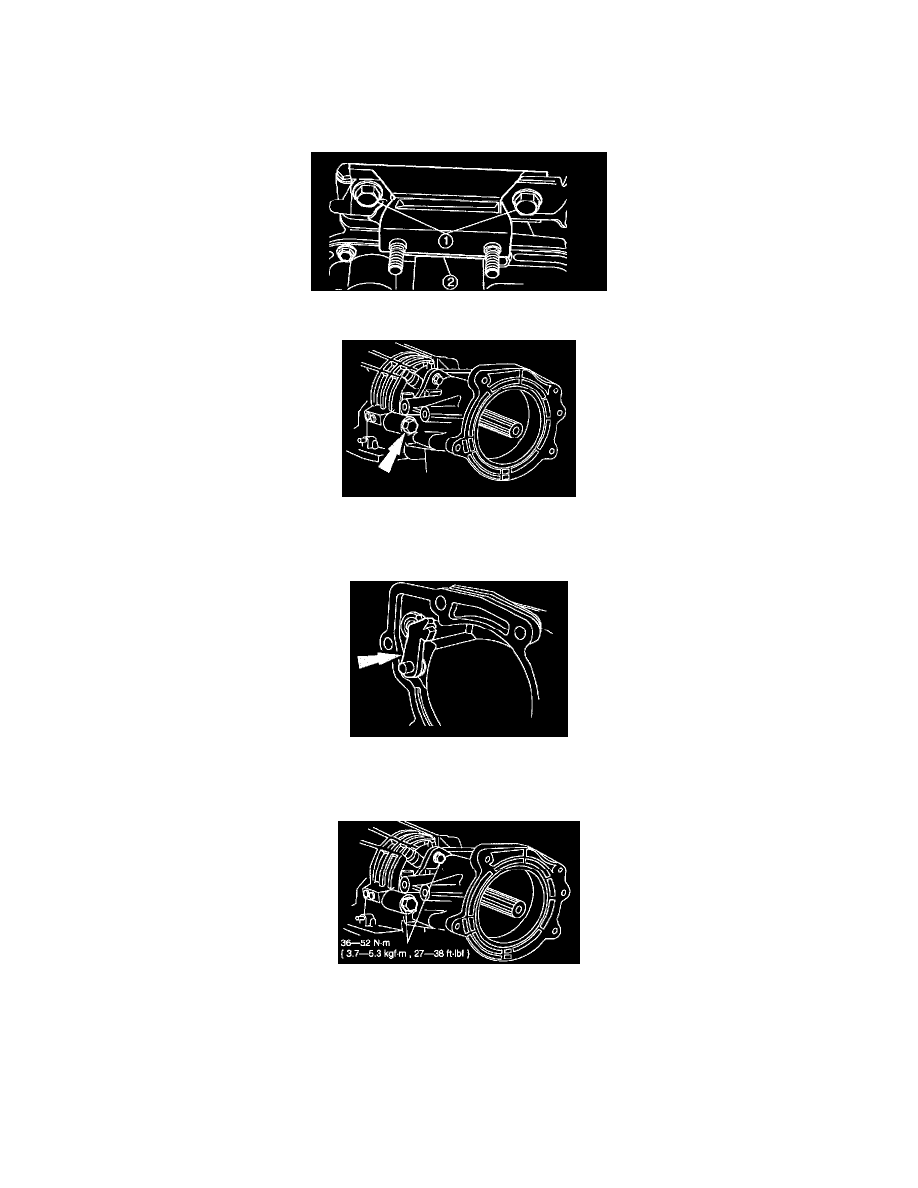
8. Remove the transmission mount-to-extension housing bolts (1).
9. Remove the transmission mount (2).
10. Remove the six extension housing bolts and studs.
Note The parking pawl, parking pawl return spring and parking pawl shaft may fall out during removal of the extension housing.
11. Remove the extension housing. Discard the extension housing
Caution Make sure the parking lever actuating rod is correctly seated into the case parking rod guide cup.
12. Position the extension housing and install the six extension housing bolts and studs.
13. Position the transmission mount on the extension housing and install bolts.
Tightening torque
68 - 95 Nm (6.9 - 9.7 kgf.m, 50 - 70 ft. lbs.)
14. Install the transmission mount into the crossmember and tighten the transmission mount nuts.
Tightening torque
98 - 132 Nm (10 - 13.5 kgf.m, 73 - 97 ft. lbs.)
15. Install the transfer case.
16. Install the rear propeller shaft.
17. Connect the battery ground cable.