
B3000 SE Cab Plus 4 4WD V6-3.0L OHV (2000)
Companion Flange: Service and Repair
Front
COMPANION FLANGE REMOVAL/INSTALLATION
Removal Note
Caution This operation disturbs the differential pinion bearing preload. This preload must be carefully reset when assembling.
1. Raise and support the vehicle.
2. Index mark the front propeller shaft to the companion flange.
Note Do not allow the propeller shaft to hang unsupported.
3. Disconnect the front propeller shaft.
4. Measure the pinion bearing preload.
-
Use a beam-type torque wrench to measure the torque required to maintain rotation of the pinion and record the measurement for reference
during installation.
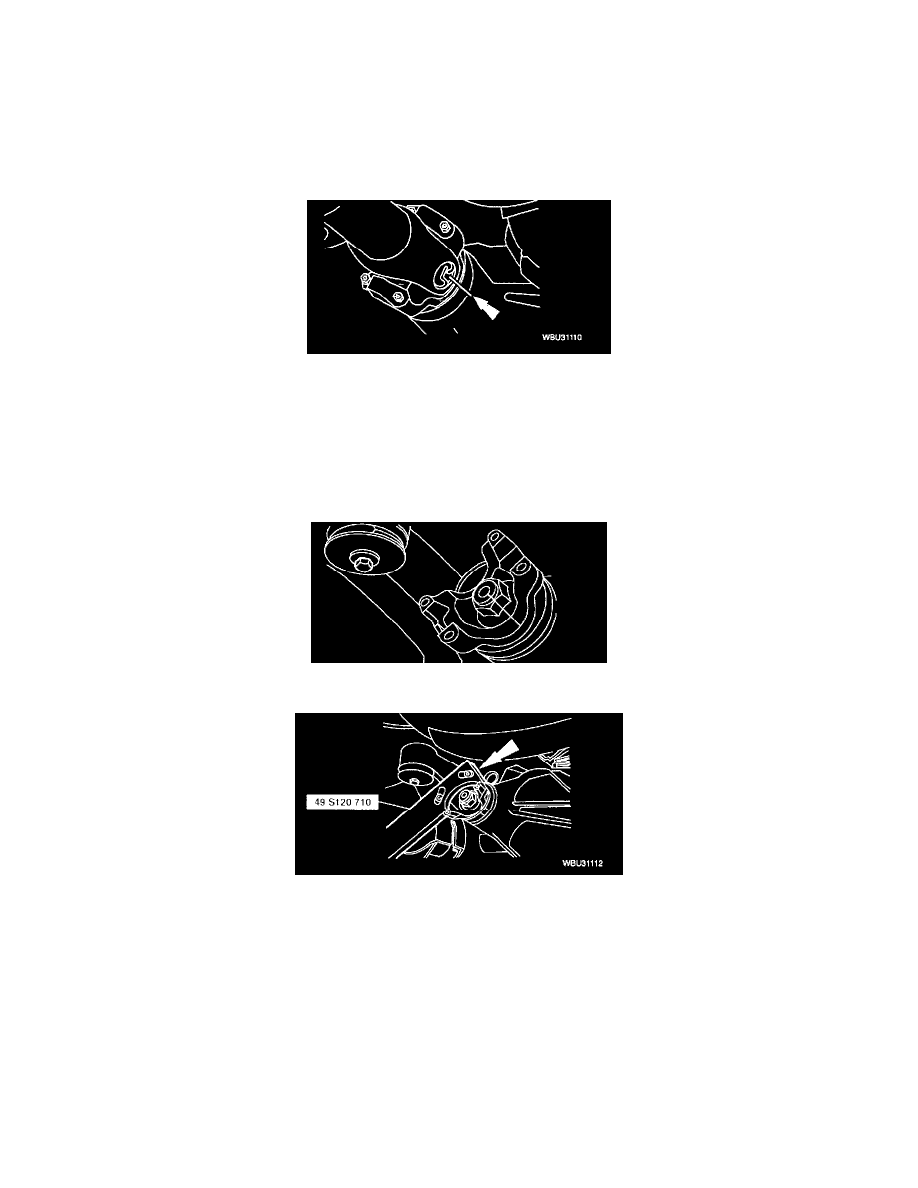
5. Index mark the companion flange to the pinion stem.
6. Use Coupling Holder SST 49 S120 710 and remove the pinion nut.
Caution Before proceeding, place a drain pan under the axle housing.
Note Inspect the companion flange for burrs and replace as necessary. Make sure that the surfaces of the companion flange have not been
damaged during removal. The end of the companion flange that contacts the bearing cone, the nut counterbore, and the seal surface must be
smooth and free of nicks.
7. Use a 2-Jaw Puller to remove the companion flange.
Installation Note
1. Lubricate the companion flange splines.
-
Use axle lubricant meeting specification API Service GL-5.
Caution The companion flange must never be hammered on or installed with power tools.