
B3000 SE Regular Cab 2WD V6-3.0L OHV (2002)
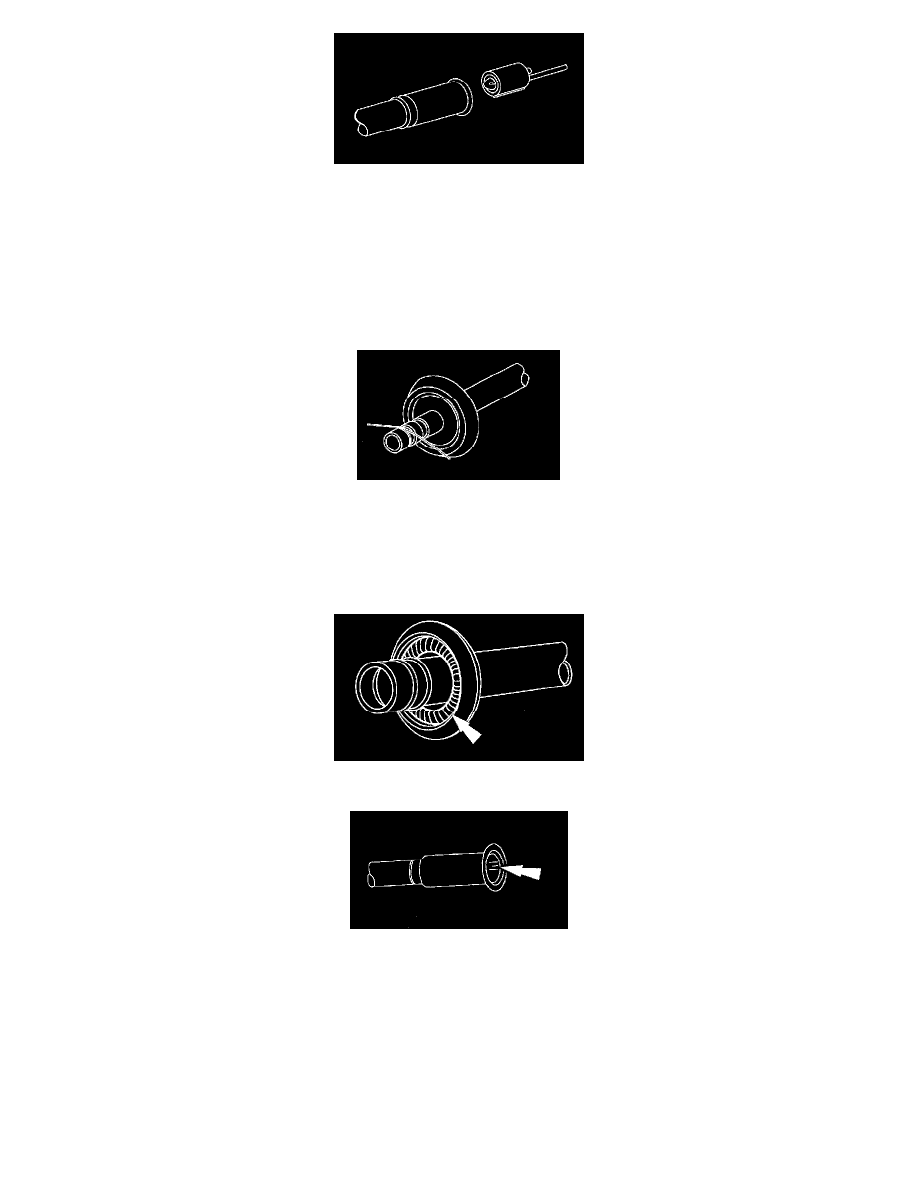
4. Coat the abrasive pad with R134a refrigerant oil.
5. Roll the pad on the tool and install it in a variable speed motor drill.
CAUTION: Maintain low speed drill rotation when inserting or removing the cleaning tool to prevent axial scratches which may cause future
leaks.
6. Polish for 1 minute at moderate speed (less than 1500 rpm) or until the surface is clean and free of scratches or debris.
7. Clean the fitting with a lint-free cloth.
8. Inspect the surface for grooves or scratches. If grooves and scratches are still present, replace the component.
9. Clean the O-ring grooves with a 300 mm (12 inch) length of natural fiber string.
1. Loop the string around the grooves and pull the string back and forth.
10. Remove any debris from the grooves with a lint-free cloth.
Connect
1. Install the A/C tube lock coupling spring.
2. Lubricate the inside of the coupling with refrigerant compressor oil (R-134a systems or equivalent).
CAUTION: Use only new green O-rings. The use of any O-ring seals other than specified may result in intermittent leakage during vehicle
operation.