
B3000 SE Regular Cab 2WD V6-3.0L OHV (2002)
Wiring Harness: Technical Service Bulletins
Electrical - Wiring Harness Repl. Guidelines/Tips
Body and Accessories
09-027/04
2002 B-SERIES, 2005 TRIBUTE - ELECTRICAL -
SERVICE WIRING HARNESS REPLACEMENT
GUIDELINES - SERVICE TIPS
Note:
This bulletin supersedes the following TSB(s): 09-025/03. Please update your records accordingly.
BULLETIN NOTE
This bulletin supersedes 09-025/03 issued 12/1/2003. The APPLICABLE MODEL(S)/VINS and DESCRIPTION have been revised.
APPLICABLE MODEL(S)/VINS
2002 B-Series
2005 Tribute
DESCRIPTION
Replacement harnesses for 2002 B-series Trucks and 2005 Tribute have been consolidated to reduce the number of harnesses and to make service
selection easier. The harness you order may not appear the same as the harness you are replacing, it may have more connectors on it.
There are two types of harness replacement:
1.
REPLACEMENT OF DRY HARNESSES: harnesses that will not get wet, example: dash harness, instrument cluster harness, dome light harness
etc.
2.
REPLACEMENT OF WET HARNESSES: harnesses that may contact water, example: door harness, engine room harness, ABS harness etc.
NOTE:
If you are not certain whether a harness is wet or dry, treat it as if it is wet.
When replacing a harness follow the directions for either wet harnesses or dry harness as appropriate:
NOTE:
When replacing the dash harness (P/N 1F62-67-030) of a 2002 Truck equipped with Automatic Transmission you must re-use the jumper connector
of the clutch pedal position switch. If you do not, the vehicle will not start. If you misplace the jumper connector, order replacement P/N
ZZM0-67-676.
REPLACEMENT OF DRY HARNESSES
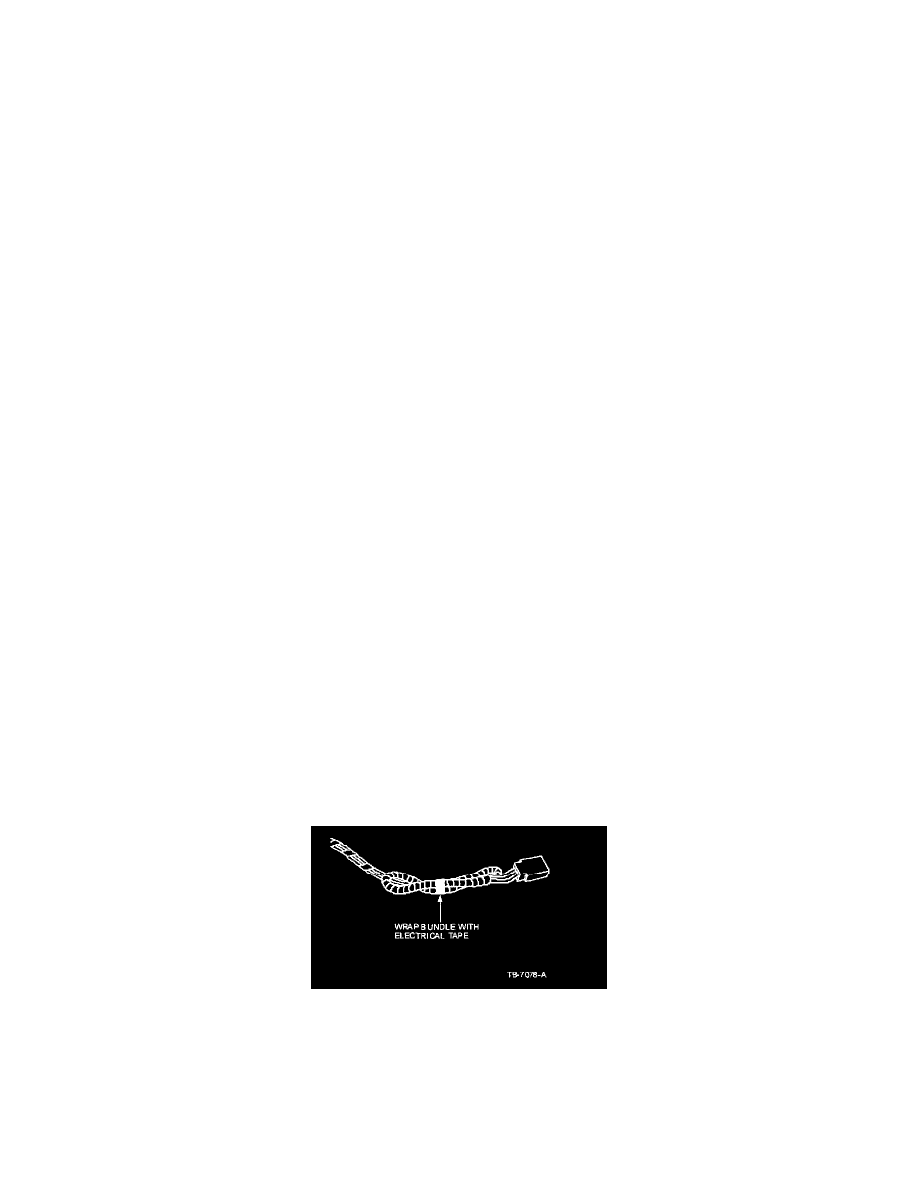
After installing the harness, verily that all related electrical components and circuits function properly. Extra / open connectors should be tucked, folded
and taped out of the way to remove the possibility of rattles or shorts. If space permits, position the connectors so they point downward.
REPLACEMENT OF WET HARNESSES
1.
After installing the harness, verify that all related electrical components and circuits function properly. In following steps you will be asked to cut
wires and connectors off, not the time to discover something was not connected properly.