
B4000 V6-4.0L SOHC (2005)
Rear Fender Liner: Service and Repair
FENDER
Removal and Installation
1. Remove the tailgate.
2. Remove the rear lamp assemblies.
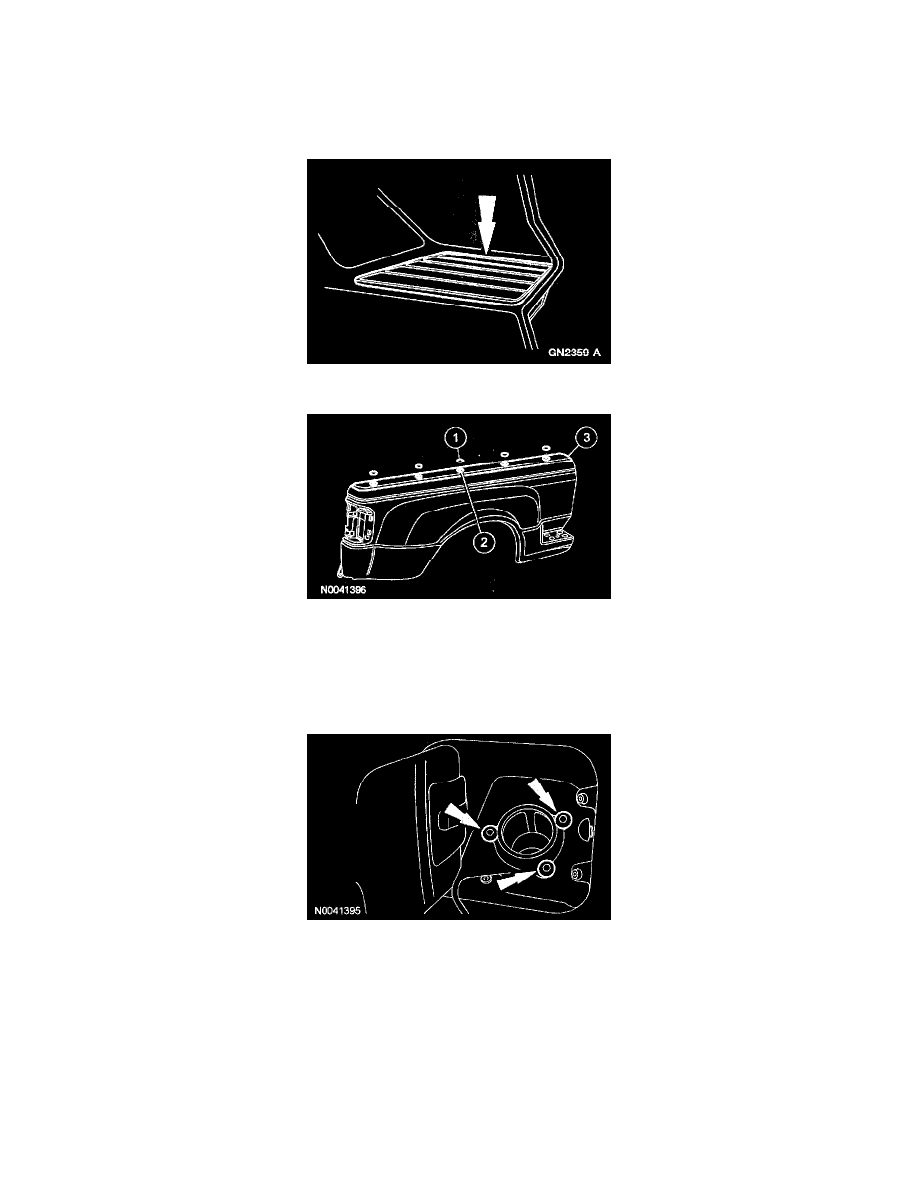
3. Remove the tender step mats.
4. Remove the tender upper mouldings.
1. Remove the moulding plugs.
2. Remove the screws.
-
To install, tighten to 12 N-m (1.2 kgf-m, 9 ft-lbf).
3. Remove the upper mouldings.
NOTE: Mark the position of the fuel filler cap tether for proper installation.
5. Remove the filler neck screws, LH fender only.
6. Remove the rear wheel splash guards, if equipped.
7. Remove the rear fender splash shields.
-
Remove the 5 screws.
-
Remove the 5 push-pins.
-
Remove the rear fender splash shield.
NOTE: The pickup bed bolts are not identical and must be installed in the same location that they are removed from.