
B4000 V6-4.0L SOHC (2005)
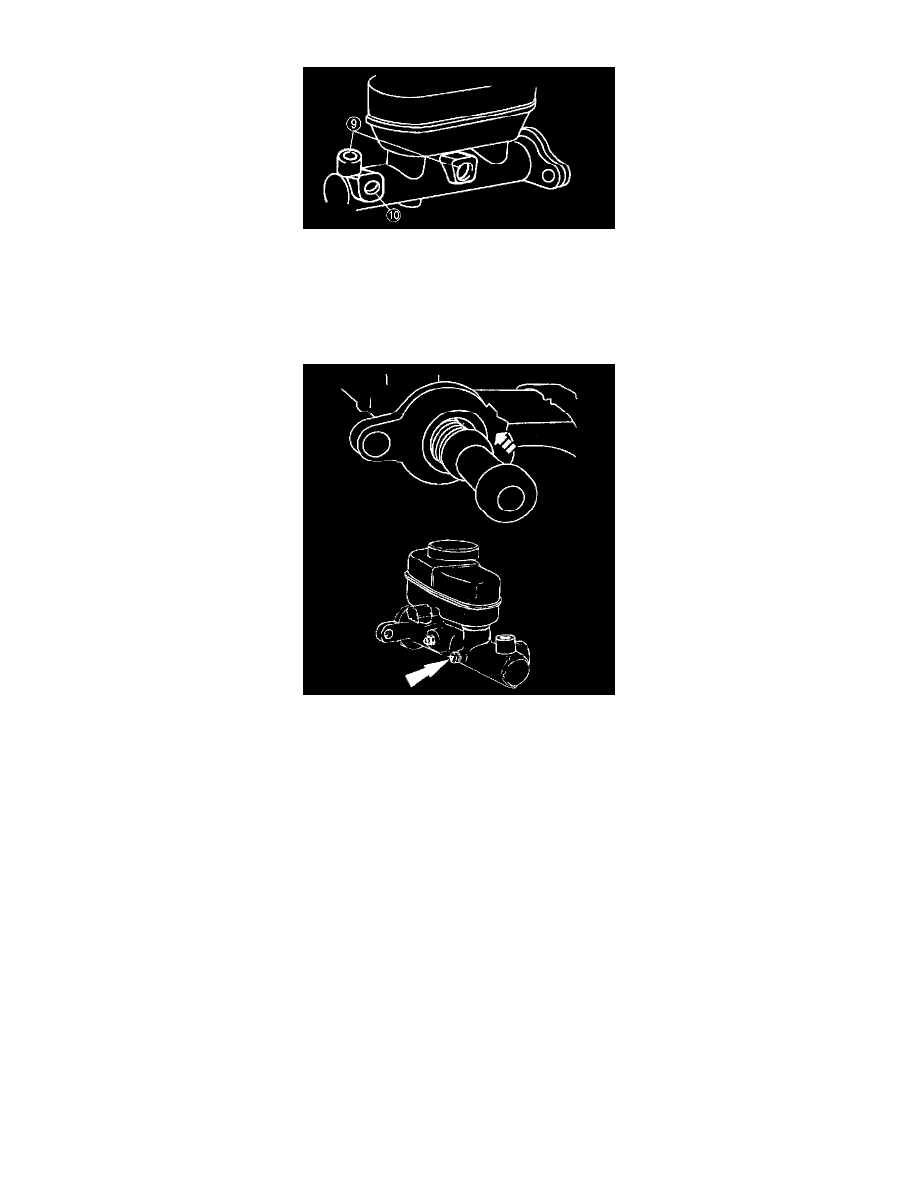
9. Plug the rear brake outlet port and, if necessary, plug the brake pressure switch port.
10. Apply compressed air into the front brake outlet port, and remove the secondary piston assembly and discard.
Note: If the brake master cylinder bore is damaged, the brake master cylinder must be replaced.
11. Use isopropyl alcohol to clean the brake master cylinder bore; inspect for damage.
12. Use appropriate brake fluid to lubricate the new piston assembly seals.
13. Carefully install the secondary piston assembly and stop bolt.
14. Carefully install the primary piston assembly and snap ring.
15. Install the brake pressure control valve.
Tightening torque:
Bolts and Nuts: 13 - 22 Nm (1.3 - 2.2 kgf-m, 10 - 16 ft. lbs.)
16. Fill brake pressure switch with appropriate brake fluid and install on cylinder, if equipped.
Tightening torque:
Bolts and Nuts: 14 - 20 Nm (1.4 - 2.0 kgf-m, 10 - 15 ft. lbs.)
17. Install the brake master cylinder reservoir.
Note: Bleed the brake master cylinder prior to installation.
18. Install the brake master cylinder.
19. Fill the brake master cylinder reservoir and install the brake master cylinder filler cap.
20. Bleed the brake system.