
B4000 SE Cab Plus 4 4WD V6-4.0L OHV (2000)
Seat Belt Height Adjuster: Service and Repair
Repair Height Adjuster With Stripped Weld Nuts
Shoulder Height Adjuster with Stripped Weld Nuts
1. Remove the B-pillar trim panel (2-door only) Refer to BODY AND ACCESSORIES, INTERIOR TRIM.
2. Remove the rear door trim panel (4-door only) Refer to BODY AND ACCESSORIES, INTERIOR TRIM.
3. Drill out damaged threads in the upper pillar structure using a 1/2 inch drill.
NOTE: After each rotation, back off tap slightly to remove new cuttings and be sure to blow out any chips before proceeding.
4. Apply a suitable lubricant to the tap and tap new threads.
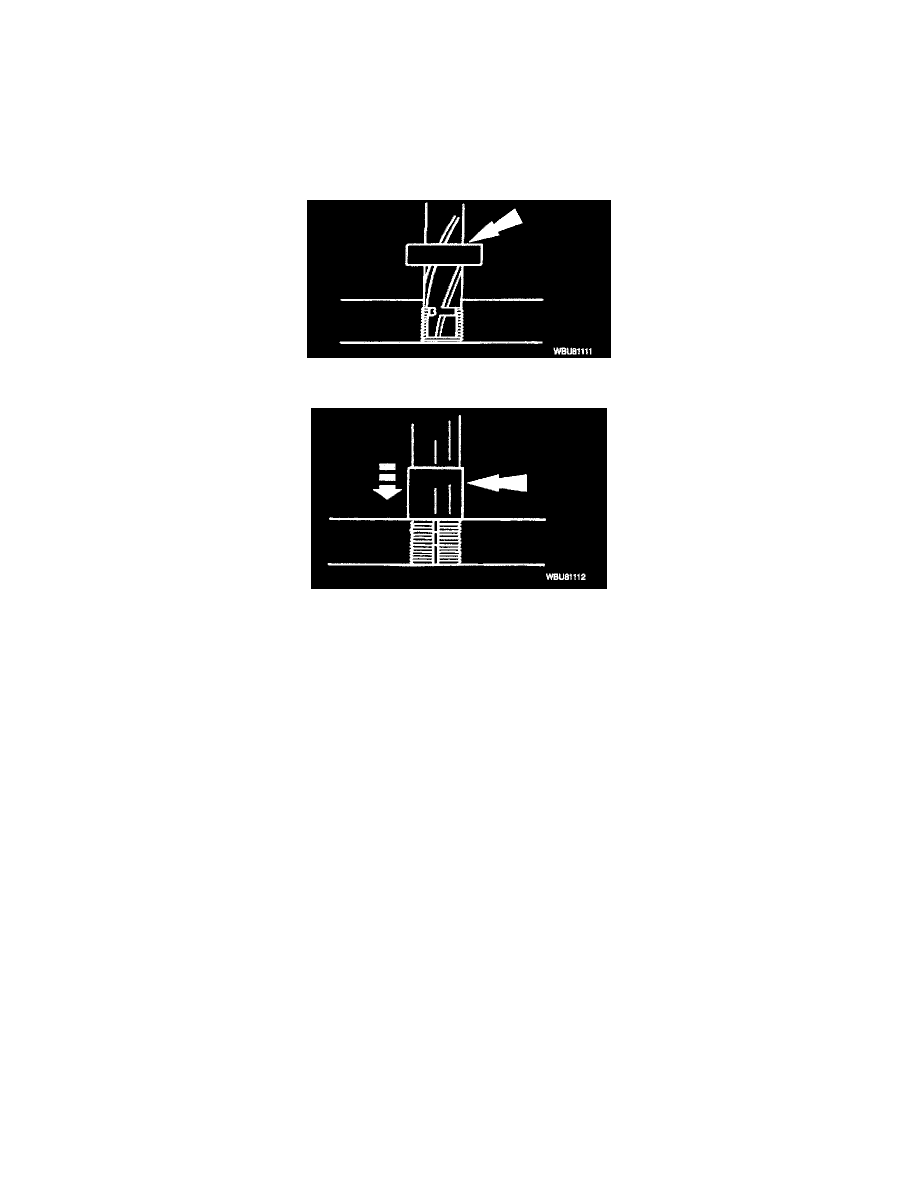
5. Use a threaded insert and screw it into the retapped hole until it is slightly below the surface.
NOTE: If the two bolts on the height adjuster are not stripped, reuse height adjuster. If the bolts are stripped, replace the height adjuster.
6. Use a hammer and lightly tap several times to seat the insert keys.
7. Install the B-pillar trim panel (2-door only) Refer to BODY AND ACCESSORIES, INTERIOR TRIM.
8. Install rear door trim panel (4-door only) Refer to BODY AND ACCESSORIES, INTERIOR TRIM.
9. Check height adjuster for proper operation.