
B4000 SE Cab Plus 4 4WD V6-4.0L SOHC (2001)
Note:
-
If the drive pinion is marked with a plus (+) reading, this amount must be added to the thickness dimension.
If the drive pinion is marked with a minus (-) reading, this amount must be added to the thickness dimension.
The rear bearing must be the exact same as the one used in the previous steps.
16. Measure the oil slinger/selective shim with a micrometer to verify the oil slinger/selective shim thickness.
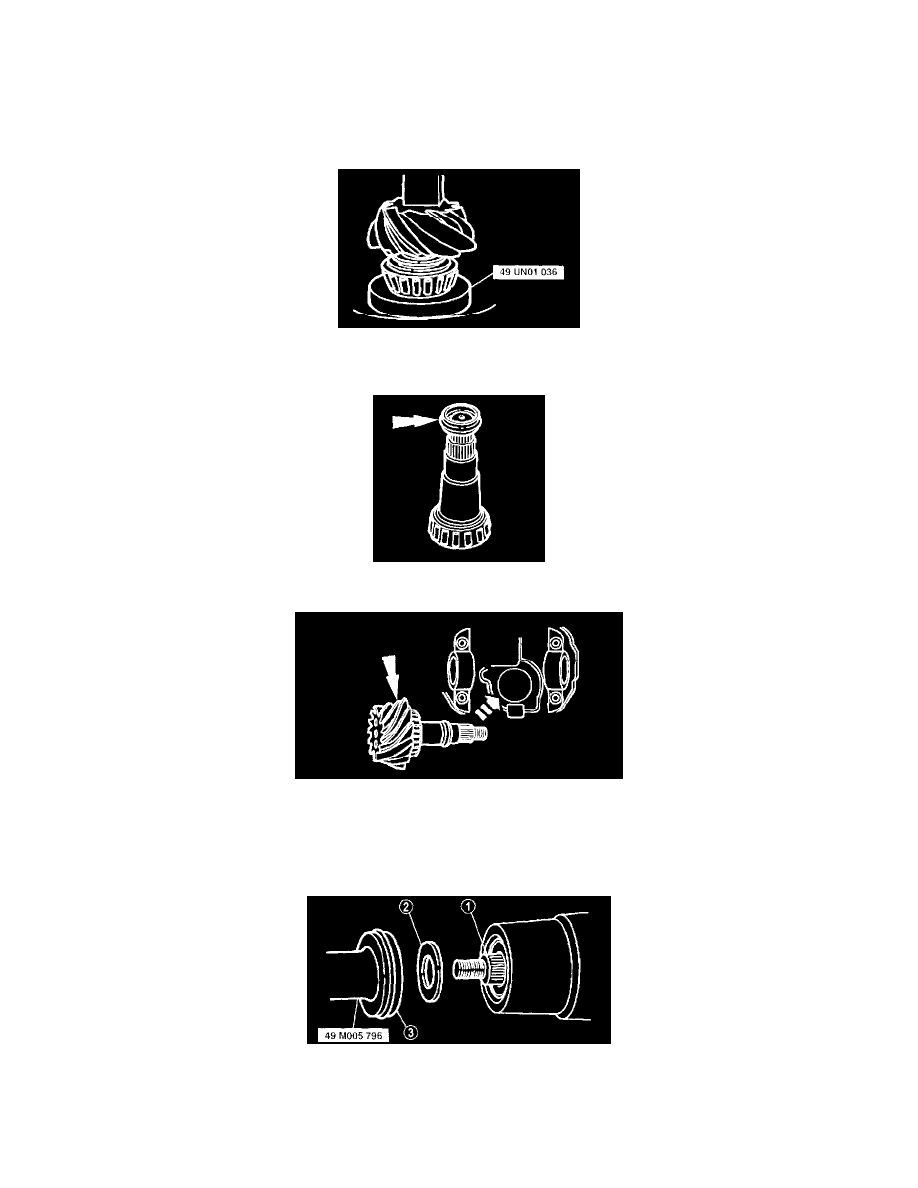
17. Use a press and Pinion Bearing Cone Replacer SST 49 UN01 036 to press the pinion bearing until it is firmly seated on the pinion and pinion
shim.
18. Place a new drive pinion collapsible spacer on the pinion shaft against the pinion stem shoulder.
19. From inside the rear axle housing, install the drive pinion assembly (drive pinion, shims, rear bearing cone and roller, and drive pinion collapsible
spacer) into the rear axle housing bore.
Caution: Installation without the correct tool can result in early seal failure. If the rear axle drive pinion seal becomes cocked during installation,
remove it and install a new one.
20. Install a new rear axle drive pinion seal.
1. Install the front pinion bearing cone and roller.
2. Install the rear axle drive pinion shaft oil slinger in the rear axle housing.
3. Install the rear axle drive pinion seal on Pinion Seal Replacer SST 49 M005 796.