B4000 SE Cab Plus 4WD V6-4.0L OHV (1997)

^
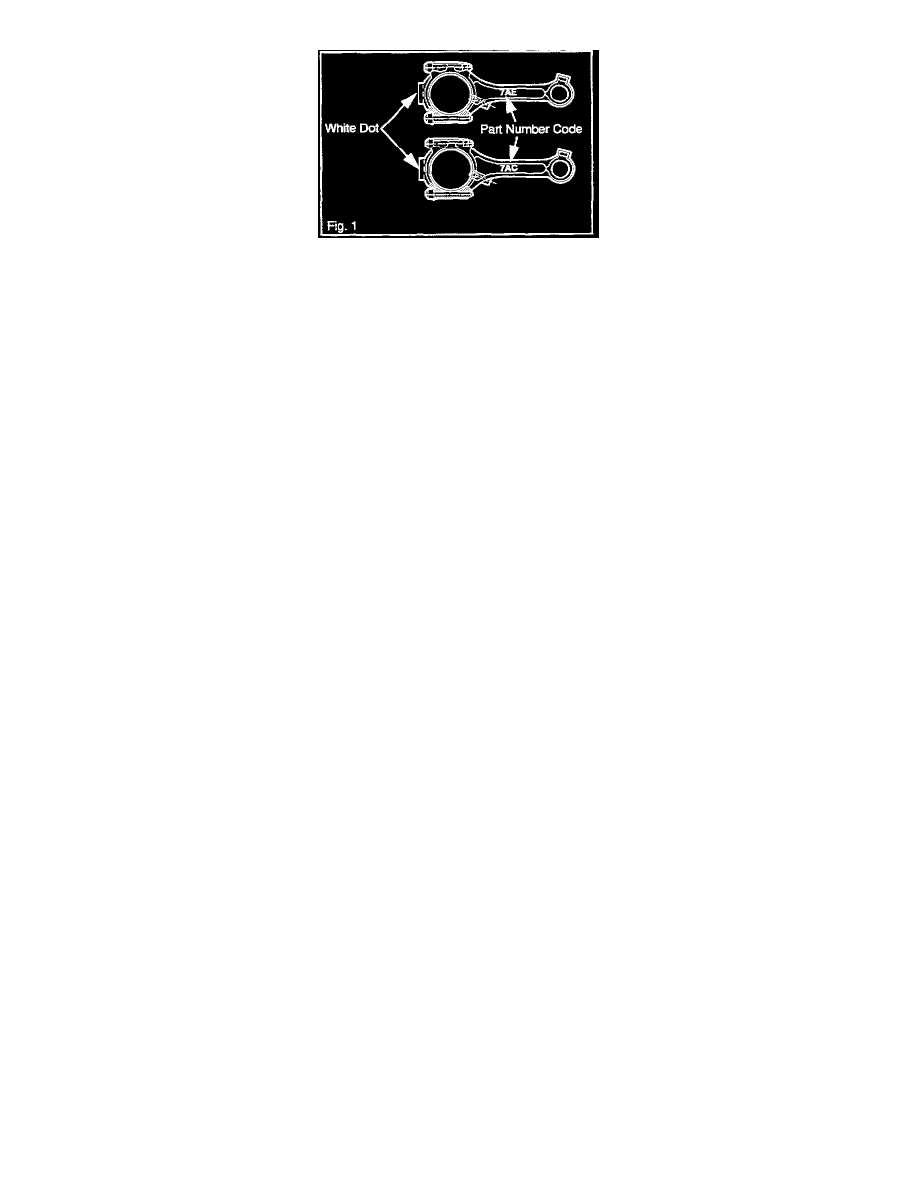
Connecting rods identified by the part number code "7AE" or 7AC" stamped on the rod beam. These connecting rods also have a white dot on
the connecting rod cap for identification. Fig. 1
CAUTION:
^
DO NOT USE NUTS AND BOLTS FROM PREVIOUS NON-TTY ASSEMBLIES.
^
THE TORQUING METHOD USED ON TTY ASSEMBLIES ELONGATES THE BOLT. THESE BOLTS CAN NOT BE REUSED.
TTY CONNECTING ROD ASSEMBLIES TIGHTENING TORQUE METHOD
Engines with Connecting Rods That Have Loosened Connecting Rod Nuts
1.
Set the crankcase in a vertical position.
2.
Turn the crankshaft until the affected connecting rod is at bottom dead center (BDC).
NOTE:
Remove connecting rod nuts on pistons 1, 2 and 3 at the oil squirt hole side first. Remove the opposite side first for pistons 4, 5 and 6.
3.
Loosen connecting rod nuts (finger tight against the face of the cap).
4.
Loosen the first connecting rod nut until the face of the nut is approximately 2 mm over the end of the bolt.
5.
Tap the connecting rod bolt on the nut with a copper hammer until the bolt can be removed by hand. Remove nut and bolt by hand or with needle
nose pliers.
6.
Apply clean engine oil to the threads of the connecting rod bolt and seat faces.
7.
Insert the new connecting rod bolt until the bolt head seats flush with the broached surface of the connecting rod.
8.
Install new connecting rod nut.
9.
Tighten the connecting rod nut until the bolt head contacts the connecting rod surface.
NOTE:
Torque must not exceed 20Nm (15 ft-lbs) to seat the bolt.
10.
Remove and exchange the second connecting rod bolt following steps 3-9.
11.
Tighten connecting rod nuts alternately to a torque of 20 +/- 2 Nm (15 +/- 1.5 ft-lbs).
12.
Tighten nuts an additional 90 degrees +/- 5 degrees.
Connecting Rod Removed From Engine - Plastigage Bearing Clearance Performed On Reassembly
1.
Install the piston, piston pin and connecting rod assemblies into the engine with the old nuts and bolts. Refer to page 63-53 of the workshop
manual.
2.
Perform plastigage bearing clearance check. Refer to page B3-53 and B3-54 of the workshop manual.
3.
Tighten nuts to 25 - 32 Nm (18-24 ft-lbs.)
4.
Replace connecting rod nuts and bolts using the methods shown in steps 3 - 12.
