
B4000 SE Cab Plus 4WD V6-4.0L OHV (1997)
Adjusting Nut (6)
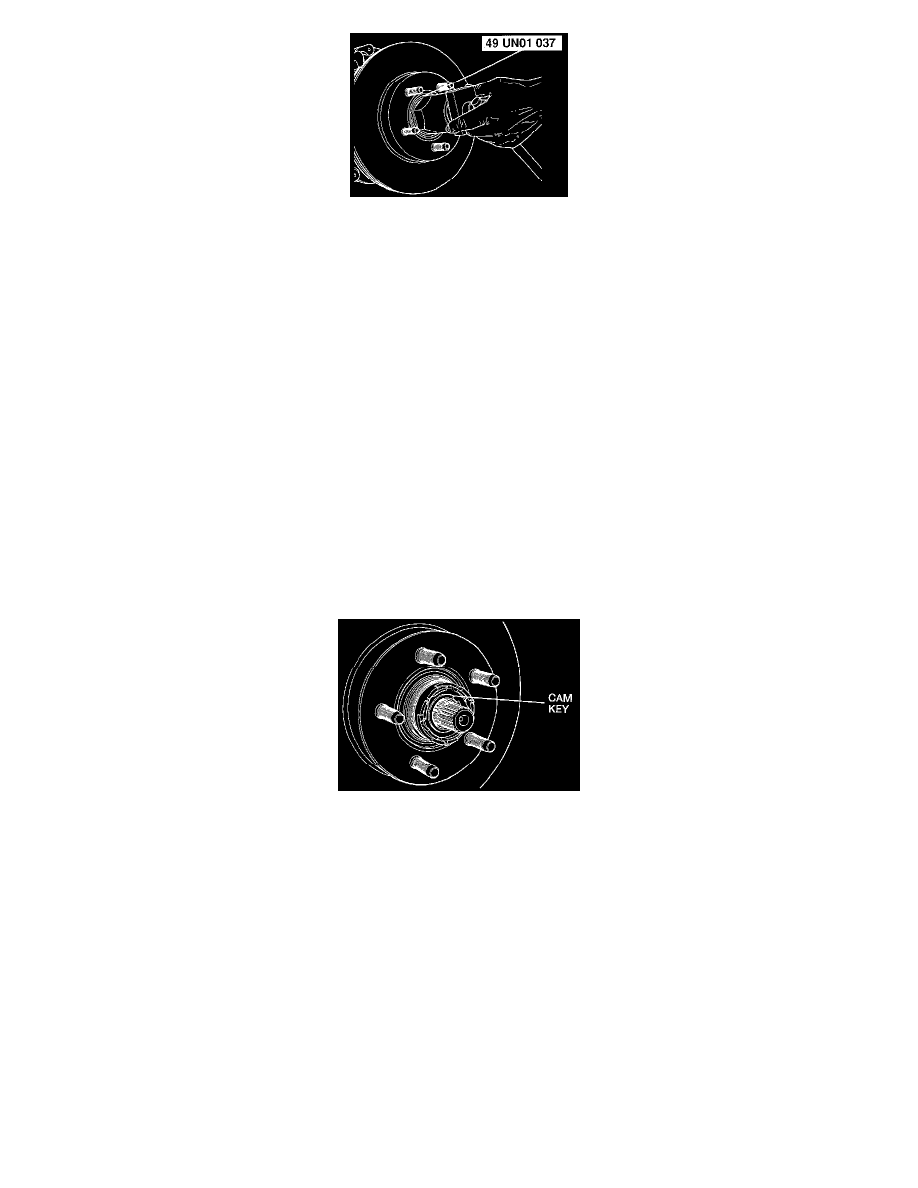
1. Loosen the adjusting nut using the Special Service Tool (SST).
2. Rotate the disc plate counterclockwise while tightening the adjusting nut to 47 Nm (35 ft. lbs.) using the SST.
NOTE: SST number: 49 UN01 037 Hex Locknut Wrench
3. Spin the disc plate and loosen the adjusting nut one quarter turn (90') using the SST.
NOTE: SST number: 49 UN01 037 Hex Locknut Wrench
4. Tighten the adjusting nut to 1.8 Nm (16 inch lbs.) using the SST.
NOTE: SST number: 49 UN01 037 Hex Locknut Wrench
5. Check the wheel bearing play. Wheel bearing play should be within 0.00 - 0.08 mm (0.00 - 0.003 inch).
6. Attach a pull scale to a wheel lug bolt. and measure the frictional force. Frictional force should be 2.8 Nm (25 inch lbs.).
Locking Key (5)
-
Install the locking key.
WARNING: The wheel and tire assembly may come off if the locking key is damaged.
NOTE: Align the closest lug in the adjusting nut with the center of the knuckle key slot.
Cam Assembly (4)
-
Install the cam assembly.
CAUTION: Use extreme care when installing the cam key in the knuckle key slot.
NOTE: Align the cam key on the cam assembly with the knuckle key slot.