
B4000 SE Cab Plus 4WD V6-4.0L OHV (1997)
Inner Locknut (6)
-
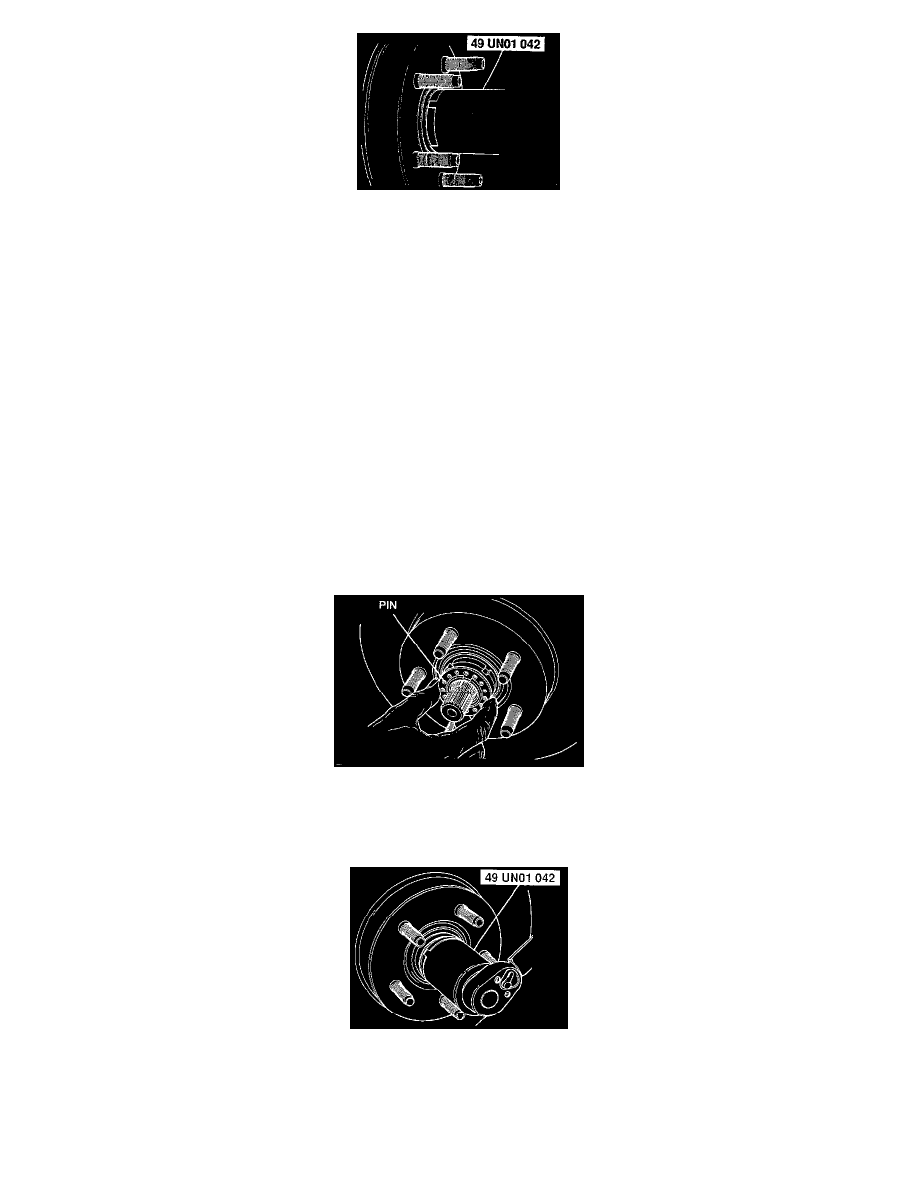
Loosen the inner locknut with the SST.
INSTALLATION
Install in the reverse order of removal, referring to the following notes:
Inner Locknut (6)
1. Install the inner locknut using the SST.
NOTE: SST number: 49 UN01 042 Hub Locknut Wrench
2. Rotate the disc plate counterclockwise while tightening the inner locknut to 47 Nm (35 ft. lbs.) using the SST.
NOTE: SST number: 49 UN01 042 Hub Locknut Wrench
3. Spin the disc plate and loosen the inner locknut one quarter turn (90—) using the SST.
NOTE: SST number: 49 UN01 042 Hub Locknut Wrench
4. Tighten the inner locknut to 1.8 Nm (16 inch lbs.) using the SST.
NOTE: SST number: 49 UN01 042 Hub Locknut Wrench
Washer (5)
Install the washer.
NOTE: Tighten the inner locknut slightly to align the locknut pin with the washer hole.
Outer Locknut (4)
1. Tighten the outer locknut to 203 Nm (150 ft. lbs.) with the SST.
2. Check the wheel bearing play. Wheel bearing play should be within 0.00 - 0.08 mm (0.00 - 0.003 inch).
3. Attach a pull scale to a wheel lug bolt, and measure the frictional force. Frictional force should be 2.8 Nm (25 inch lbs.).