
B4000 SE Regular Cab 4WD V6-4.0L OHV (1999)
Brake Master Cylinder: Service and Repair
Master Cylinder, Brakes
Replacement
REMOVAL / INSTALLATION
1. Disconnect the brake fluid level switch connector X-137.
2. Disconnect brake pressure switch connector N-138, if equipped.
3. Disconnect the two brake lines and plug the lines and the brake master cylinder ports.
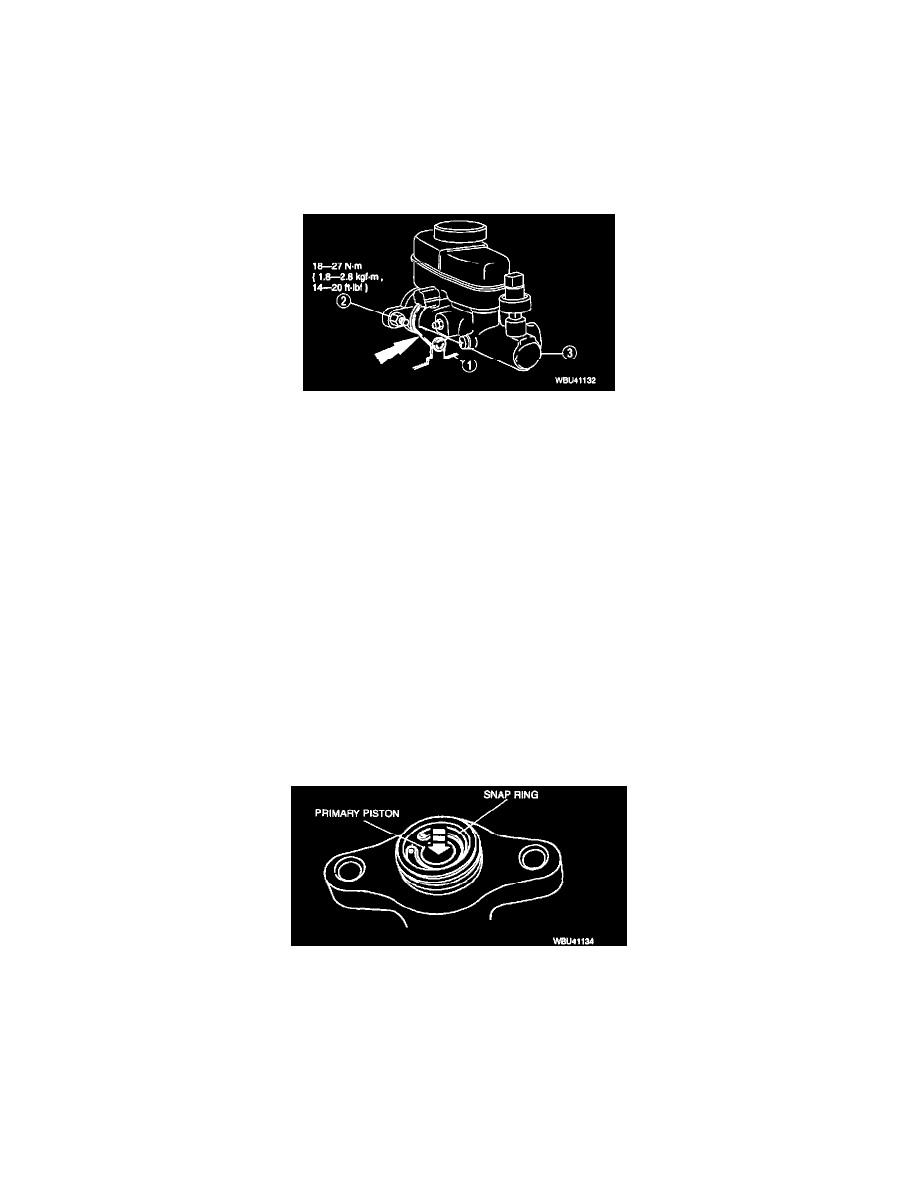
4. Remove in order shown in figure.
1) Clip
2) Nuts
3) Master Cylinder
Note: Before installation, bleed the master cylinder.
5. Install in reverse order of removal.
Tightening torque:
Brake lines: 15-20 Nm (1.53-2.04 kgf-m, 12-14 ft. lbs.)
6. Bleed brake system.
Overhaul
DISASSEMBLY/ASSEMBLY
1. Remove the master cylinder.
2. Clean the outside of the brake master cylinder.
3. Remove the brake master cylinder filler cap and drain the remaining brake fluid.
4. On cruise control equipped vehicles, remove the brake pressure switch.
5. Remove the brake master cylinder reservoir.
6. Depress the primary piston, remove the snap ring and remove and discard the primary piston assembly.