
B4000 SE Regular Cab 4WD V6-4.0L OHV (1999)
Clutch Slave Cylinder: Service and Repair
Removal and Installation
Clutch Release Cylinder Removal/Installation
1. Remove the transmission.
Note: Inspect the clutch housing for traces of fluid. If fluid is visible, replace the release cylinder.
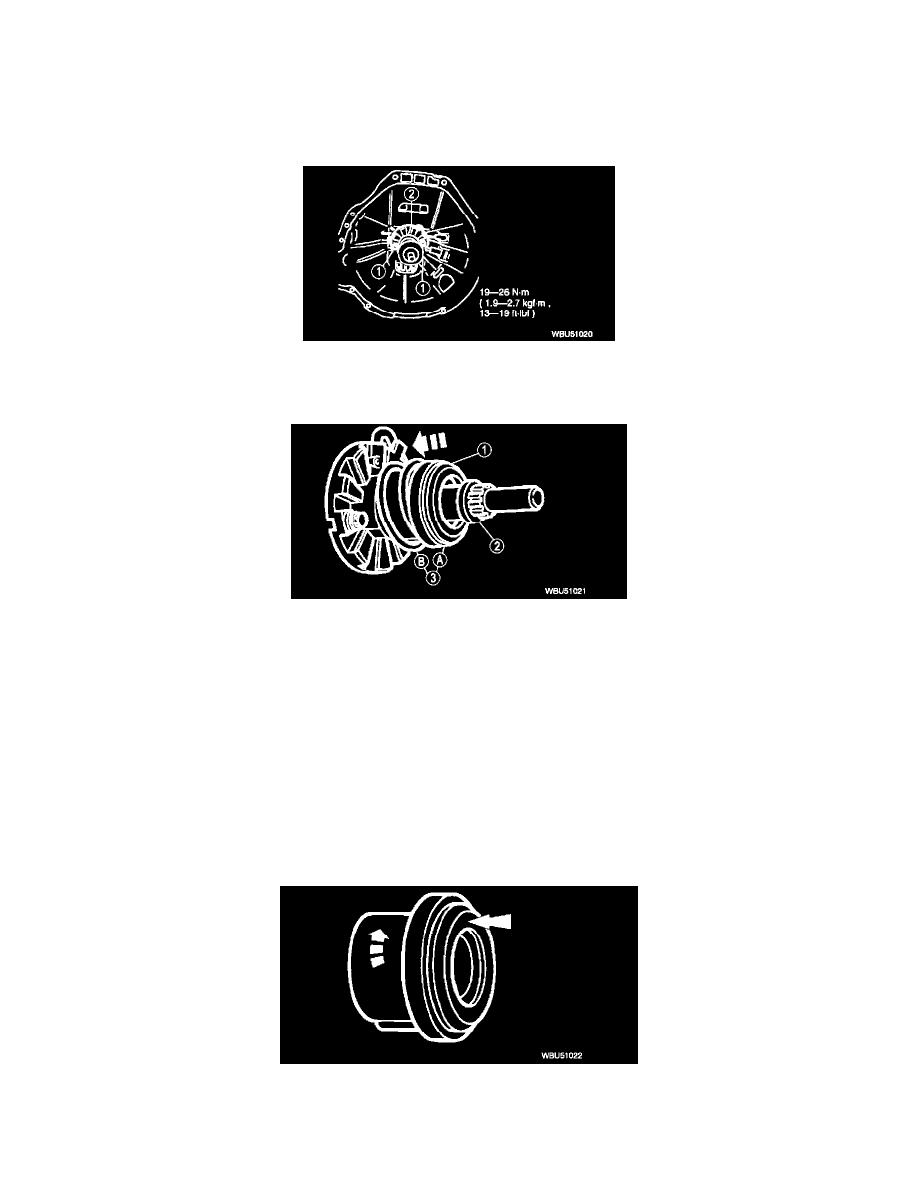
2. Remove clutch slave cylinder.
1) Remove the bolts.
2) Remove the clutch slave cylinder.
3. Remove the clutch release hub and bearing.
1) Push clutch release hub and bearing against the spring.
2) Remove retainer ring.
3) Remove the (A) clutch release hub and bearing and (B) spring.
4. Clean the clutch slave cylinder.
5. Inspect the clutch slave cylinder for the following:
^
Weak spring
^
Worn or damaged piston
^
Worn or damaged boot
^
Leaking fluid
Caution: The clutch release hub and bearing is prelubricated and should not be cleaned with solvent. The clutch release hub and bearing are
replaced as an assembly. Do not disassemble for inspection or replacement.
6. Wipe oil and dirt off the clutch release hub and bearing.
7. Inspect the clutch release hub and bearing as follows:
1) Rotate outer race while applying pressure. If bearing rotation is rough, replace clutch release hub and bearing.
2) Inspect for any surface scoring or burrs that may impede the sliding motion of the clutch release hub and bearing. Any scoring or burrs should
be polished off with a fine grade of emery paper.