B Series Truck 2WD L4-2184cc 2.2L 2200 2-bbl (1990)

Canister Purge Control Valve: Testing and Inspection
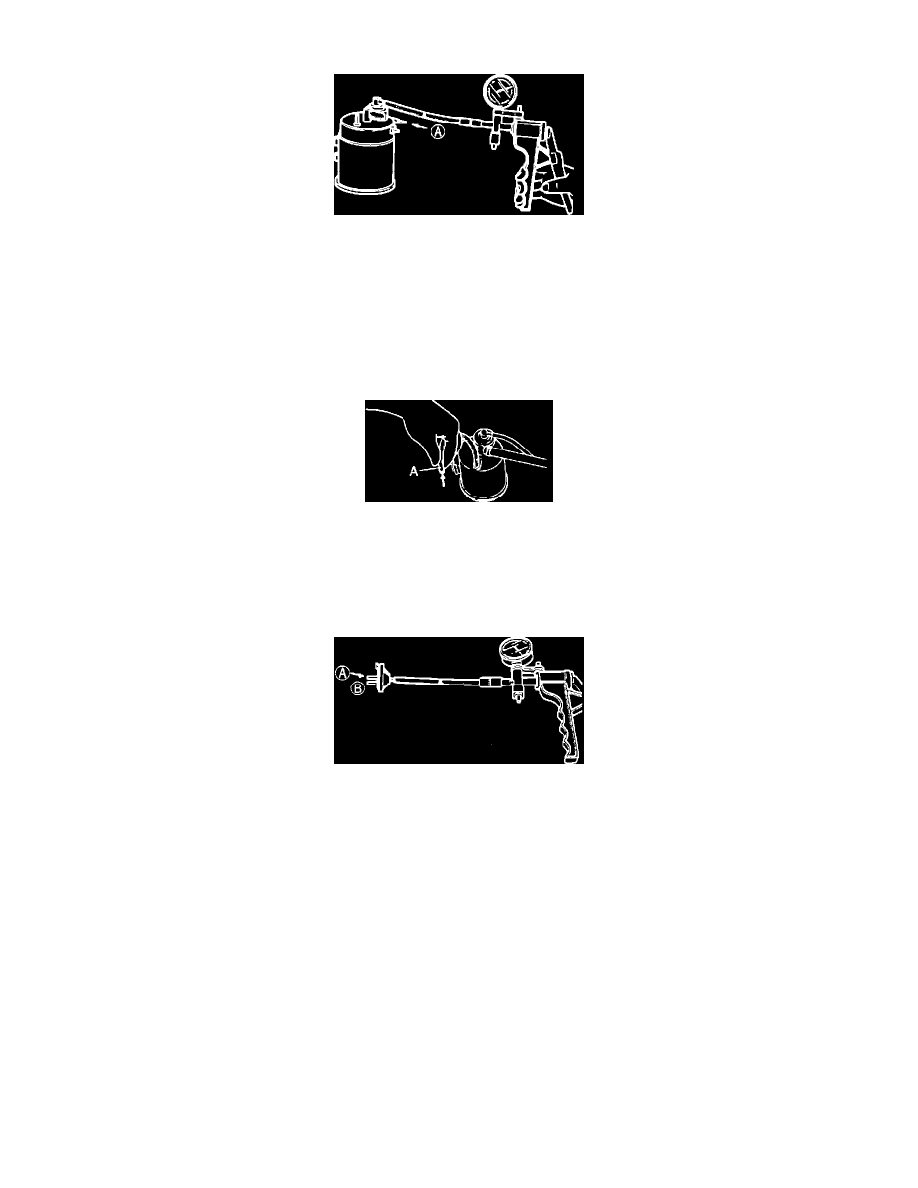
Checking Purge Control Valve
NO. 1 PURGE CONTROL VALVE
1.
Blow through the purge control valve from port "A", and verify that air does not flow.
2.
Connect a vacuum pump to the purge control valve.
3.
Apply 110 mmHg (4.33 in.Hg) vacuum.
4.
Blow through port "A" and verify that air flows.
Checking Purge Control Valve
NO. 2 PURGE CONTROL VALVE
1.
Disconnect vacuum hose "B" from the evaporation pipe.
2.
Blow into the hose and verify that air flows freely.
Vacuum Switching Valve Port Identification
NO. 3 PURGE CONTROL
1.
Remove the No. 3 purge control valve.
2.
Connect a vacuum pump to the valve as shown.
3.
Blow through the valve from port "A", and verify that air comes out of port "B" when 66-106 mmHg (2.60-4.17 in.Hg) of vacuum is applied.
4.
If it does not, replace the No. 3 purge control valve.
