
B Series Truck 4WD L4-2606cc 2.6L SOHC (1992)
Control Arm: Service and Repair
Lower Arm
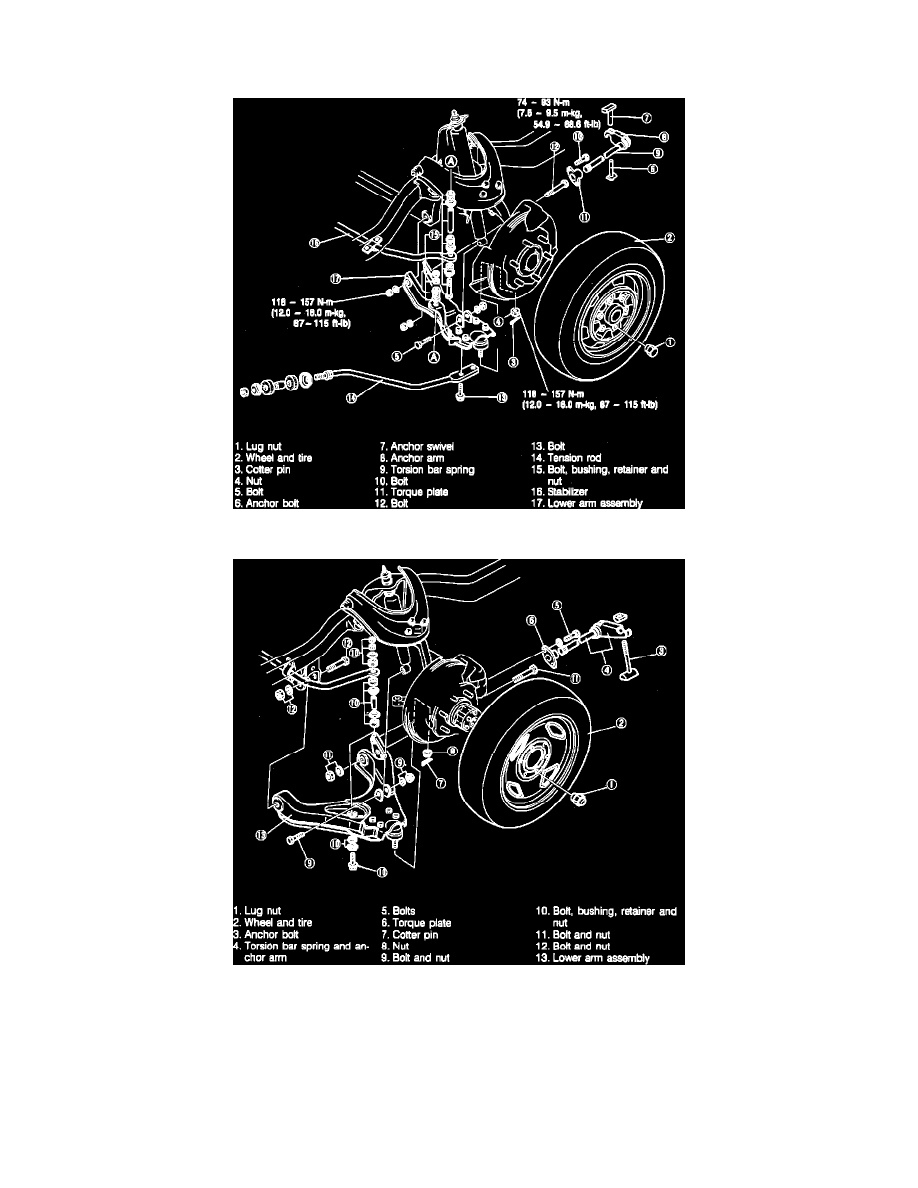
Fig. 3 Torsion Bar Spring & Lower Control Arm. W/2WD
Fig. 4 Torsion Bar Spring & Lower Control Arm. B2600i W/4WD
Refer to Figs. 3 and 4 for torsion bar spring and lower control arm exploded view. When replacing assembly, note the following:
1.
Paint or scribe alignment marks on the threads of the anchor arm for reference during installation, then remove anchor bolt.
2.
Place alignment marks on torsion bar spring and anchor arm and on the torsion bar spring and torque plate. Remove torsion bar spring.
3.
Using tool 490727575 or equivalent, separate ball joint from knuckle arm.
4.
Using tool 49UB39615 or equivalent, separate lower arm from front suspension bracket bushing.
5.
Install stabilizer bar control link nut so that end of bolt projects .55 inch from edge of locknut.
6.
Adjust vehicle height as follows:
a. With vehicle on level surface ensure tire pressure is satisfactory, then measure distance from center of wheel to fender brim.