
CX-7 AWD L4-2.3L Turbo (2008)
Trunk / Liftgate Interior Trim Panel: Service and Repair
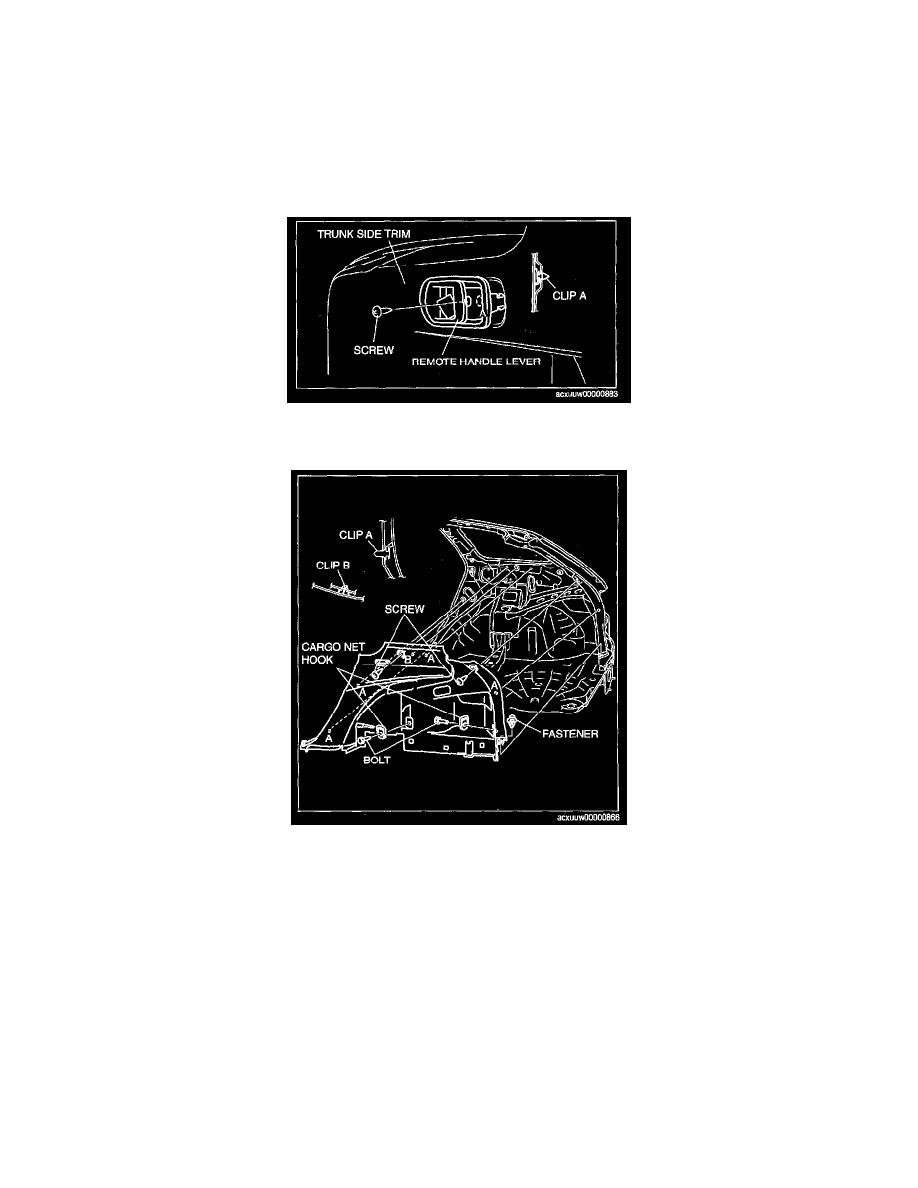
Trunk Side Trim Removal/Installation
TRUNK SIDE TRIM REMOVAL/INSTALLATION
1. Remove the following parts:
1. Rear seat
2. Rear scuff plate inner.
3. Sub trunk box
4. Trunk end trim
2. Remove the screw.
3. Pull the remote handle lever outward and detach clip A.
4. Remove the screws and the fastener.
5. Remove the bolt, then remove the cargo net hook.
8. Pull the trunk side trim outward and detach clips A and B.
7. Remove the trunk side trim.
8. Install in the reverse order of removal.