
CX-7 AWD L4-2.3L Turbo (2008)
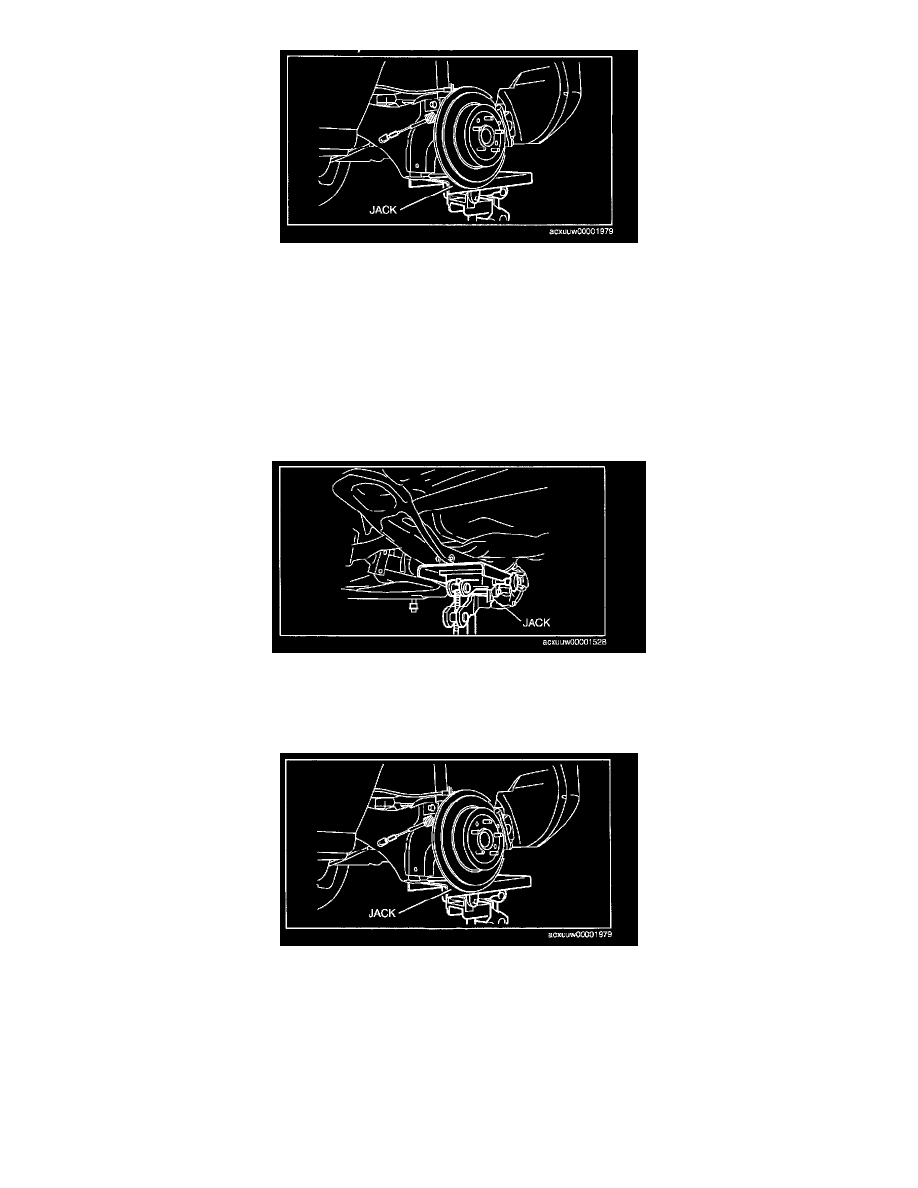
1. Raise the rear trailing link to the unloaded condition with a jack.
Note: Jacking up the rear suspension to the no occupant position will lighten the force on the bushing and make it easier to perform the procedure.
2. Remove the bolts (rear upper arm outer side and rear lateral link outer side).
Rear Crossmember Component Removal Note
Warning:
^
Removing the crossmember is dangerous. The crossmember component could fall and cause serious injury or death. Verify that the jack
securely supports the crossmember component.
1. Support the crossmember component using a jack and remove the nuts.
2. Remove the crossmember component.
Bolt (Rear Upper Arm Outer Side And Rear Lateral Link Outer Side) Installation Note
1. Raise the rear trailing link to the unloaded condition with a jack.
2. Tighten the bolts (rear upper arm outer side and rear lateral link outer side).
Rear Cross Bar Installation Note