
CX-7 AWD L4-2.3L Turbo (2008)
Trim Panel: Service and Repair
Pillar Trim
A-Pillar Lower Trim Removal/Installation
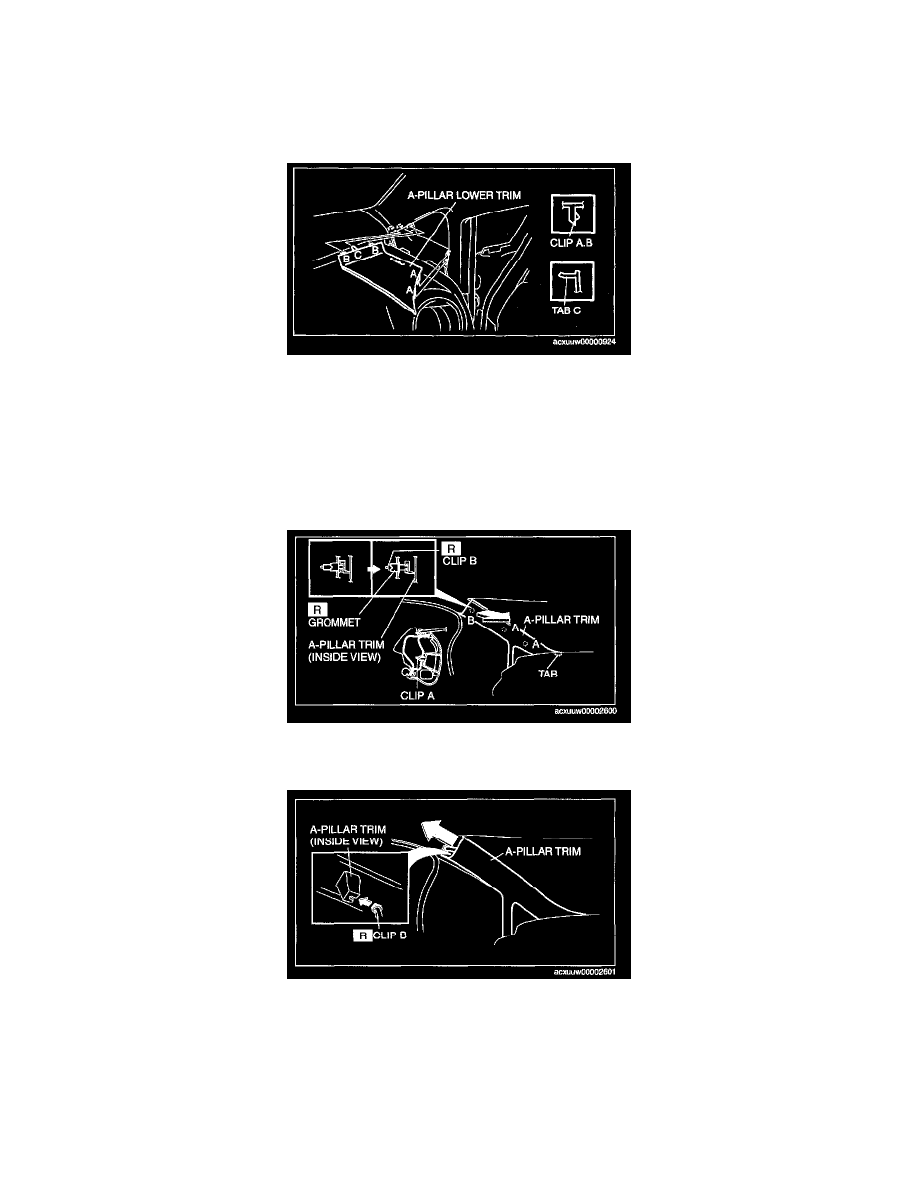
A-PILLAR LOWER TRIM REMOVAL/INSTALLATION
1. Pull the A-pillar lower trim upward and detach clips A from the dashboard.
2. Pull the A-pillar lower trim outward and detach clips B and tab C.
3. Remove the A-pillar lower trim.
4. Install in the reverse order of removal.
A-Pillar Trim Removal/Installation
A-PILLAR TRIM REMOVAL/INSTALLATION
1. Partially peel back the seaming welt.
2. Pull the A-pillar trim shown in the figure in the direction of the arrow, raise clip B from its grommet together with the A-pillar trim, and remove
clips A at the same time.
3. Slide the A-pillar trim in the direction of the arrow shown in the figure and remove the A-pillar trim from clip B.