
CX-7 AWD L4-2.3L Turbo (2008)
Timing Chain Tensioner: Service and Repair
TIMING CHAIN REMOVAL/INSTALLATION [L3 WITH TC]
1. Disconnect the negative battery cable.
2. Remove the under cover.
3. Remove the splash shield.
4. Remove the charge air cooler.
5. Remove the high pressure fuel pump.
6. Remove the ignition coils.
7. Disconnect the wiring harness.
8. Remove the ventilation hose.
9. Remove the drive belt.
10. Remove the crankshaft position (CKP) sensor.
11. Remove the P/S oil pump with the hoses and pipes still connected.
Note
^
Position and secure the P/S oil pump out of the way with a rope or wire.
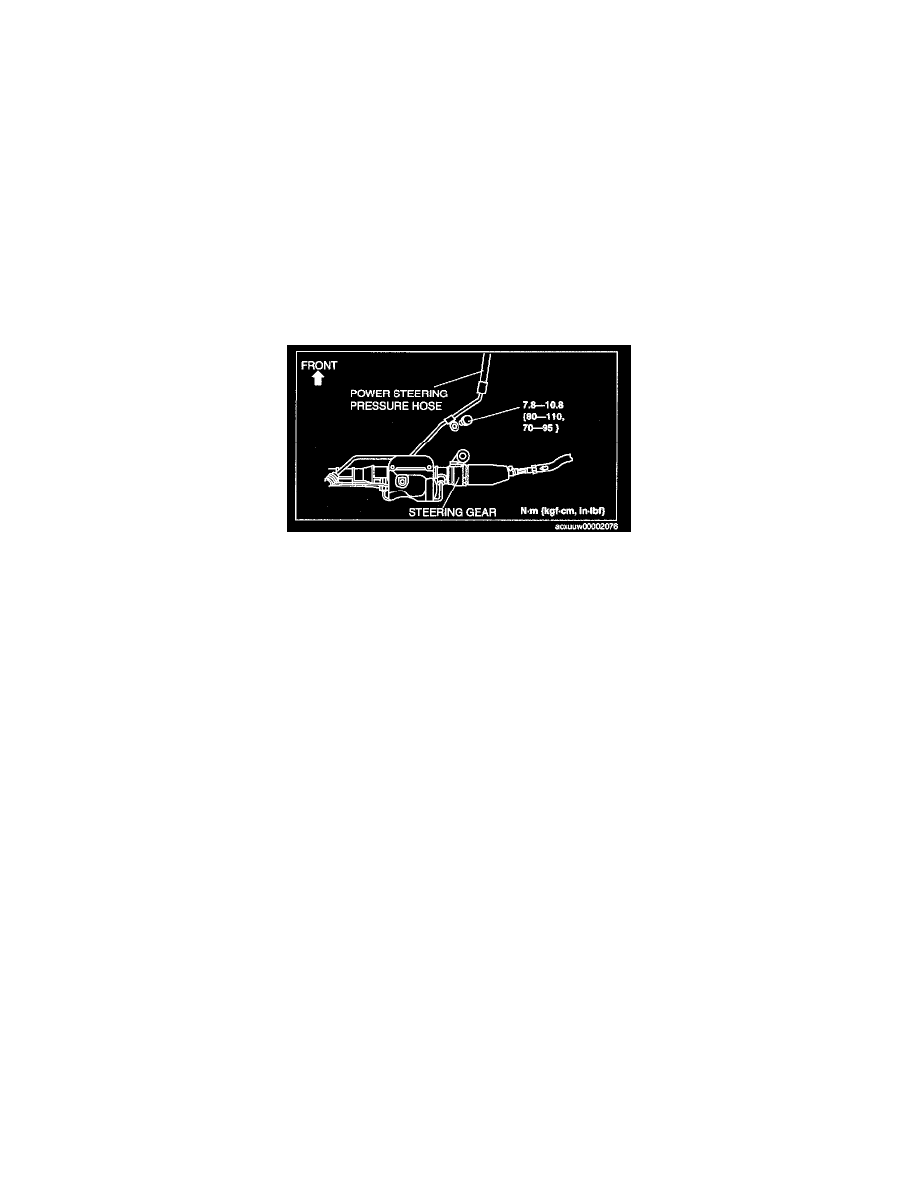
12. Remove the bracket shown in the figure, and place the power steering pressure hose outside of the vehicle.
13. Remove in the order indicated in the figure.
14. Install in the reverse order of removal.
15. Start the engine and inspect and adjust the following:
1) Engine oil amount (See ENGINE OIL LEVEL INSPECTION [L3 WITH TC].)
2) Runout and contact of pulley and belt.
3) Ignition timing, idle speed, and idle mixture (CO and HC) verification (See ENGINE TUNE-UP [L3 WITH TC].) See: Tune-up and Engine
Performance Checks/Testing and Inspection