
CX-7 AWD L4-2.3L Turbo (2008)
Air Door Actuator / Motor: Service and Repair
Air Mix Actuator
AIR MIX ACTUATOR REMOVAL/INSTALLATION
1. Disconnect the negative battery cable.
2. Remove the following parts:
1. Console panel.
2. Console.
3. Front scuff plate inner.
4. Front side trim.
5. Dashboard under cover
6. Glove compartment.
7. Hood release lever.
8. Lower panel.
9. Center panel.
10. Audio unit.
11. Climate control unit.
12. Knee bolster
13. Meter hood
14. Column cover
15. Instrument cluster
16. Driver-side air bag module
17. Steering wheel
18. Combination switch
19. Steering shaft
20. A-pillar lower trim
21. A-pillar trim
22. Dashboard
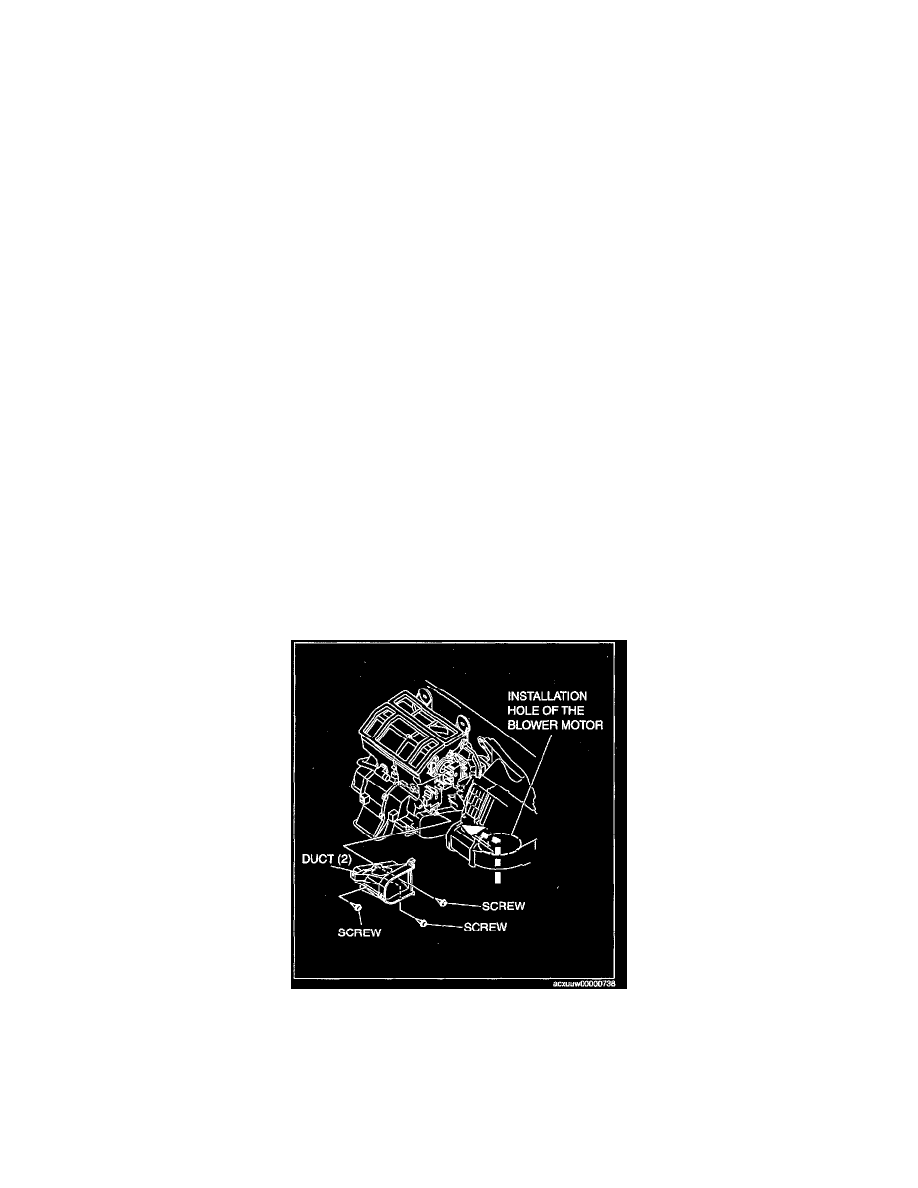
3. Remove the blower motor.
4. Remove the power MOS FET (Full-auto air conditioner) or resistor. (Manual air conditioner)
5. Remove the blower unit installation nuts.
6. Remove the screw securing the duct (2) to the A/C unit, by inserting a phillips screwdriver into the hole made after removing the blower motor.
7. Remove the screw securing the duct (2) to the A/C unit.
8. Remove the duct (2).
9. Remove in the order indicated in the table.