
CX-7 AWD L4-2.3L Turbo (2008)
Variable Valve Timing Actuator: Service and Repair
VARIABLE VALVE TIMING ACTUATOR REMOVAL/INSTALLATION [L3 WITH TC]
Caution
^
Remove the variable valve timing actuator and camshaft sprocket as a single unit.
Note
^
The variable valve timing actuator and camshaft sprocket cannot be disassembled.
1. Referring to the valve clearance adjustment procedure, remove the variable valve timing actuator and the camshaft on the intake air side as a single
unit. (See VALVE CLEARANCE INSPECTION/ ADJUSTMENT [L3 WITH TC].) See: Tune-up and Engine Performance Checks/Valve
Clearance/Testing and Inspection
2. Remove the variable valve timing actuator.
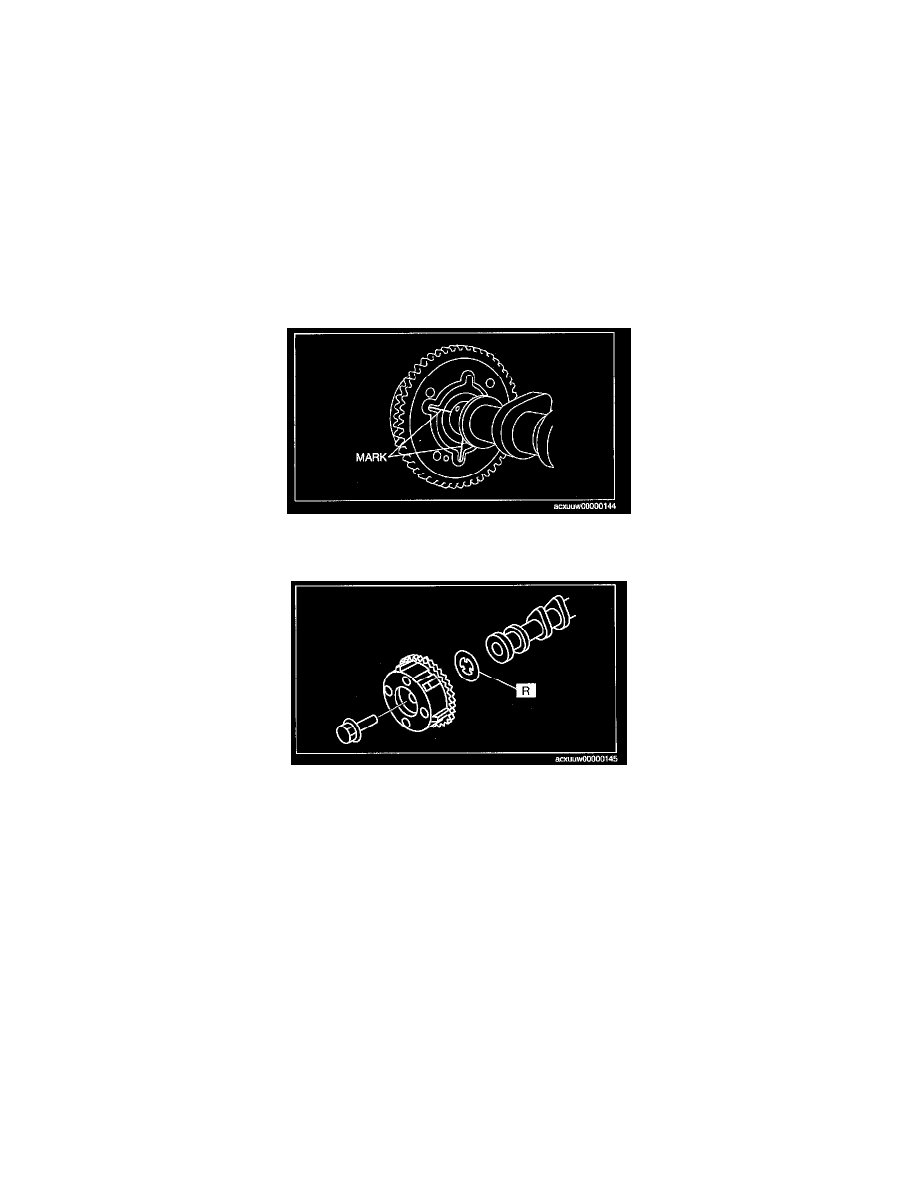
1) Place alignment marks on the camshaft and variable valve timing actuator as shown in the figure so that the variable valve timing actuator is
re-assembled in its original position.
2) Fix the camshaft in a vise.
3) Loosen the variable valve timing actuator installation bolt.
3. Install anew washer.
4. Install the variable valve timing actuator.
1) Fix the camshaft in a vise.
2) Align the marks on the camshaft and the variable valve timing actuator.
Caution
^
If replacing with a new variable valve timing actuator, place alignment marks in the same positions as those prior to the replacement.
3) Tighten the variable valve timing actuator, installation bolt.
Tightening torque
69-75 Nm (7.1-7.6 kgf-m, 51-55 ft-lbf)
5. Referring to the valve clearance adjustment procedure, install the variable valve timing actuator and camshaft on the intake air side as a single unit.
(See VALVE CLEARANCE INSPECTION/ADJUSTMENT [L3 WITH TC].) See: Tune-up and Engine Performance Checks/Valve
Clearance/Testing and Inspection