
CX-7 AWD L4-2.3L Turbo (2008)
Caution:
^
If a tool such as a torque wrench is installed to the SST (49 E032 308), install the tool so that it is perpendicular to the SST as shown in
the figure. If the tool is not installed as instructed, the SST can separate from the locknut easily which could cause damage to the
locknut while doing the work.
Note:
^
Be sure that the adjusting cover will not turn together with the locknut.
5. Measure the pinion torque using the SST and pull scale.
^
If not as specified, remove the locknut and adjust the adjusting cover.
Pinion shaft rotation torque
Center of rack ± 90°: 0.88 - 1.48 Nm (8.98 - 15.0 kgf-cm, 7.79 - 13.0 in.lbf)
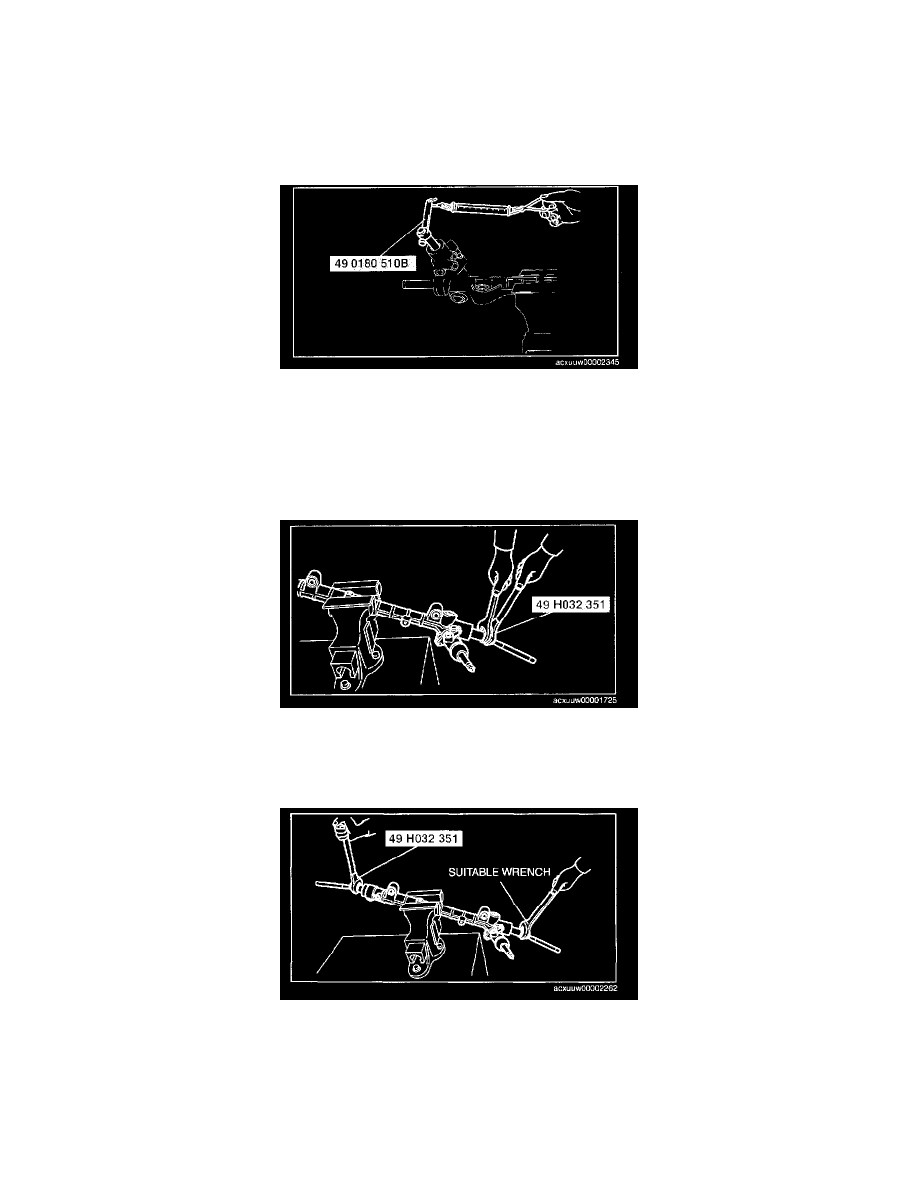
Tie-rod Assembly Note
1. Lock the steering rack end against rotation with a suitable wrench and install the tie rod using the SST.
Substitution SST
^
49 H032 351
Width across flats 34 mm (1.3 in) (Torque control enabled wrench)
2. Lock the steering rack end against rotation With a suitable wrench and install the other side tie rod using the SST. Substitution SST 49 H032 351
Width across flats 34 mm (1.3 in) (Torque control enabled wrench)
Boot Assembly Note
1. Apply silicone grease to the rubber lip groove.
2. Assemble the boot.