
CX-7 FWD L4-2.3L Turbo (2010)
Sunroof / Moonroof Motor: Service and Repair
SUNROOF MOTOR REMOVAL/INSTALLATION
1. Disconnect the negative battery cable.
2. Remove the following parts:
a. A-pillar lower trim See: Interior Moulding / Trim/Trim Panel/Service and Repair/A-Pillar Lower Trim Removal/Installation
b. A-pillar trim See: Interior Moulding / Trim/Trim Panel/Service and Repair/A-Pillar Trim Removal/Installation
c. Front scuff plate inner See: Interior Moulding / Trim/Scuff Plate/Service and Repair/Front Scuff Plate Removal/Installation
d. Rear scuff plate inner See: Interior Moulding / Trim/Scuff Plate/Service and Repair/Rear Scuff Plate Removal/Installation
e. B-pillar lower trim See: Interior Moulding / Trim/Trim Panel/Service and Repair/B-Pillar Lower Trim Removal/Installation
f.
Front seat belt upper anchor installation bolt See: Restraint Systems/Seat Belt Systems/Seat Belt/Service and Repair/Front Seat Belt
Removal/Installation
g. B-pillar upper trim See: Interior Moulding / Trim/Trim Panel/Service and Repair/B-Pillar Upper Trim Removal/Installation
h. Rear seat See: Seats/Service and Repair/Removal and Replacement/Rear Seat Removal/Installation
i.
Sub trunk box See: Doors, Hood and Trunk/Trunk / Liftgate/Trunk / Liftgate Interior Trim Panel/Service and Repair
j.
Trunk end trim See: Interior Moulding / Trim/Scuff Plate/Service and Repair/Trunk End Trim Removal/Installation
k. Trunk side trim
l.
C-pillar trim See: Interior Moulding / Trim/Trim Panel/Service and Repair/C-Pillar Trim Removal/Installation
m. D-pillar trim See: Interior Moulding / Trim/Trim Panel/Service and Repair/D-Pillar Trim Removal/Installation
n. Map light See: Lighting and Horns/Map Light/Service and Repair
o. Sunvisor See: Interior Moulding / Trim/Sun Visor/Service and Repair
p. Assist handle See: Interior Moulding / Trim/Passenger Assist Handle/Service and Repair
q. Headliner See: Interior Moulding / Trim/Headliner/Service and Repair
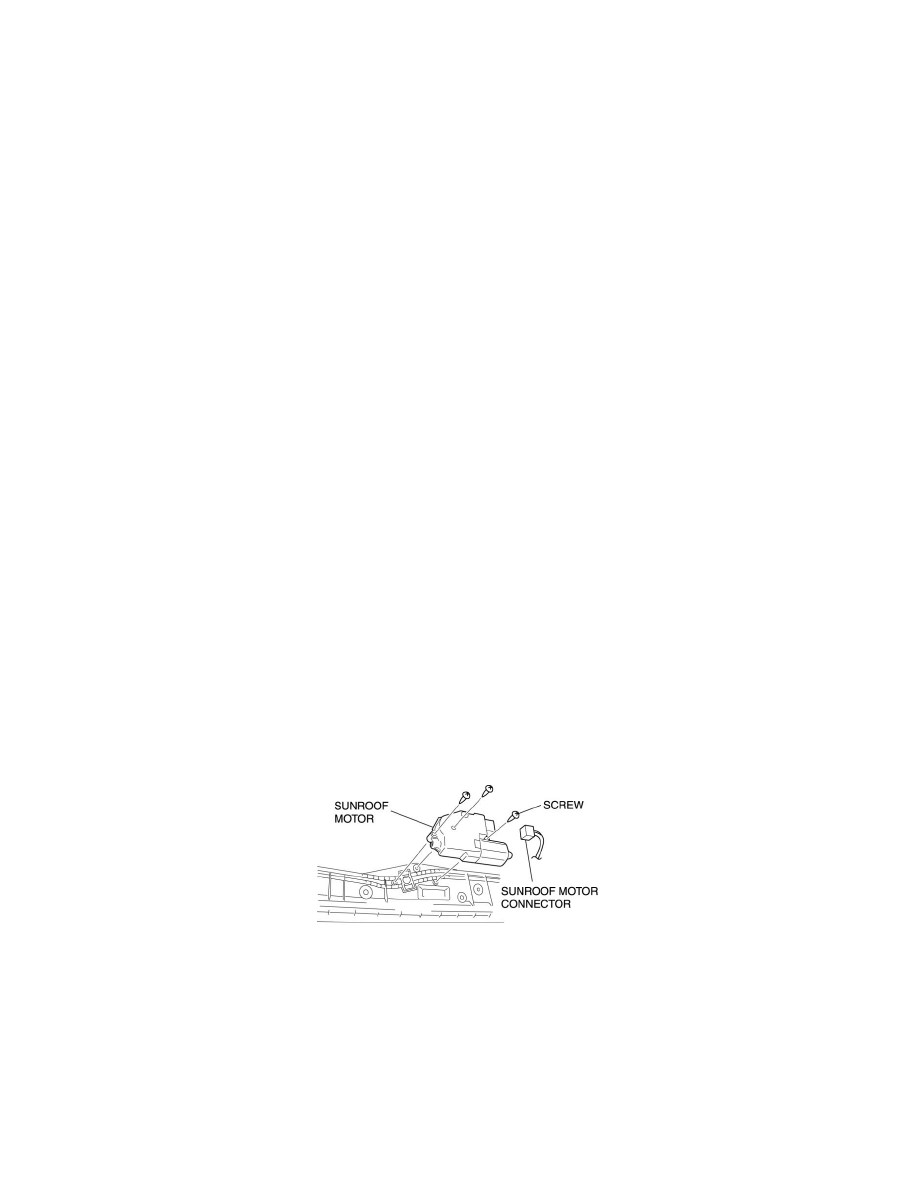
3. Disconnect the sunroof motor connector.
4. Remove the screws, and then remove the sunroof motor.
5. Install in the reverse order of removal.
NOTE:
-
If the glass panel or the sunroof motor is moved with the sunroof motor removed, initial position setting of the sunroof motor will be required.
Perform initial position setting referring to the Sunroof Motor Assembly Note. See: Service and Repair/Overhaul