
CX-7 FWD L4-2.3L Turbo (2010)
Brake Pedal Assy: Service and Repair
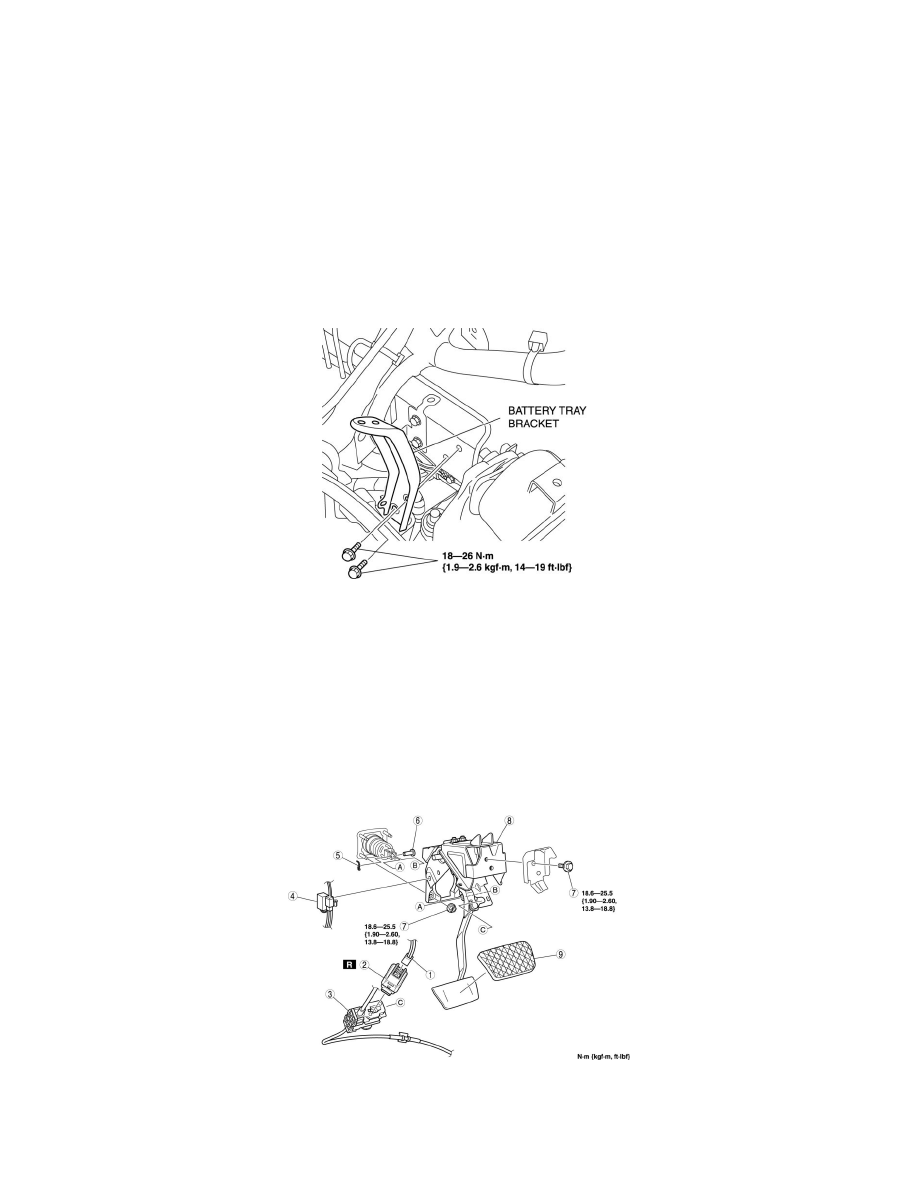
BRAKE PEDAL REMOVAL/INSTALLATION
CAUTION:
-
The clearance between the brake switch and the brake pedal is automatically adjusted to the correct amount when the brake switch is inserted into
the installation hole on the brake pedal and rotated to fix in place. If the brake switch is not properly installed, the clearance may be incorrect,
causing a brake light malfunction. Therefore, always verify that the brake pedal is properly installed and fully released before installing the brake
switch to the pedal.
-
Once the brake switch clearance has automatically been adjusted, it cannot be adjusted again. Therefore, replace the switch with a new one when
replacing the power brake unit or the pedal, or performing any procedure that changes the pedal stroke.
1. Remove the battery and battery tray. See: Starting and Charging/Battery/Service and Repair/Removal and Replacement See: Starting and
Charging/Battery/Service and Repair/Removal and Replacement
2. Remove the battery tray bracket as shown in the figure.
3. Disconnect the brake fluid level sensor connector.
4. Remove the master cylinder reserve tank bracket installation nuts. See: Hydraulic System/Brake Master Cylinder/Service and Repair
5. Remove the dashboard under cover.
6. Remove the accelerator pedal. See: Powertrain Management/Fuel Delivery and Air Induction/Accelerator Pedal/Service and Repair See:
Powertrain Management/Fuel Delivery and Air Induction/Accelerator Pedal/Service and Repair
7. Remove in the order indicated in the table.
8. Install in the reverse order of removal.