
CX-7 FWD L4-2.3L Turbo (2010)
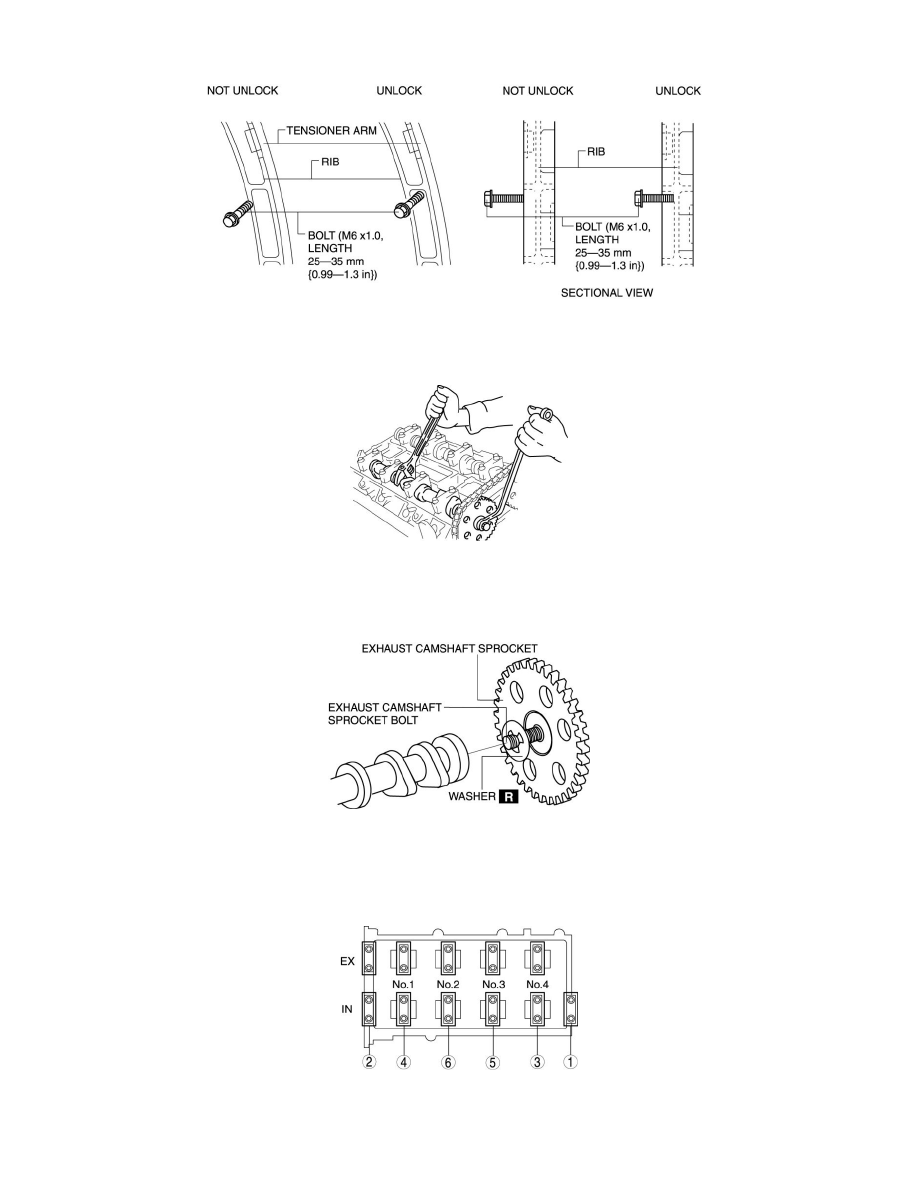
e. Screw in the bolt set in Step 1 approx. 5 mm {0.2 in} and secure the tensioner arm with the rack compressed.
-
If the tensioner arm cannot be secured, return the bolt to its original position and repeat the procedure from Step 3.
15. Fix the exhaust camshaft using a wrench on the cast hexagon, and loosen the camshaft sprocket bolt.
CAUTION:
-
Perform the work carefully so that the washer does not drop out.
16. Remove the exhaust camshaft sprocket bolt, exhaust camshaft sprocket, and washer as a single unit.
17. Remove the oil control valve (OCV). See: Engine Lubrication/Engine Oil Control Valve/Service and Repair
18. Loosen the camshaft cap bolts in two or three passes in the order shown in the figure and remove the camshaft cap.
NOTE:
-
The camshaft caps are to be kept ordered for correct reassembly in their original positions. Do not mix the caps.
19. Remove the variable valve timing actuator and the camshaft on the intake air side as a single unit.
20. Remove the variable valve timing actuator.