
CX-7 FWD L4-2.3L Turbo (2010)
2. Drain the engine coolant before removing the water hose. (See See: Cooling System/Coolant/Service and Repair.)
3. Remove the throttle body.
Intake Manifold Removal Note
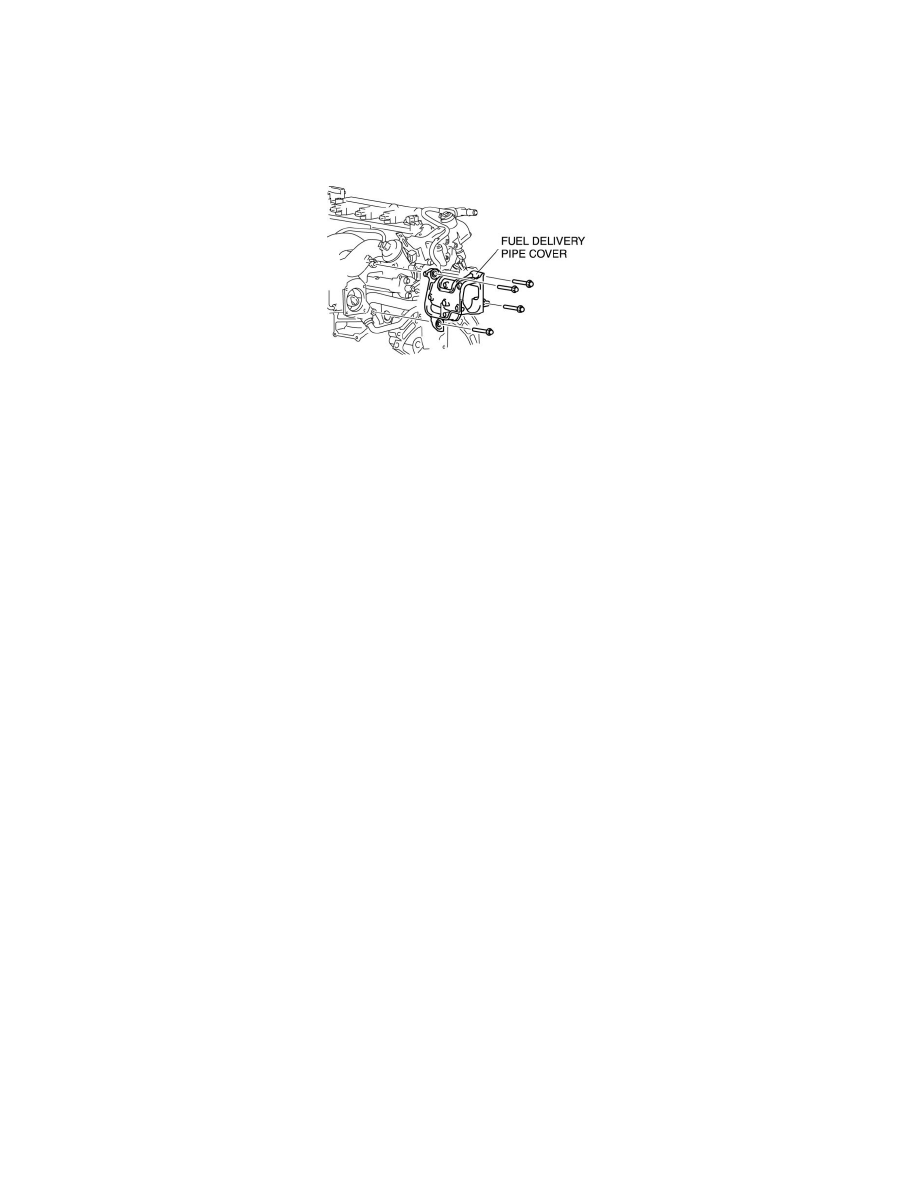
1. Remove the fuel delivery pipe cover.
2. Disconnect the quick connector connected to the intake manifold.
3. Remove the EGR pipe.
4. Disconnect the variable swirl solenoid valve connector.
5. Disconnect the OCV connector.
6. Disconnect the PSP switch connector.
7. Remove the oil level gauge pipe. (See See: Engine Lubrication/Oil Pan/Service and Repair.)
8. Remove the splash shield (RF).
9. Remove the drive belt. (See See: Drive Belts, Mounts, Brackets and Accessories/Drive Belt/Service and Repair.)
10. Set the power steering oil pump out of the way.
11. Disconnect the fuel pressure sensor connector.
12. Disconnect the vacuum hose connected between the intake manifold and the master cylinder from the intake manifold.
13. Disconnect the MAP sensor connector.
14. Remove the intake manifold installation bolts.
15. Disconnect the evaporative hose connected between the intake manifold and the PCV valve from the intake manifold.
16. Remove the intake manifold.
Turbocharger Removal Note
1. Remove the middle pipe. (See See: Exhaust System/Service and Repair.)
2. Disconnect the HO2S connector.
3. Remove the front pipe. (See See: Exhaust System/Service and Repair.)
CAUTION:
-
When removing the cowl grille, a part or tool may hit the edge of the windshield and could damage it. Protect the windshield by covering it
with a clean rag to prevent damage to the windshield.
4. Remove the cowl grille. (See See: Body and Frame/Cowl/Cowl Moulding / Trim/Service and Repair/Cowl Grille Removal/Installation.)
5. Remove the windshield wiper motor.