
CX-7 FWD L4-2.3L Turbo (2010)
CAUTION:
-
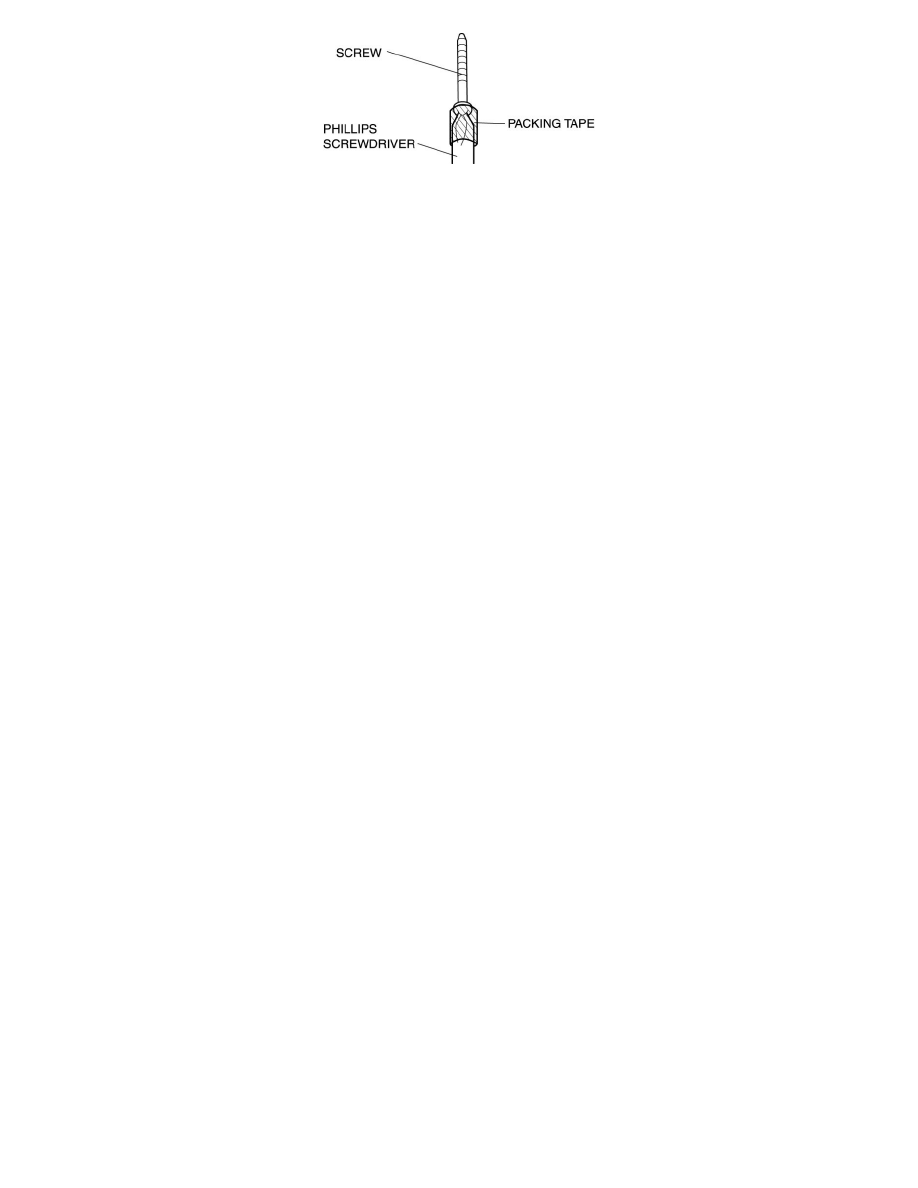
If the packing tape remains in the duct (2), it may become a source of noise. Wind up the packing tape to prevent pinching when tightening the
screw.
14. Install the duct (2) to the A/C unit by inserting a phillips screwdriver, with the screw, into the hole made after removing the blower motor.
15. Pull out the phillips screwdriver together with the packing tape.
16. Install in the reverse order of removal.
A/C Unit Removal/Installation
A/C UNIT REMOVAL/INSTALLATION
1. Disconnect the negative battery cable.
2. Discharge the refrigerant from the system. See: Service and Repair/Refrigerant Recovery See: Service and Repair/Refrigerant Charging
3. Drain the engine coolant. See: Engine, Cooling and Exhaust/Cooling System/Coolant/Service and Repair See: Engine, Cooling and
Exhaust/Cooling System/Coolant/Service and Repair
4. Remove the following parts:
a. Console panel See: Body and Frame/Interior Moulding / Trim/Console/Service and Repair/Removal and Replacement/Console Panel
Removal/Installation
b. Console See: Body and Frame/Interior Moulding / Trim/Console/Service and Repair/Removal and Replacement/Console Removal/Installation
c. Front scuff plate inner See: Body and Frame/Interior Moulding / Trim/Scuff Plate/Service and Repair/Front Scuff Plate Removal/Installation
d. Front side trim See: Body and Frame/Interior Moulding / Trim/Trim Panel/Service and Repair/Front Side Trim Removal/Installation
e. Dashboard under cover
f.
Glove compartment See: Body and Frame/Interior Moulding / Trim/Glove Compartment/Service and Repair
g. Hood release lever See: Body and Frame/Doors, Hood and Trunk/Hood/Hood Latch Release/Service and Repair
h. Lower panel See: Body and Frame/Interior Moulding / Trim/Dashboard / Instrument Panel/Service and Repair/Removal and
Replacement/Lower Panel Removal/Installation
i.
Decoration panel See: Body and Frame/Interior Moulding / Trim/Dashboard / Instrument Panel/Service and Repair/Removal and
Replacement/Decoration Panel Removal/Installation
j.
Center panel See: Body and Frame/Interior Moulding / Trim/Dashboard / Instrument Panel/Service and Repair/Removal and
Replacement/Center Panel Removal/Installation
k. Audio unit See: Accessories and Optional Equipment/Radio, Stereo, and Compact Disc/Service and Repair/Removal and Replacement/Audio
Unit Removal/Installation
l.
Climate control unit See: Control Assembly/Service and Repair/Climate Control Unit Removal/Installation - Full-Auto Air Conditioner See:
Control Assembly/Service and Repair/Climate Control Unit Removal - Manual Air Conditioner See: Control Assembly/Service and
Repair/Climate Control Unit Installation - Manual Air Conditioner
m. Knee bolster See: Body and Frame/Interior Moulding / Trim/Dashboard / Instrument Panel/Service and Repair/Removal and
Replacement/Knee Bolster Removal/Installation