
CX-7 FWD L4-2.3L Turbo (2010)
Variable Valve Timing Actuator: Service and Repair
VARIABLE VALVE TIMING ACTUATOR REMOVAL/INSTALLATION [L3 WITH TC]
CAUTION:
-
Remove the variable valve timing actuator and camshaft sprocket as a single unit.
NOTE:
-
The variable valve timing actuator and camshaft sprocket cannot be disassembled.
1. Disconnect the negative battery cable.
2. Remove the splash shield (RH).
3. Remove the charge air cooler. See: Engine, Cooling and Exhaust/Engine/Intake Manifold/Service and Repair
4. Remove the high pressure fuel pump. See: Fuel Delivery and Air Induction/Fuel Pump/Service and Repair/Removal and Replacement/High
Pressure Fuel Pump Removal/Installation
5. Remove the ignition coils. See: Ignition System/Ignition Coil/Service and Repair
6. Disconnect the wiring harness.
7. Remove the ventilation hose.
8. Remove the cylinder head cover. See: Engine, Cooling and Exhaust/Engine/Timing Components/Timing Chain/Service and Repair
9. Remove the drive belt. See: Engine, Cooling and Exhaust/Engine/Drive Belts, Mounts, Brackets and Accessories/Drive Belt/Service and Repair
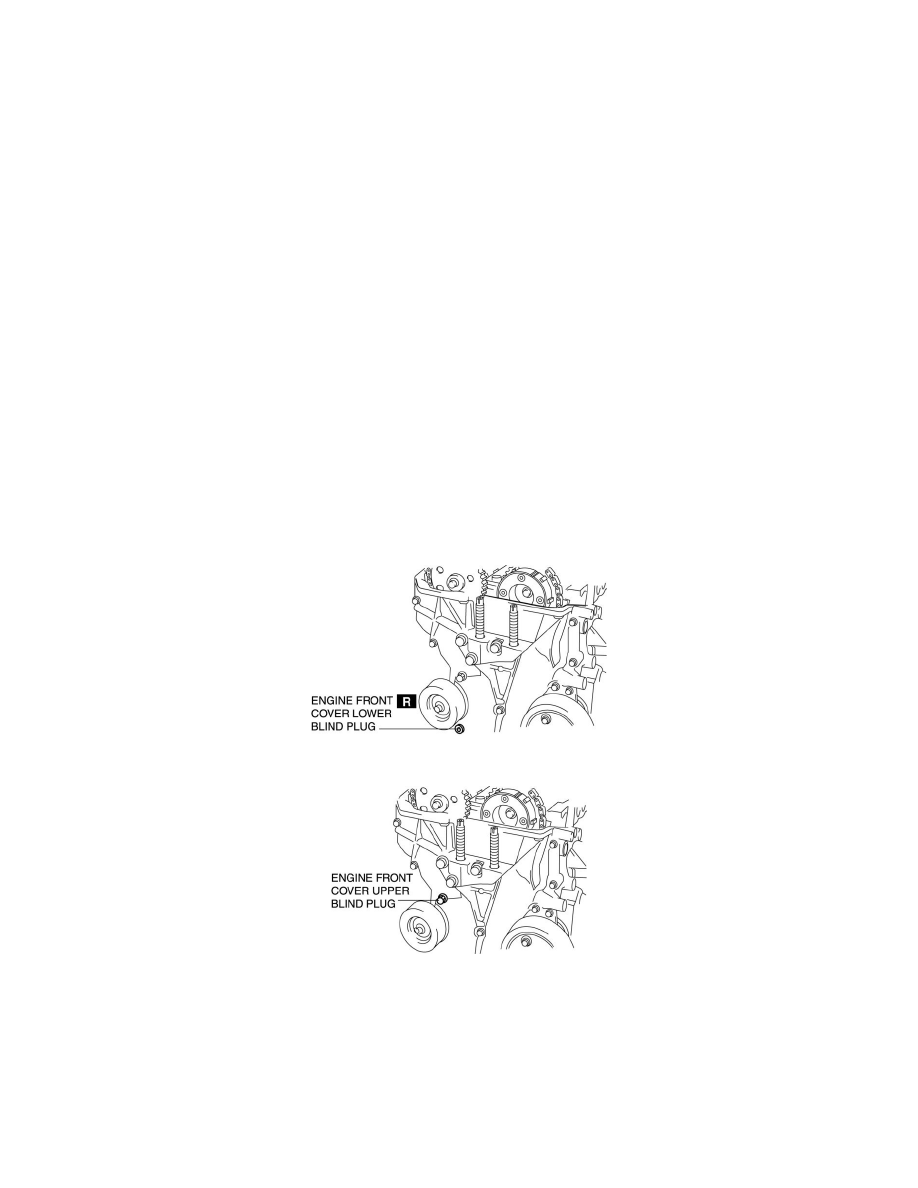
10. Remove the engine front cover lower blind plug.
11. Remove the engine front cover upper blind plug.
12. Remove the cylinder block lower blind plug, and install the SST.