
CX-7 FWD L4-2.3L Turbo (2010)
Power Window Switch: Service and Repair
Power Window Subswitch Removal/Installation
POWER WINDOW SUBSWITCH REMOVAL/INSTALLATION
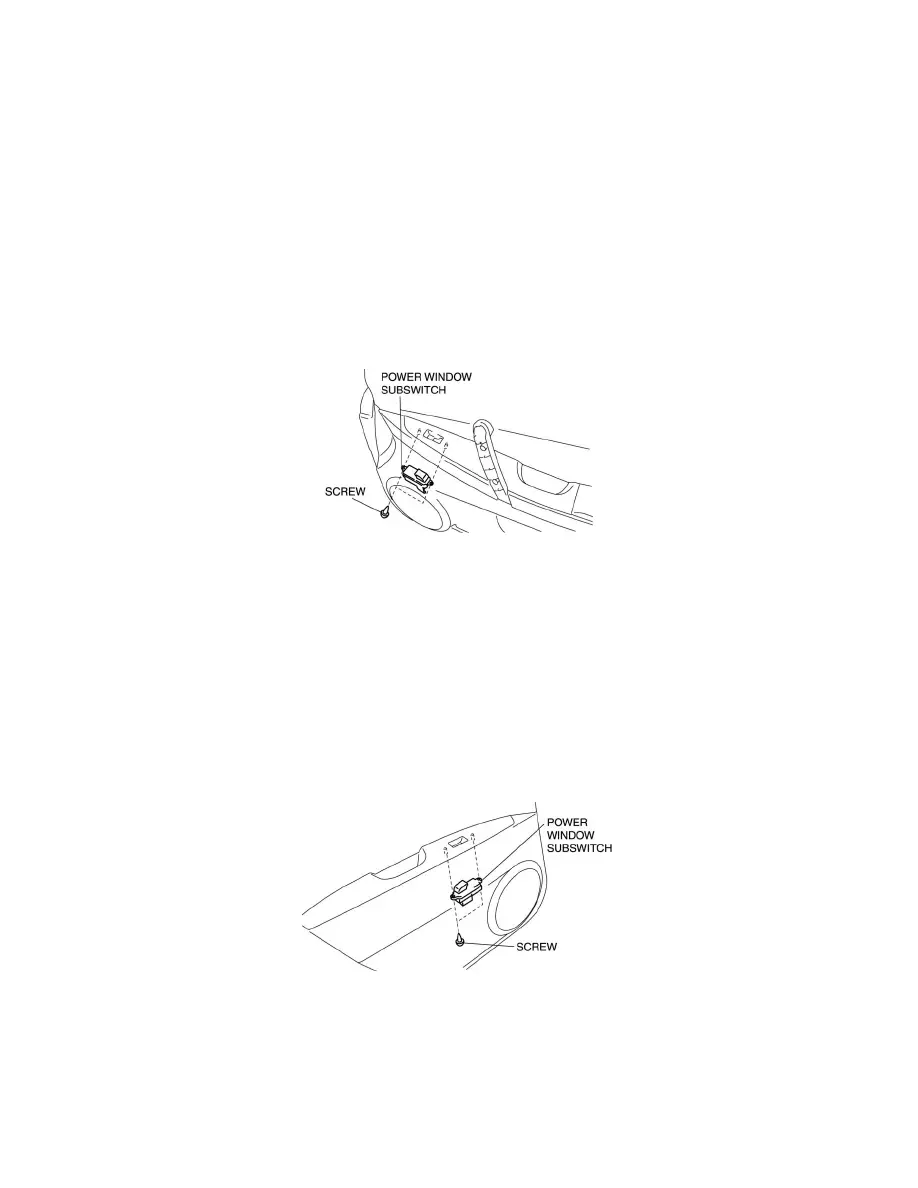
Passenger's Side
1. Disconnect the negative battery cable.
2. Remove the inner garnish. (See See: Body and Frame/Doors, Hood and Trunk/Doors/Front Door/Front Door Panel/Service and Repair/Removal
and Replacement/Inner Garnish Removal/Installation)
3. Remove the front door trim. (See See: Body and Frame/Doors, Hood and Trunk/Doors/Front Door/Front Door Panel/Service and Repair/Removal
and Replacement/Front Door Trim Removal/Installation)
4. Disconnect the power window subswitch connector.
5. Remove the screws, then the power window subswitch.
6. Install in the reverse order of removal.
Rear Side
1. Disconnect the negative battery cable.
2. Remove the sail garnish. (See See: Body and Frame/Interior Moulding / Trim/Trim Panel/Service and Repair/Sail Garnish Removal/Installation)
3. Remove the rear door trim. (See See: Body and Frame/Doors, Hood and Trunk/Doors/Rear Door/Rear Door Panel/Service and Repair/Removal
and Replacement)
4. Disconnect the power window subswitch connector.
5. Remove the screws, then the power window subswitch.
6. Install in the reverse order of removal.