
CX-7 FWD L4-2.3L Turbo (2010)
Windshield: Service and Repair
Windshield Removal
WINDSHIELD REMOVAL
1. Disconnect the negative battery cable.
2. Remove the following parts:
a. Windshield wiper arm and blade See: Wiper and Washer Systems/Wiper Arm/Service and Repair/Windshield Wiper Arm and Blade
Removal/Installation
b. Cowl grille See: Body and Frame/Cowl/Cowl Moulding / Trim/Service and Repair/Cowl Grille Removal/Installation
c. Rearview mirror See: Body and Frame/Mirrors/Service and Repair/Rearview Mirror Removal
d. Sunvisor See: Body and Frame/Interior Moulding / Trim/Sun Visor/Service and Repair
e. Map light See: Lighting and Horns/Map Light/Service and Repair
f.
A-pillar trim See: Body and Frame/Interior Moulding / Trim/Trim Panel/Service and Repair/A-Pillar Trim Removal/Installation
g. Assist handle See: Body and Frame/Interior Moulding / Trim/Passenger Assist Handle/Service and Repair
3. Set the headliner out of the way.
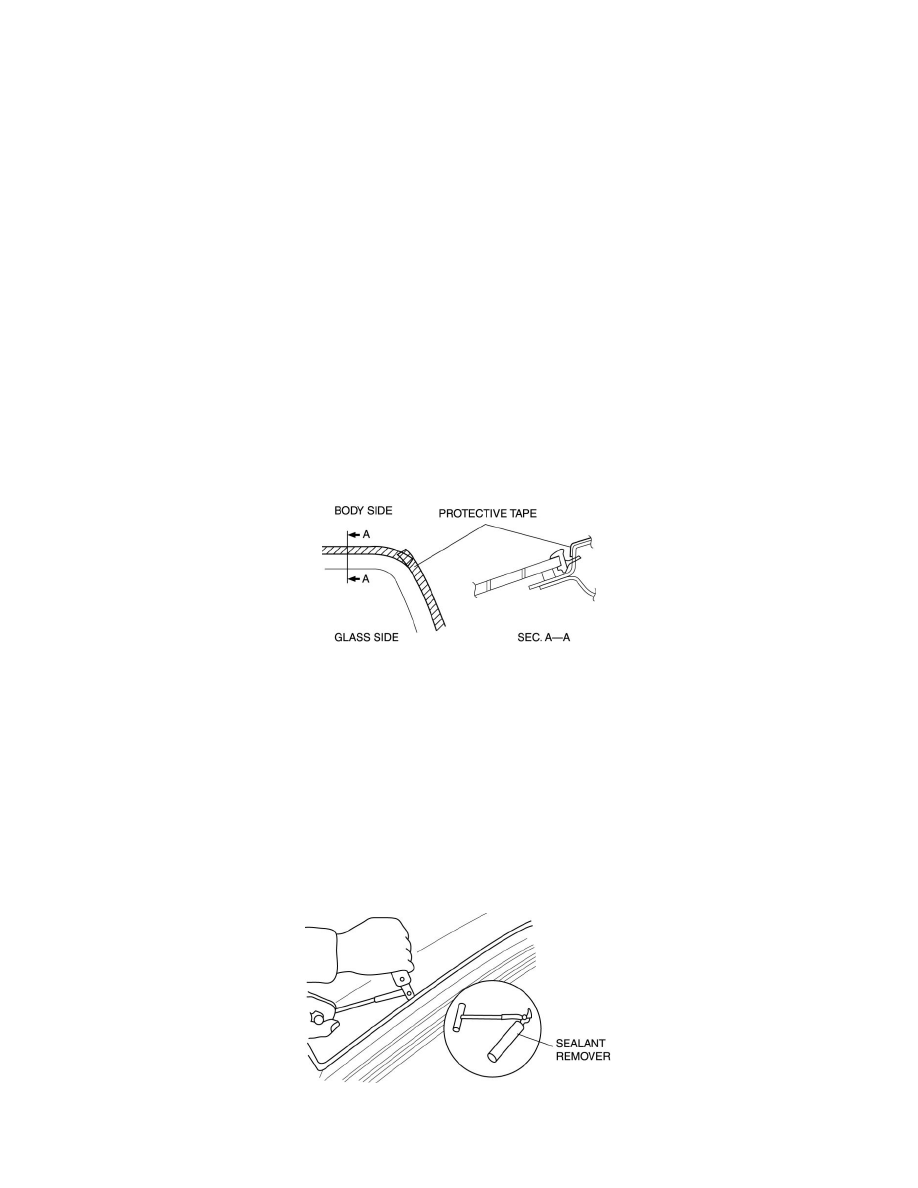
4. Apply protective tape along the edge of the body.
NOTE:
-
Overlap and adhere the protective tape to the corners to prevent damage.
5. Remove the windshield molding by pulling it outward.
NOTE:
-
If the windshield molding is difficult to remove, warm the windshield molding using a hot air blower.
-
The windshield molding is a replacement part.
Not Reusing Windshield
NOTE:
-
For the areas of the sealant that are difficult to cut, use thepiano wire and follow the procedure under "Reusing Windshield".
1. Cut out the sealant all around the glass using a sealant remover.
2. Remove the windshield.
Reusing Windshield