
CX-9 AWD V6-3.7L (2008)
Hydraulic Control Assembly - Antilock Brakes: Service and Repair
DSC/RSC HU/CM REMOVAL/INSTALLATION
Warning
^
If the DSC/RSC sensor initialization procedure is not completed, it could result in an unexpected accident due to the DSC/RSC being
inoperative. Therefore, after the DSC/RSC HU/CM is replaced, always perform the DSC/RSC sensor initialization procedure to ensure
proper DSC/RSC operation.
Caution
^
The internal parts of the DSC/RSC HU/CM could be damaged if dropped. Be careful not to drop the DSC/RSC HU/CM. Replace the
DSC/RSC HU/CM if it is subjected to an impact.
1. Remove the battery and battery tray.
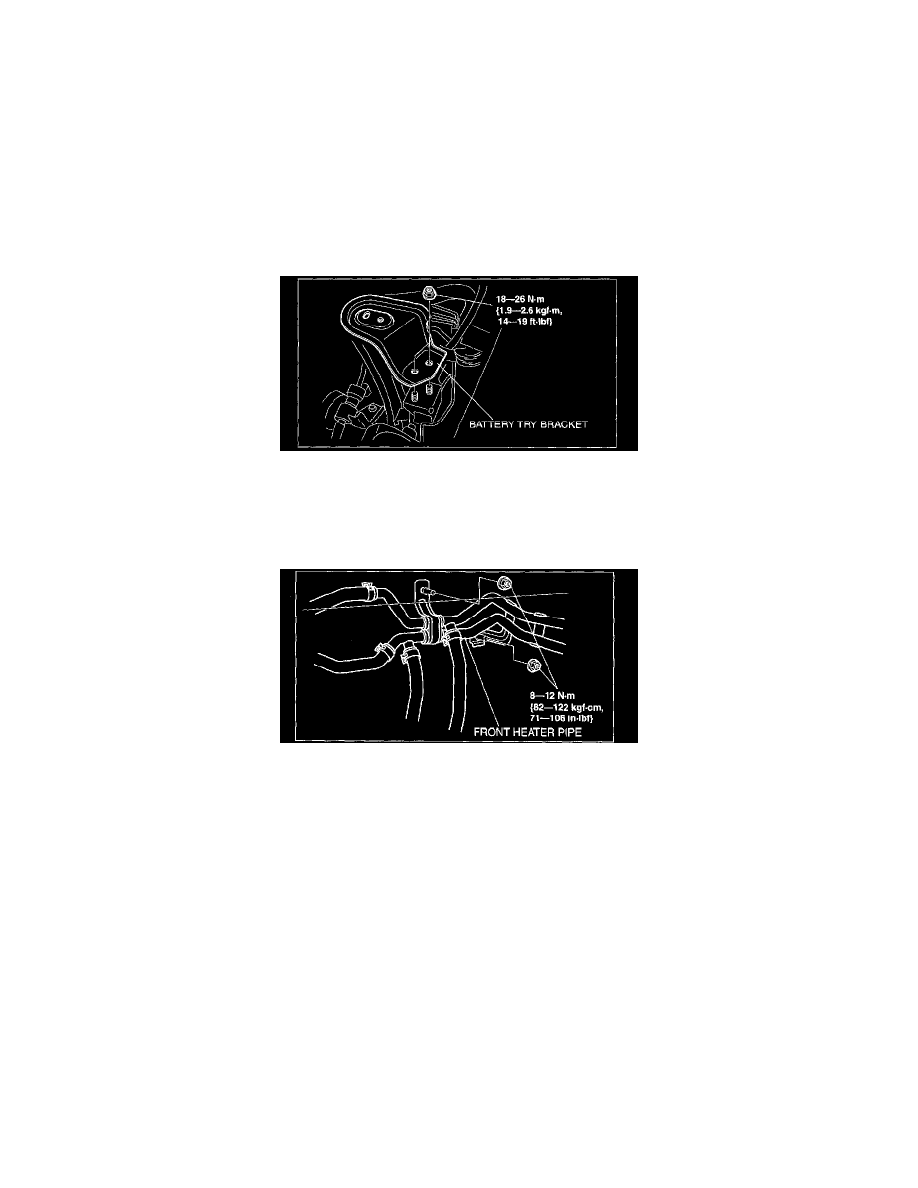
2. Remove the battery tray bracket as shown in the figure.
3. Remove the windshield wiper arm and blade.
4. Remove the cowl grille.
5. Remove the wiper motor.
6. Remove the cowl panel.
7. Remove the nuts as shown in the figure, and move the front heater pipe.
8. Remove in the order indicated in the table.
9. Install in the reverse order of removal.
10. After installation, add brake fluid, bleed the air, and inspect for fluid leakage. (See DSC/RSC HU AIR BLEEDING.)
11. After installation, perform the DSC/RSC sensor initialization procedure. (See DSC/RSC SENSOR INITIALIZATION PROCEDURE.)