
Mazdaspeed6 L4-2.3L Turbo (2006)
Valve Clearance: Adjustments
VALVE CLEARANCE ADJUSTMENT
1. Disconnect the negative battery cable.
2. Remove the front tire (RH).
3. Remove the under cover.
4. Remove the splash shield (RH).
5. Remove the charge air cooler.
6. Remove the high pressure fuel pump.
7. Remove the ignition coils.
8. Disconnect the OCV connector.
9. Disconnect the CMP sensor connector.
10. Disconnect the P/S oil pump connector.
11. Remove the ventilation hose.
12. Remove the cylinder head cover.
13. Remove the drive belt.
14. Disconnect the front drive shaft (RH) from the joint shaft.
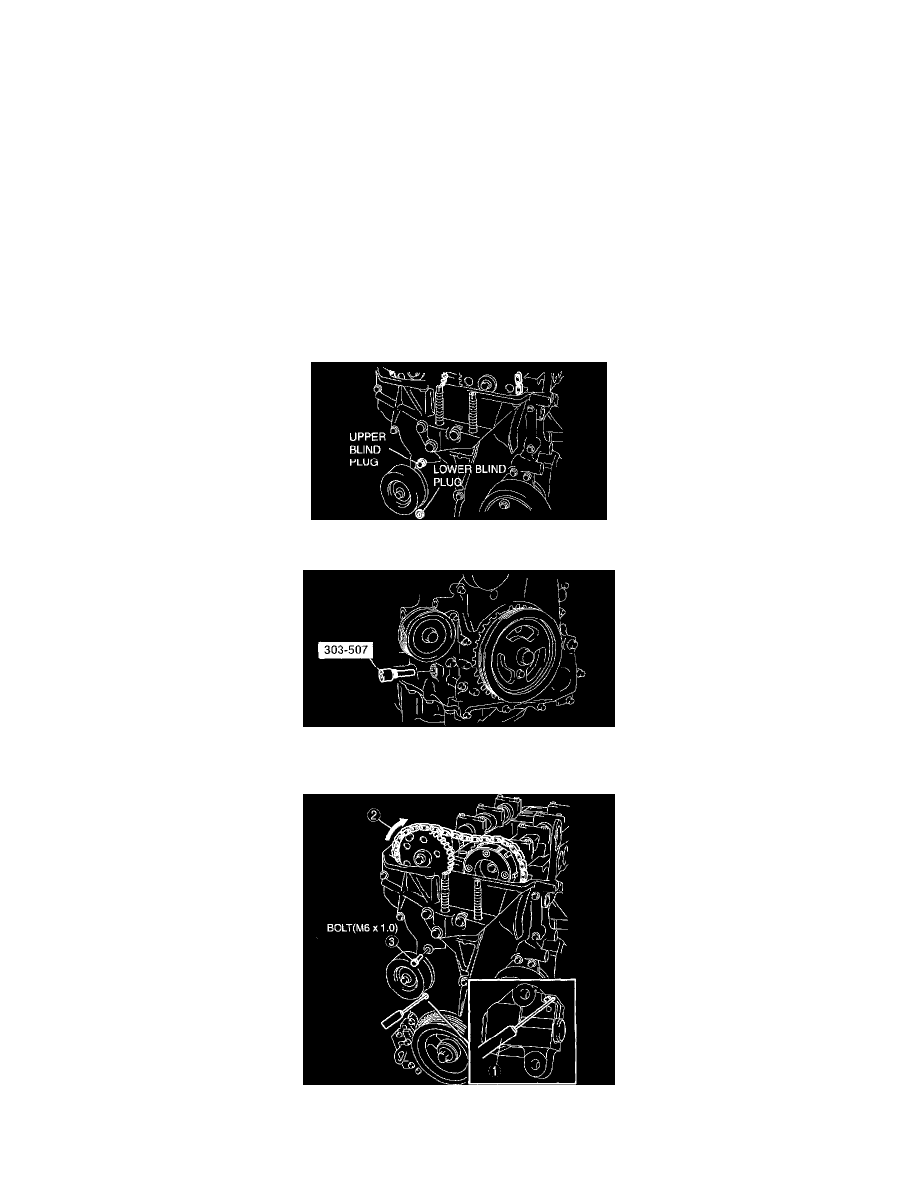
15. Remove the engine front cover lower blind plug.
16. Remove the engine front cover upper blind plug.
17. Remove the cylinder block lower blind plug, and install the SST.
18. Rotate the crankshaft clockwise so that the No.1 cylinder is at TDC of the compression stroke. (The position crank weight contacts the SST.)
19. Release the tension on the timing chain.
1) Using a suitable screwdriver or equivalent tool, unlock the chain tensioner ratchet.