
Millenia L V6-2.5L DOHC (1997)
INSPECTION
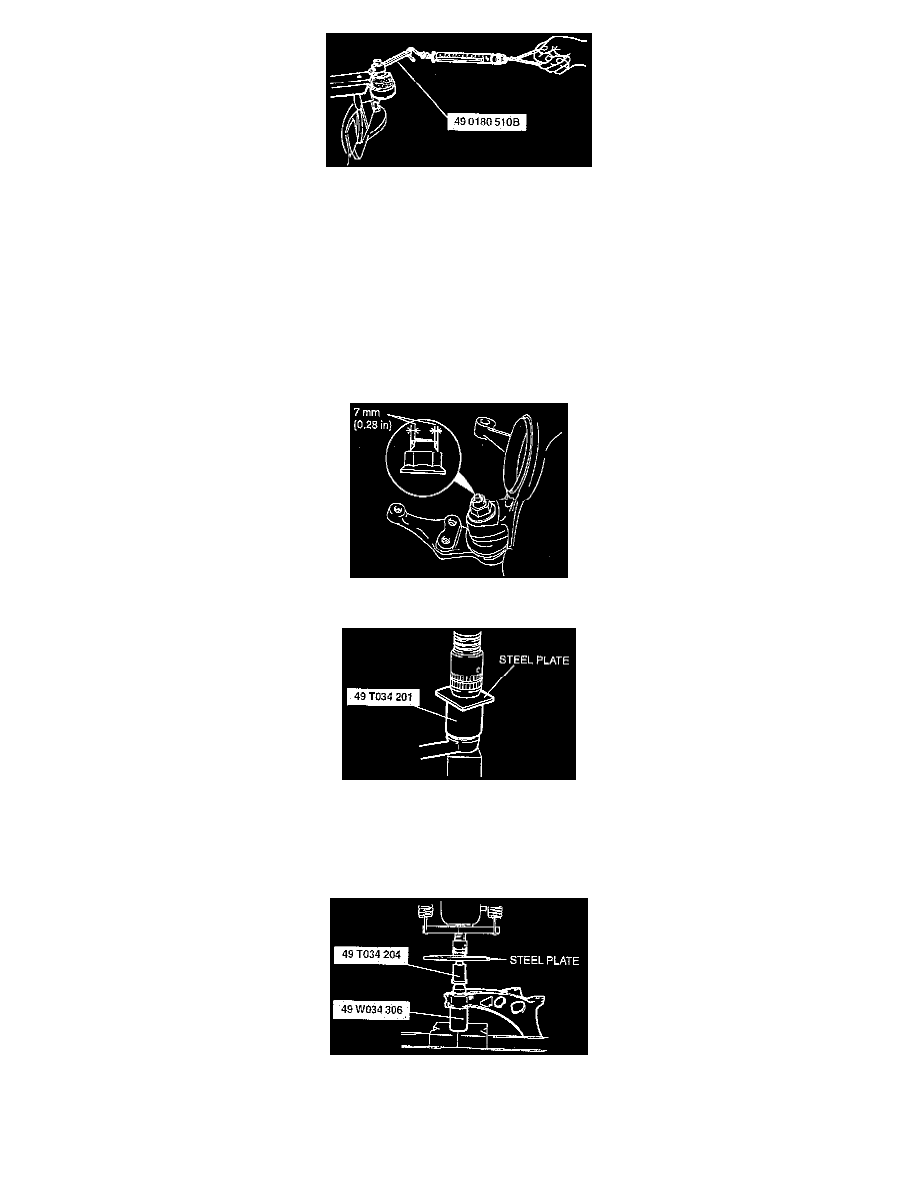
Checking lower ball joint rotation torque.
1. Inspect the link for damage and boot cracks. Replace it if necessary. Inspect the ball joint for looseness.
2. Replace the link if necessary.
3. Shake the ball joint stud at least five times.
4. Connect the SST to the stud and measure the rotation torque by using a pull scale.
^
Rotation torque: 0.3 - 3.4 Nm (2.6 - 30 inch lbs.)
^
Pull scale reading: 3.0 - 34 N (0.7 - 7.7 lbs.)
5. If not within the specification, replace the lower ball joint.
INSTALLATION
1. Follow removal steps in reverse order for installation, noting the following steps.
2. Install a new locknut and tighten to 116 - 156 Nm (86 - 115 ft. lbs.), then stake it, as shown.
3. Wipe any grease off the ball stud.
4. Fill the inside of the new dust boot with grease.
5. Press the boot onto the ball joint by using the SST.
6. Wipe away any excess grease.
7. Apply soapy water to the new bushing.
8. In order to keep the lower arm stable, position the SST as shown.
9. Press the new bushing in by using the SST.