
Millenia L V6-2.5L DOHC (1997)
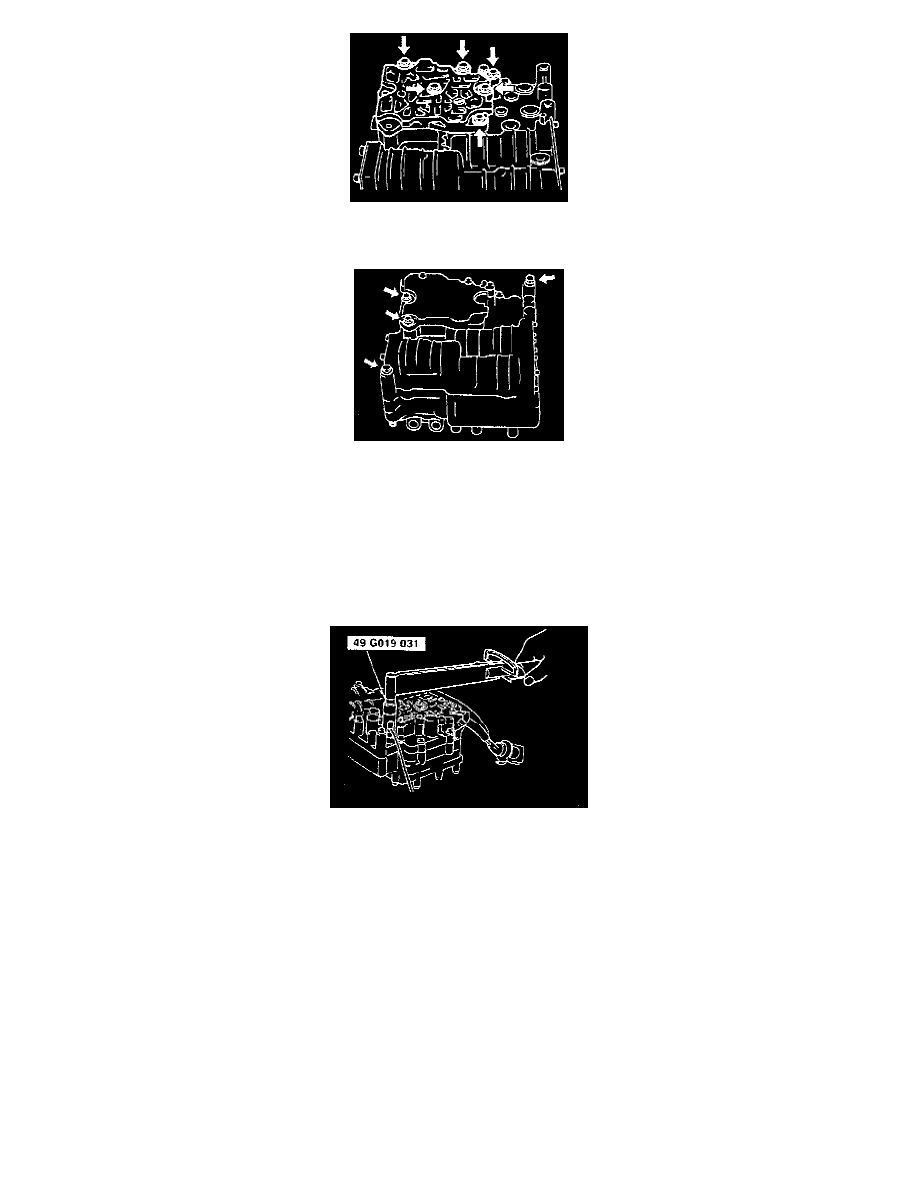
16. Install and hand-tighten the bolts indicated by the arrows. Each type of bolt has a different letter on its head. Match the bolt letter with the letter
stamped next to its installation hole on the valve body.
17. Install four control valve body bolts as shown for alignment.
18. Tighten the mounting bolts.
a. Tighten the front control body to 6.5 - 7.8 Nm (58 - 69 inch lbs.).
b. Tighten the rear control valve body to 6.5 - 7.8 Nm (58 - 69 inch lbs.).
19. Apply ATF to new O-rings and install them onto the solenoid valves.
20. Install the solenoid valves to 6.5 - 7.8 Nm (58 - 69 inch lbs.).
21. Apply ATF to new O-rings and install them onto the oil pipe.
22. Install the oil pipe to 6.5 - 7.8 Nm (58 - 69 inch lbs.).
23. Install the oil baffle to 6.5 - 7.8 Nm (58 - 69 inch lbs.).
24. Install the transaxle fluid temperature sensor by using the Special Service Tool (SST) to 7.9 - 10.7 Nm (70 - 95 inch lbs.).
Premain Control Valve Body
CAUTION: Denting or scratching these precisely machined components will reduce the ability of the transaxle to shift properly. When handling these
components or the valve body that contains them, be careful not to drop or hit them.
NOTE: If a valve does not slide out under its own weight, place the valve body open-side down and tap on the valve body lightly with a plastic hammer.