
MPV V6-3.0L DOHC (2002)
5. Cover the disconnected quick release connector with vinyl sheet or the like to prevent it from being scratched or contaminated with foreign
material.
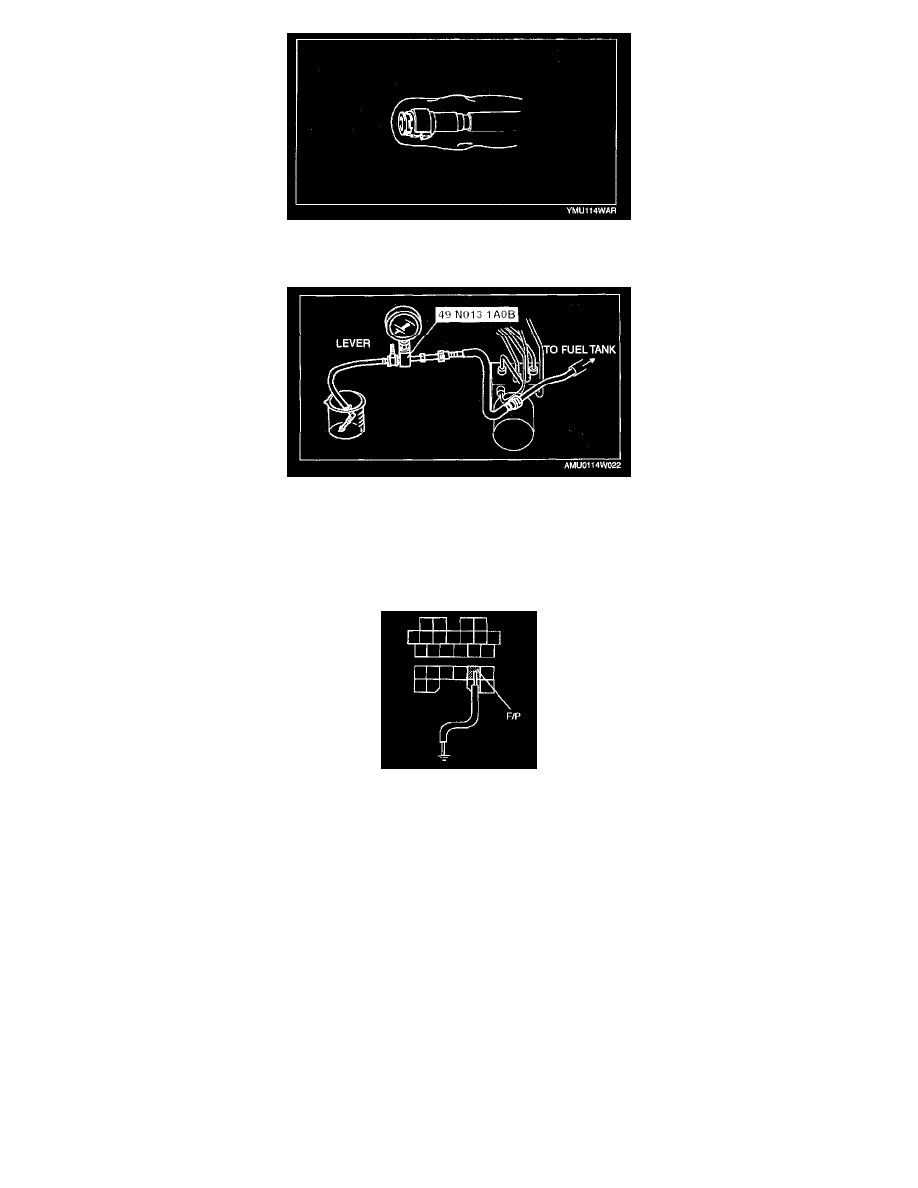
6. Turn the lever 90° against the hose of the SST to plug the SST outlet.
7. Push the SST quick release connector into the fuel pipe until a click is heard.
8. Set the fuel hose into a container to avoid fuel spills.
9. Connect the negative battery cable.
CAUTION: Connecting to the wrong DLC terminal may possibly cause a malfunction. Carefully connect to the specified terminal only.
10. Short the DLC terminal F/P to body GND using a jumper wire.
11. Turn the ignition switch to ON to operate the fuel pump.
12. Measure the fuel pump maximum pressure.
-
If not as specified, replace the fuel pump after inspecting the following:
-
Fuel filter (low-pressure, high-pressure) for clogging
-
Fuel line for clogging or leakage
Fuel pump maximum pressure
0.59 - 0.80 MPa {6.1 - 8.1 kgf/sq.cm, 86 - 116 psi}
13. Turn the ignition switch to LOCK position.
14. Measure the fuel pump hold pressure after 5 minutes.
-
If not as specified, replace the fuel pump after inspecting the following:
-
Fuel filter (low-pressure, high-pressure) for clogging
-
Fuel line for clogging or leakage
Fuel pump hold pressure
More than 0.408 MPa {4.16 kgf/sq.cm, 59.2 psi}
15. Disconnect the jumper wire.
16. Disconnect the SST.