
MPV 2WD V6-3.0L SOHC (1992)
Steps 1 and 2 must be performed prior to suspension adjustment.
1.
Adjust tire pressure as recommended in the Workshop Manual.
2.
Inspect vehicle for damage to suspension and related components.
3.
If damage to suspension or components is found, repair and retest for pulling.
4.
Rotate the left and right front tires.
5.
Align according to the Workshop Manual, Section R.
6.
While aligning, if caster angle will not adjust to the proper specification, proceed to step 7. If the proper caster angle is achieved, proceed to step
II.*
7.
Measure wheelbase side-to-side. Follow steps 8 through 10 until the wheel base dimension is within 1/4" (6.35 mm).*
8.
Remove the vehicle's plastic undercover.
*
The revised sections are indicated by an asterisk. Please replace the original bulletin with this revised bulletin.
9.
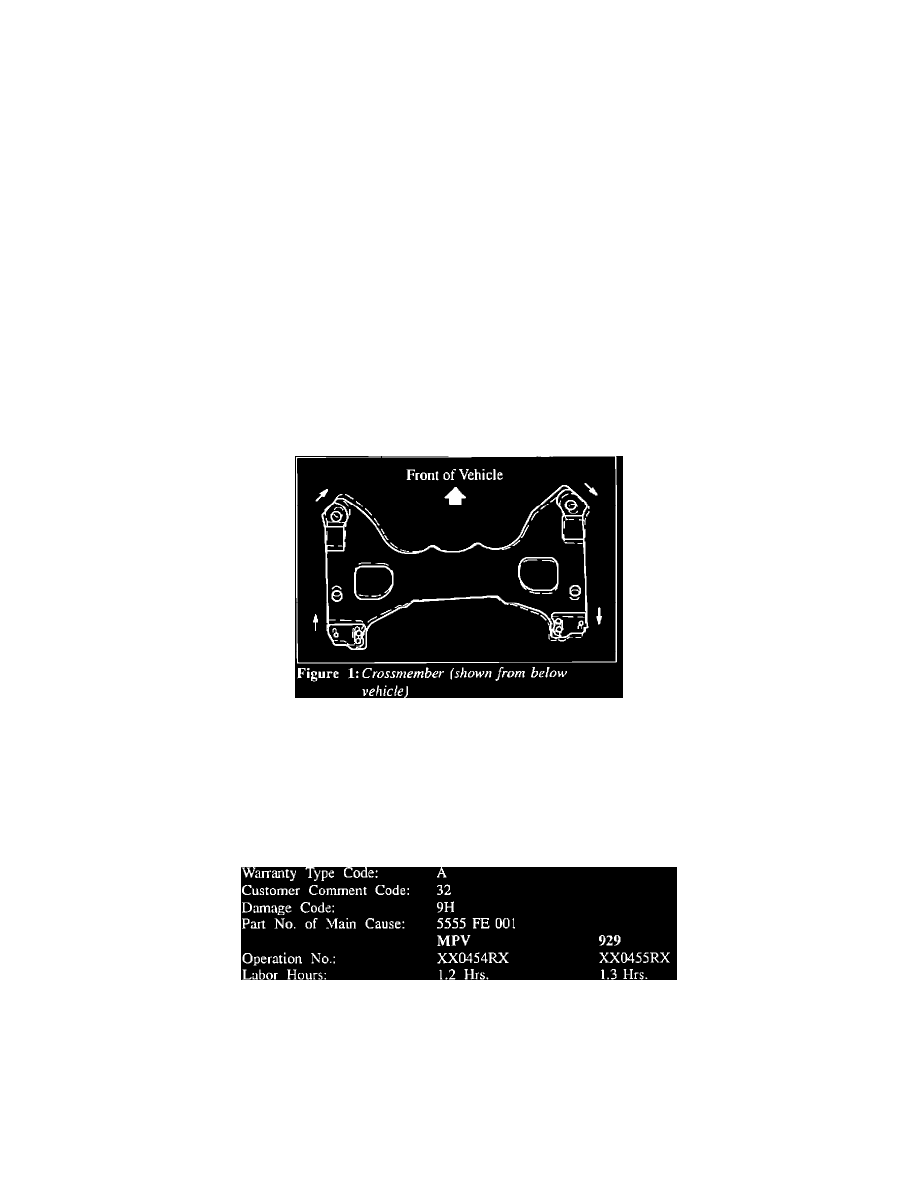
Loosen the nuts that mount the crossbreed to the body.*
NOTE:
When the vehicle pulls to the right side, move the right side of the crossbreed forward to increase the right caster angle. At the same time, move the left
side of the crossbreed backward to decrease the left caster angle. Figure 1.
If the vehicle pulls to the left side, the procedure is opposite of the steps above.
10.
Tighten the nuts which mount the crossbreed to the body.*
11.
Retest vehicle for pulling.
WARRANTY INFORMATION
Technical Service Bulletin # R01192
Date: 920703
Steering/Alignment - Vehicle Pulls Left or Right
Bulletin No.: 011/92
Issued: 6/8/92
Revised: 7/3/92