
MPV 4WD V6-180 2954cc 3.0L FI (1989)
2.
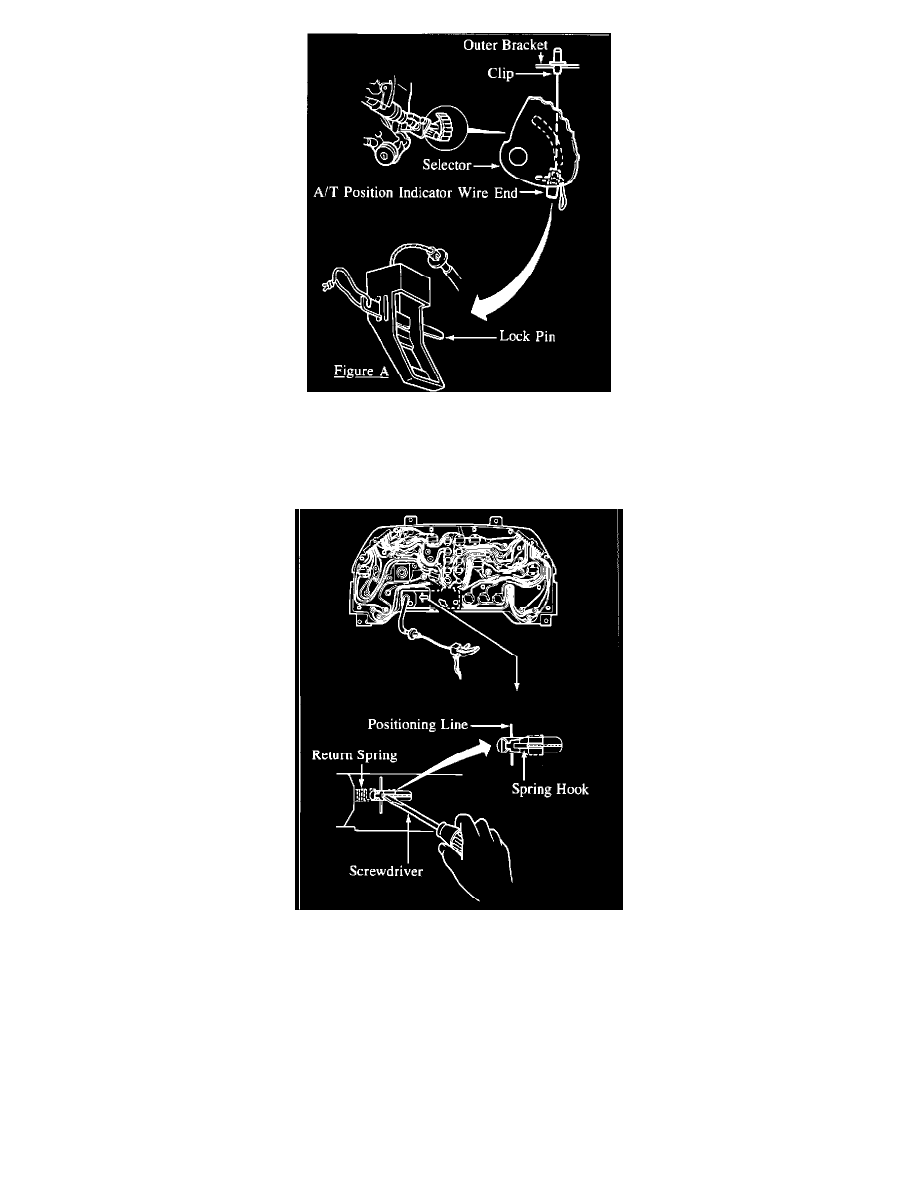
Disconnect the A/T position indicator wire end from the selector by slightly pulling it in the direction indicated.
NOTE:
Do not apply excessive force to the indicator wire. Some early production vehicles have a lock pin in the wire end as shown in Figure A. For
these vehicles, remove the lock pin first, then disconnect the wire end.
3.
Using a small screwdriver, align the spring hook with the positioning line as shown in the figure.
4.
Pull the indicator wire until it just stops; then release it and verify that the position indicator is centered in P position.
NOTE:
Be careful not to move the position indicator after aligning it.