
MPV 4WD V6-3.0L SOHC (1990)
Fuel Pump Test Connector
3.
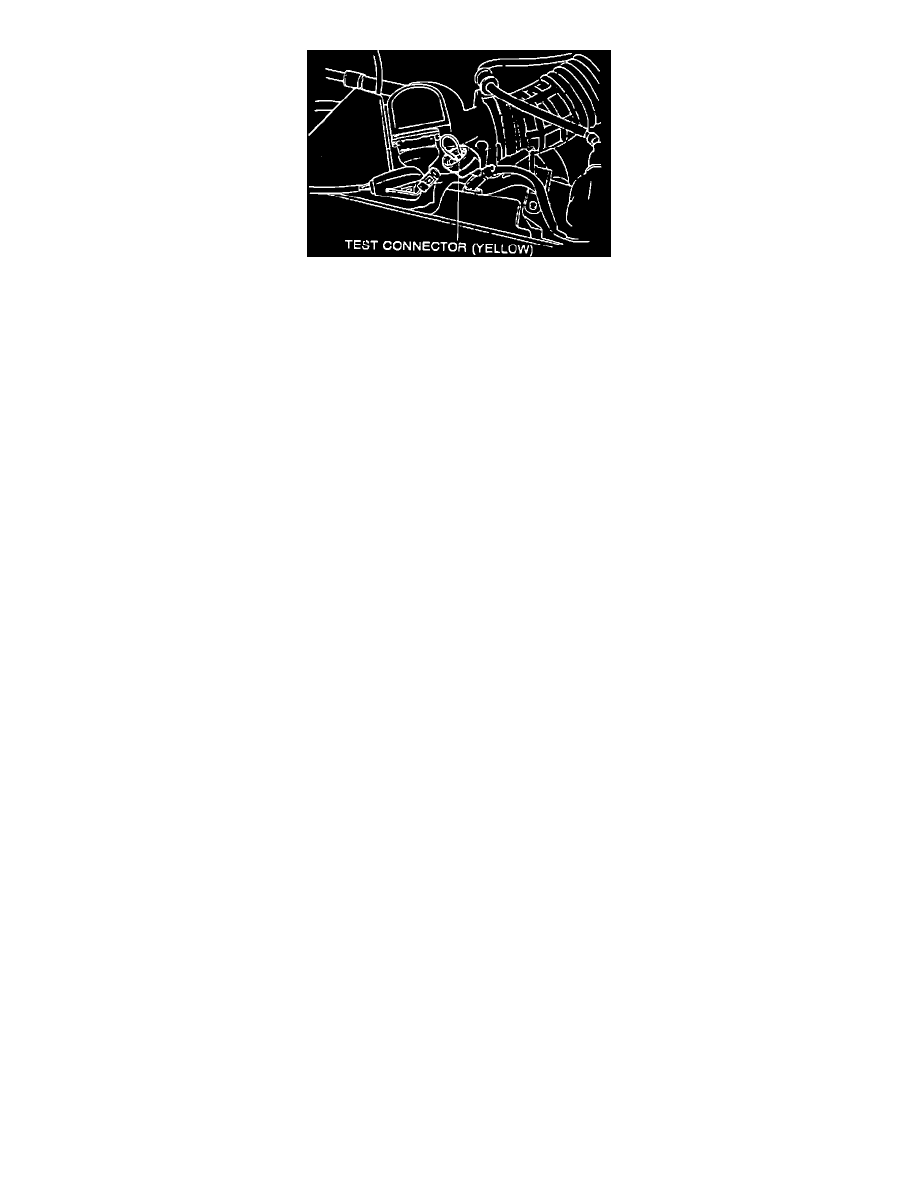
Energize fuel pump by bridging the terminals of the yellow 2 pin test connector and turning the ignition "ON" (connector is located near the air
flow sensor). See illustration
4.
One at a time, place nozzle end of each injector into a suitable container, and energize injector momentarily by applying power and ground while
observing the spray pattern.
^
A finely atomized, cone shaped mist of fuel should spray from the injector nozzle.
WARNING:Fire hazard. Use appropriate connectors and long jumper wires so as not to create any sparks near the injectors or the container of
fuel. The mist of fuel sprayed from the injector can ignite very easily.
5.
Repeat step 4 for each injector.
6.
Dry off injector tips with a clean cloth and check for fuel dripping from injectors. After a minute or so, some wetting or even a drop of fuel seeping
from an injector nozzle is acceptable. More than one drip per minute, with the fuel pump running, is unacceptable.
Leaking injectors and injectors with poor spray patterns can sometimes be cleaned with a chemical fuel system cleaner and re-used. Use a cleaner
designed for fuel injectors. Also some gasolines contain a cleaning additive for fuel injection systems. If clogged or leaking injectors are suspected,
switching to one of these gasoline brands may help.
If cleaning does not restore normal injector operation, replace the injector(s).