
MPV DX V6-2.5L DOHC (2000)
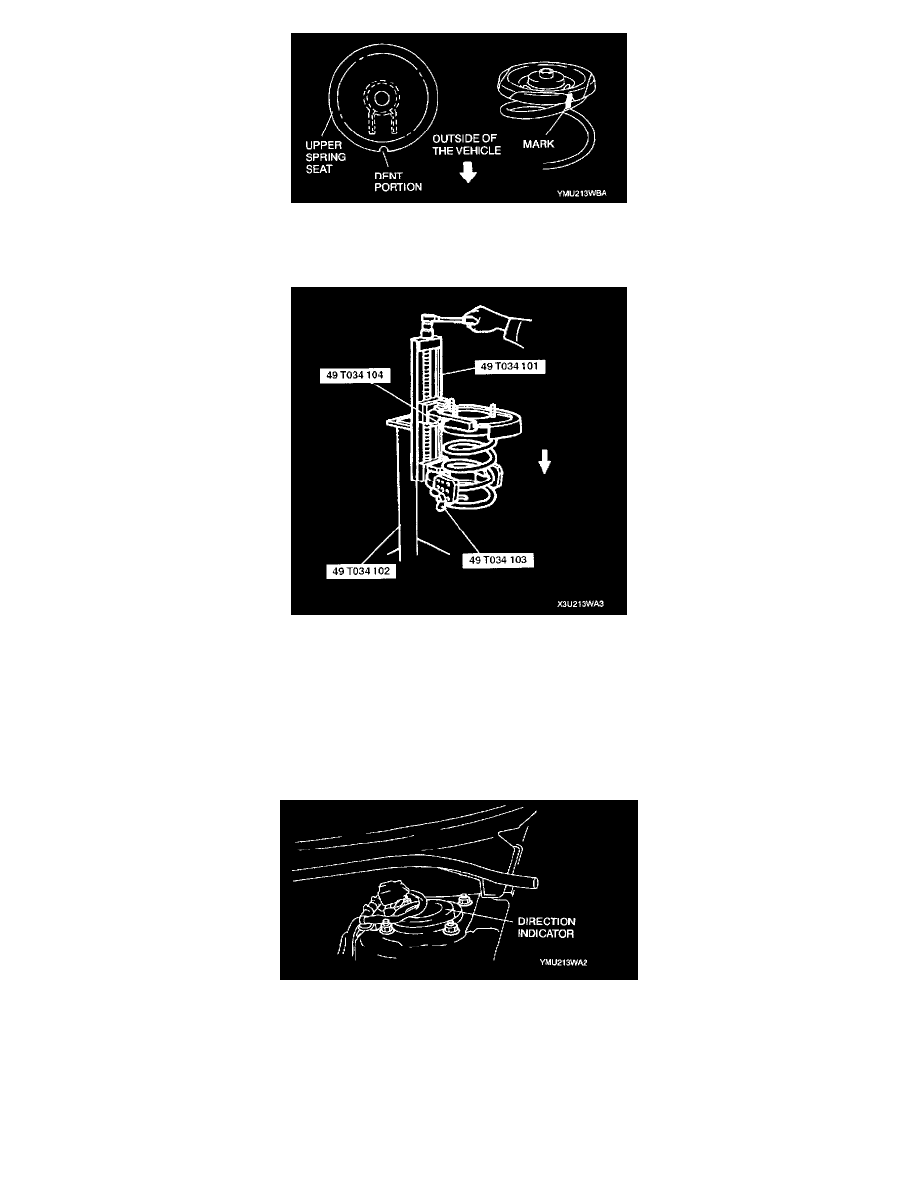
2. Mark the coil spring, upper spring seat rubber and upper spring seat for proper installation as shown in the figure.
3. Align the marks of the coil spring, upper spring seat rubber and upper spring seat. Protect the coil spring and upper seat spring using a piece of
cloth, then set the SSTs.
4. Compress the coil spring using the SSTs.
5. Install the lower spring seat rubber on the lower spring seat.
6. Install the shock absorber so that the lower end of the coil spring is seated on the step of the lower spring seat.
7. Make sure that the marks on the shock absorber and upper spring seat are aligned.
8. Install the bearing, mounting rubber, and piston rod nut as shown in the figure, then remove the SSTs.
Piston rod nut tightening torque
90 - 127 Nm (9.1 - 13.0 kgf-m, 66 - 94.0 ft. lbs.)
FRONT SHOCK ABSORBER AND SPRING INSTALLATION NOTE
1. Face the mounting block direction indicator toward the rear outboard position, and install the shock absorber.
FRONT SHOCK ABSORBER INSPECTION
1. Remove the front shock absorber from the vehicle.
2. Inspect for damage and oil leakage.
3. Inspect the rubber bushing for deterioration and wear.
4. Compress and extend the shock piston at least three times. Verify that the operational force does not change and that there is no unusual noise.
^
If not as specified, replace the shock absorber.
1. Compress the shock absorber piston and release it.