
MPV ES V6-2.5L DOHC (2001)
Fuel Pressure: Component Tests and General Diagnostics
WARNING: Fuel line spills and leakage are dangerous. Fuel can ignite and cause serious injuries or death. Fuel can also irritate skin and eyes.
To prevent this, always complete the "BEFORE REPAIR PROCEDURE".
1. Disconnect the negative battery cable.
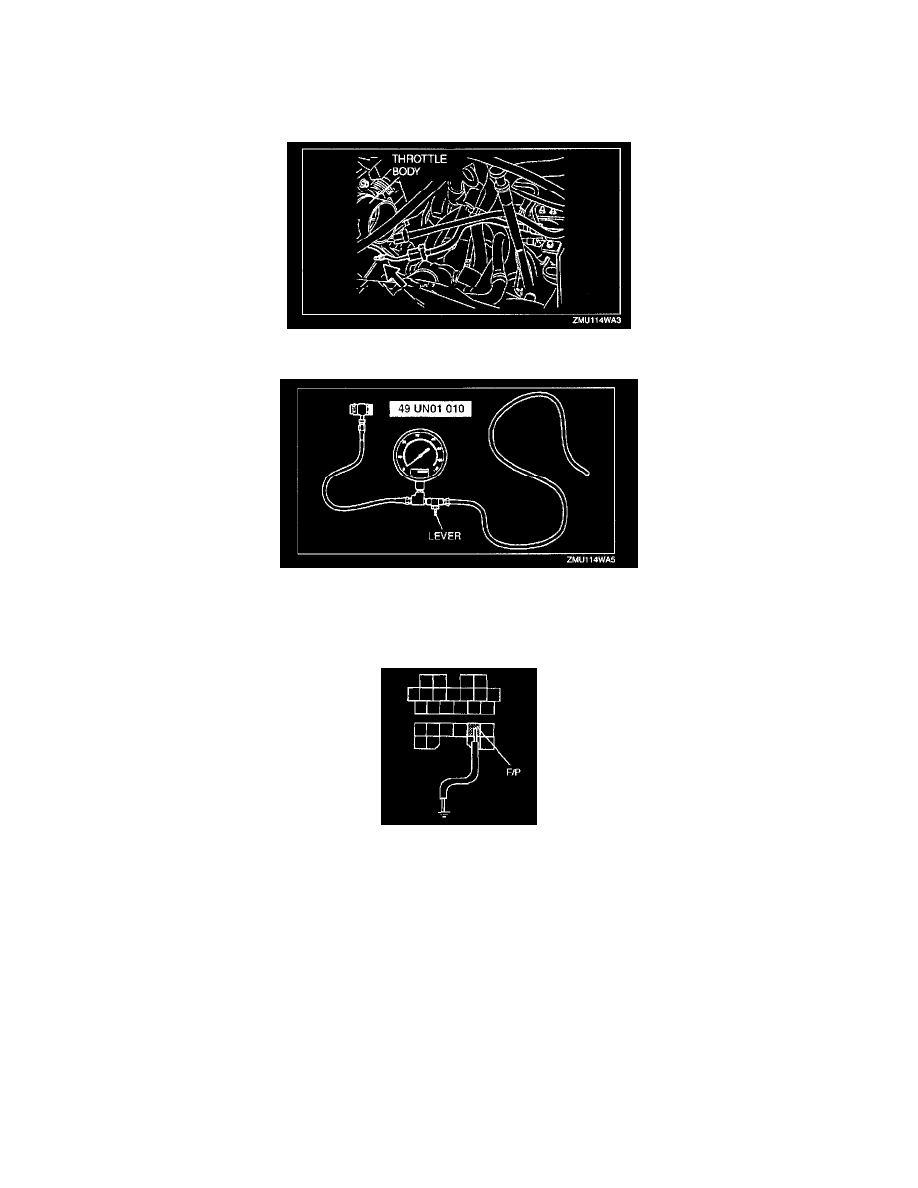
2. Remove the fuel line schrader valve cap located under the throttle body.
3. Make sure the lever of SST is turned fully clockwise, then connect SST (Fuel pressure gauge) to the schrader valve.
4. Connect the negative battery cable.
CAUTION: Connecting the wrong DLC terminal may possibly cause a malfunction. Carefully connect the specified terminal only.
5. Short the DLC terminal F/P to body GND using a jumper wire.
6. Turn the ignition key ON to operate the fuel pump.
7. Check the fuel line pressure.
-
If the pressure is higher than specification, inspect the fuel pump maximum pressure.
-
If the fuel pump maximum pressure is within specification, inspect the fuel return hose or the pressure regulator for clogging.
-
If the pressure is lower than specification, inspect the pressure regulator.
Fuel line pressure
0.38 - 0.42 MPa {3.8 - 4.3 kgf/sq.cm, 55 - 61 psi}
8. Turn the ignition key to OFF.
9. Disconnect the jumper wire and wait for 5 minutes.
10. Check the fuel line residual pressure.
-
If the pressure is lower than specification, inspect the fuel leakage from the fuel lines.
-
If there is no leakage, inspect the pressure regulator.