
MPV ES V6-2.5L DOHC (2001)
Valve Body: Service and Repair
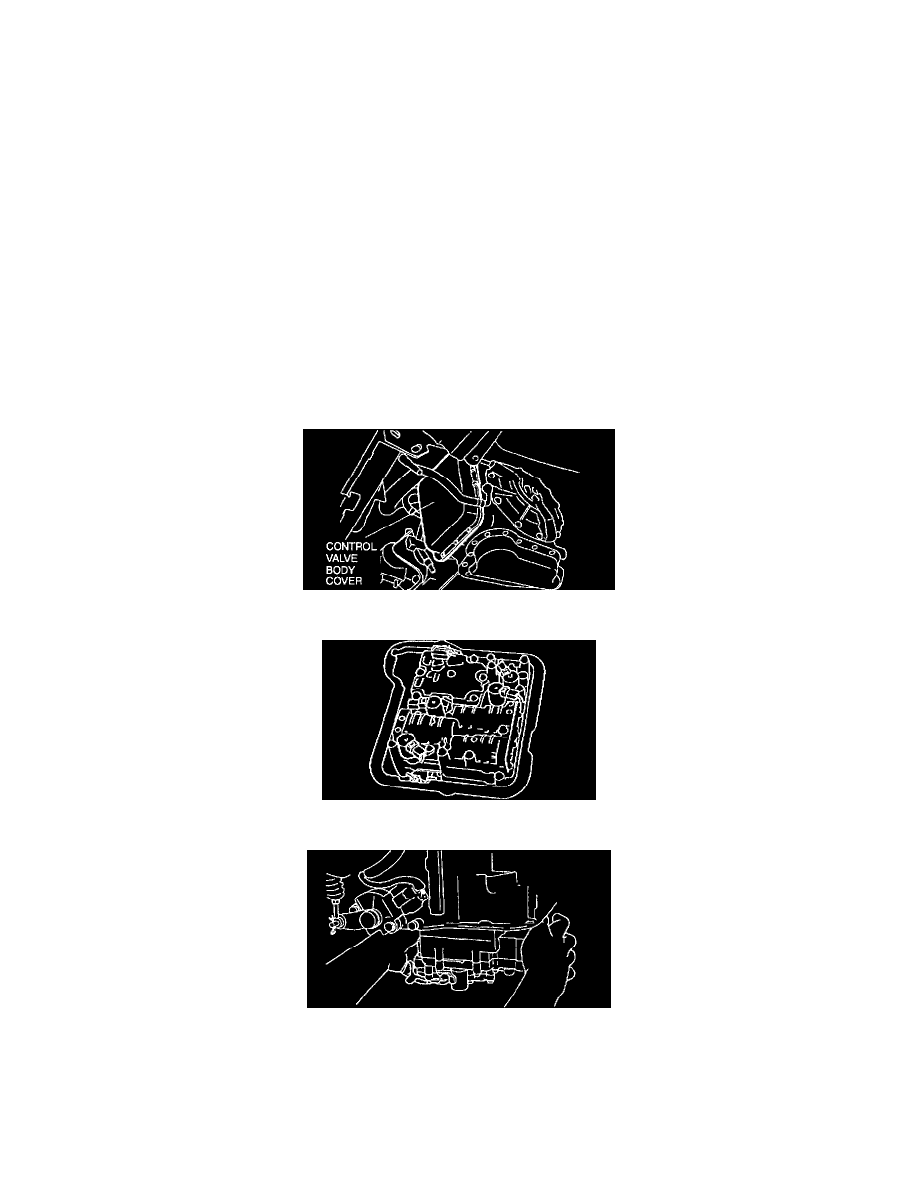
CONTROL VALVE BODY REMOVAL/INSTALLATION
On-Vehicle Removal
Warning:
-
When the transaxle and ATF are hot, they can badly burn. Turn off the engine and wait until they are cool before removing the control
valve body.
-
Using compressed air can cause dirt and other particles to fly out, causing injury to the eyes. Wear protective eyes whenever using
compressed air.
Caution:
-
Clean the transaxle exterior throughout with a stream cleaner or cleaning solvents before removal.
-
If any old sealant gets into the transaxle during installation of the oil pan, trouble may occur in the transaxle case and oil pan, and clean with
cleaning fluids.
1. Clean the transaxle exterior thoroughly with a steam cleaner or cleaning solvents.
2. Disconnect the negative battery cable.
3. Remove the battery, battery tray, and battery carrier.
4. Remove the air cleaner component.
5. Drain the ATF into separate containers.
6. Remove the splash shield.
7. Remove the oil cooler hose.
8. Remove the control valve body cover and gasket.
9. Disconnect the solenoid valve connectors and TFT sensor connector.
10. Remove the control valve body component.
On-Vehicle Installation