
MPV ES V6-2.5L DOHC (2001)
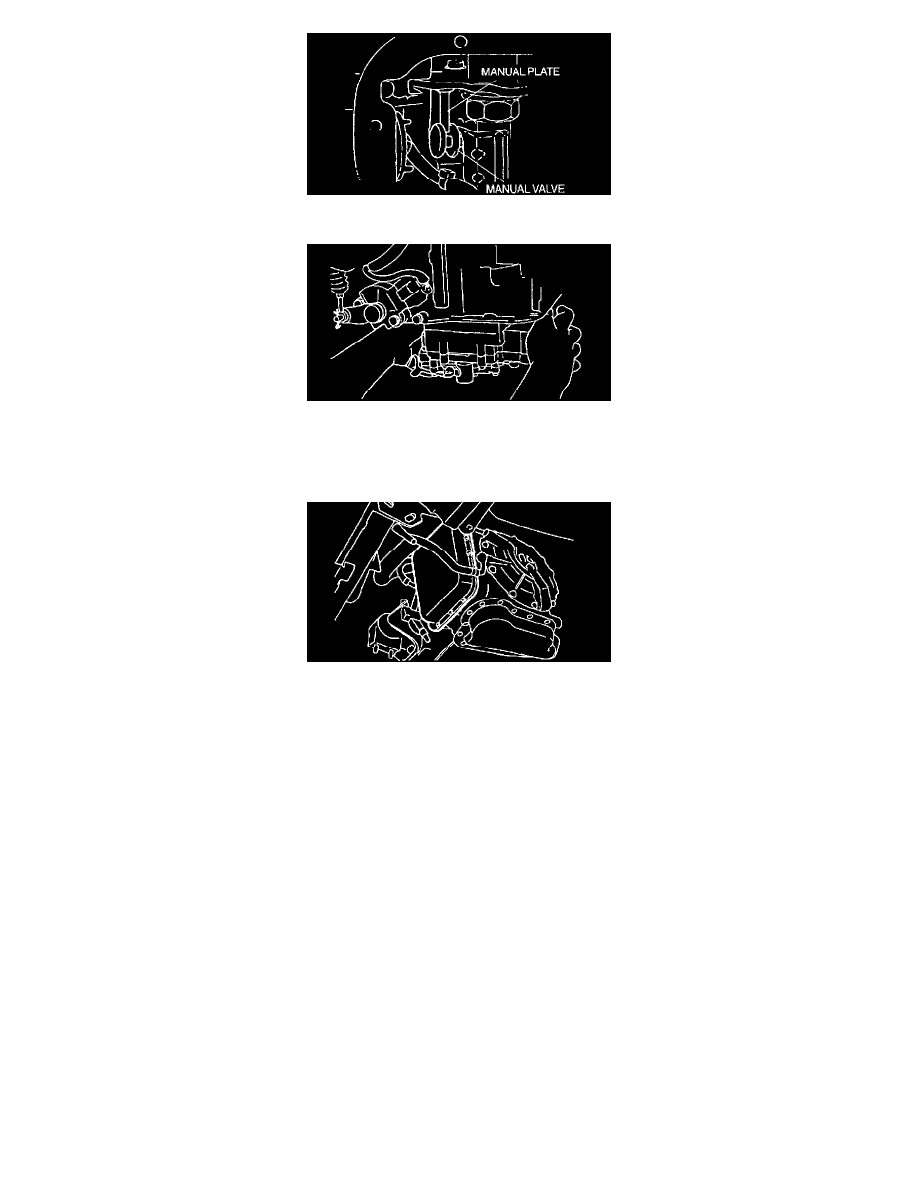
1. Align the manual plate and the manual valve.
2. Install the control valve body component.
Tightening torque 10.8 - 14.7 Nm (110 - 150 kgf-cm, 96 - 130 inch lbs.)
3. Match the harness colors and connect the solenoid connectors and TFT sensor connector.
4. Apply a light coat of silicon sealant to the contact surfaces of the oil pan and transaxle case.
5. Install the oil pan.
Tightening torque 8.4 - 10.7 Nm (85 - 110 kgf-cm, 73.7 - 95.4 inch lbs.)
6. Install the oil cooler hose.
7. Install the splash shield.
8. Install the air cleaner component.
9. Install the battery carrier, battery tray, and battery.
10. Connect the negative battery cable.
11. Fill the transaxle with the specified ATF.
12. inspect for leakage of ATF from the oil pan or the oil hose connecting points.
13. Carry out the mechanical system test.
14. Carry out the road test.