
MPV ES 4WD V6-3.0L SOHC (1997)
Part 2 Of 2
DISASSEMBLY / ASSEMBLY
1. Disassemble in the order indicated in the illustration, referring to disassembly note.
2. Inspect all parts and repair or replace as necessary.
WARNING: Using compressed air can cause dirt and other particles to fly out, causing injury to the eyes. Wear protective eye wear
whenever using compressed air.
3. Clean all parts and bores by using compressed air and apply ATF to them immediately before assembly.
4. Assemble in the reverse order of disassembly indicated in the illustration, referring to assembly procedure.
Disassembly Note
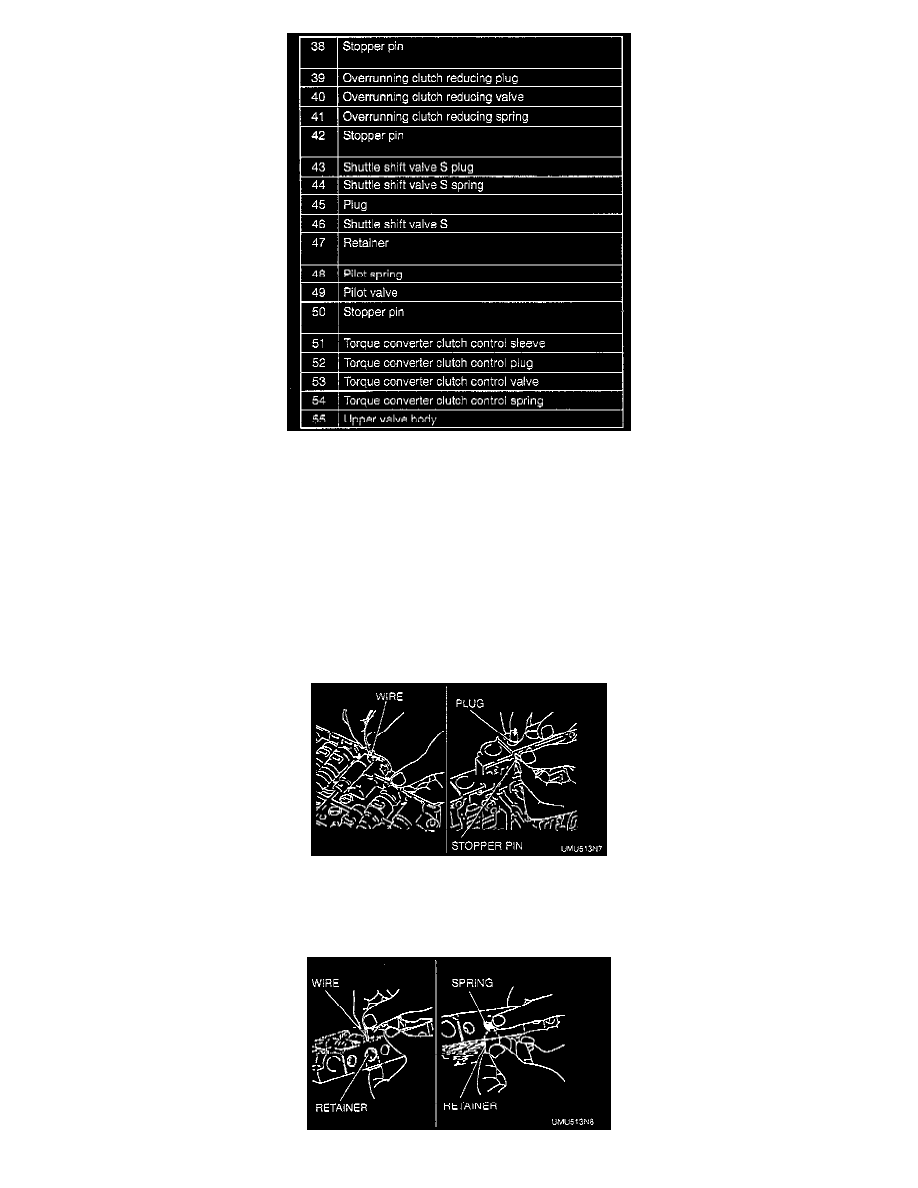
Stopper pin (4, 13, 18, 24, 30, 34, 38, 42, 50)
1. Push the stopper pin way out by using a wire.
2. Depress and hold the plug or sleeve with your finger to prevent the valve from jumping out.
3. Remove the stopper pin, then remove the valve and internal parts.