
MPV ES 4WD V6-3.0L SOHC (1997)
8. Prepare the nozzle of the sealant tube so that it has a flange that can run along the edge of the glass and a V from which the sealant can flow. Once
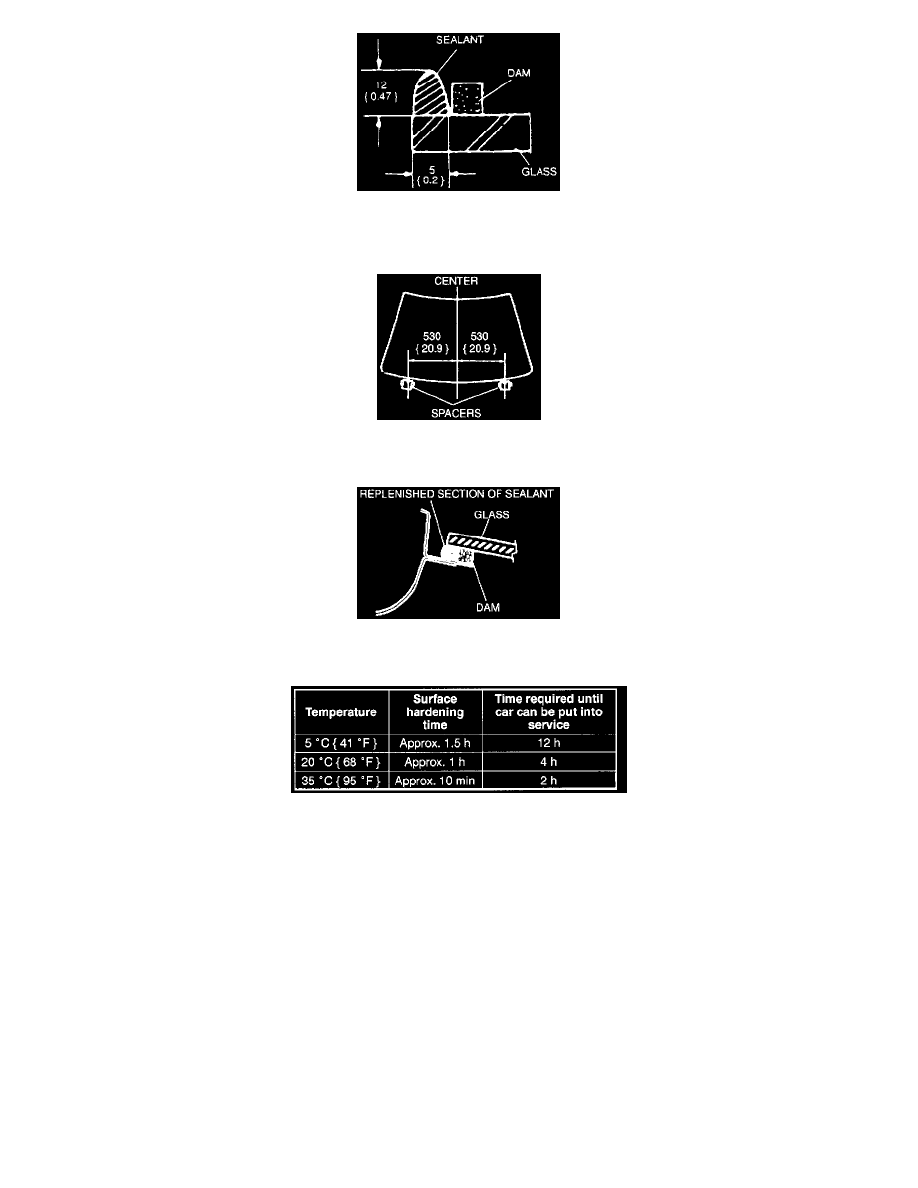
the primer is dry, apply sealant around the entire circumference to fill the gap between the dam and the edge of the glass with a 12 mm high bead
of sealant.Keep the bead of sealant smooth and even, reshaping it where necessary by using a spatula.
9. Align the glass marks with the V notches in the spacers and install the glass onto the body.
10. Press firmly inward on the glass to compress the sealant.
11. Use a spacer to smooth away any sealant that oozes out. Add more sealant to any points of poor contact.
12. To prevent the glass from being pushed out by air pressure if a door is closed, open all of the windows until the sealant has hardened.
NOTE: Harding time of sealant.
13. Check for water leaks. If a leak is found, wipe the water off well and add sealant where needed.
14. Install the A-pillar trim.
15. Install the rearview mirror.
16. Install the windshield lower molding.
17. Install the windshield upper molding.