
MPV ES 2WD V6-3.0L SOHC (1998)
1. Remove the cotter pin and nut.
2. Separate the ball joint from the knuckle by using the Special Service Tool (SST).
Crossmember Nut Removal Note (4)
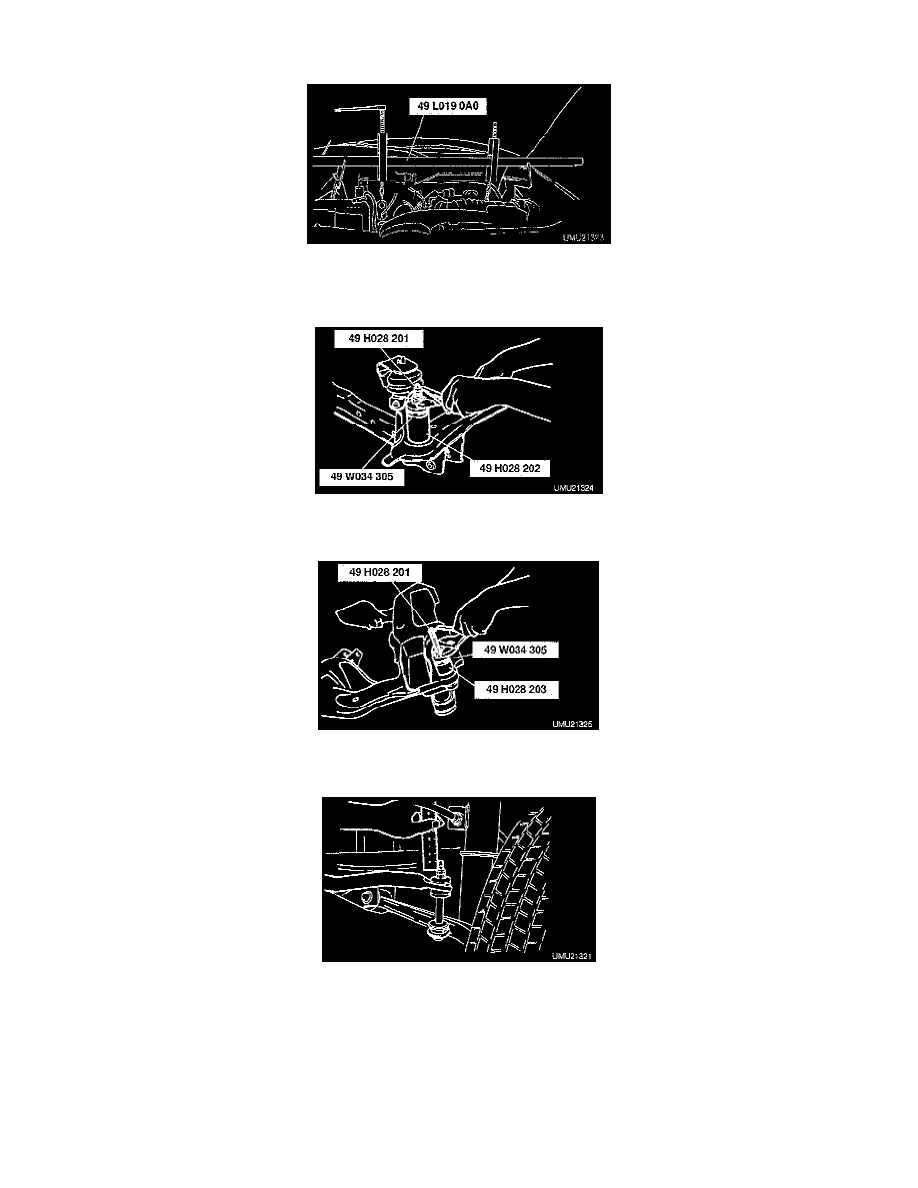
1. Support the engine by using the SST.
2. Support the crossmember by using a jack, then remove the crossmember nuts.
Crossmember Bushing Removal Note (8)
-
Remove the crossmember bushing by using the SSTs.
Crossmember Bushing Installation Note (8)
-
Apply soapy water to the new bushing, then press it into the crossmember by using the SSTs.
Stabilizer Bolt And Nut Installation Note (1)
-
Tighten the nut so that 9 - 11 mm (0.35 - 0.43 inch) length of thread is exposed at the top of the bolt.